Welcome to your ultimate guide on how to make pavement slabs! Whether you’re looking to save money on your next outdoor project or simply enjoy the satisfaction of a DIY job well done, this guide will walk you through everything you need to know to create durable and stylish pavement slabs. From choosing the right materials and mixing concrete, to crafting molds and perfecting the finishing touches, we’ll cover all the steps to help you build beautiful slabs that are perfect for your garden, patio, or driveway. Let’s get started on transforming your outdoor space with your very own custom-made pavement slabs!
To make pavement slabs, start by creating or purchasing a mold, then mix concrete using a standard mix of cement, sand, and water. Pour the concrete into the mold, smooth the surface, and let it cure for 24-48 hours. Once the slab is set, carefully remove it from the mold and allow it to fully dry. You can add decorative touches, such as color or texture, during the curing process for a custom look. Finally, prepare the ground, lay the slabs, and fill the joints for a finished and durable outdoor surface.
- Why Make Your Own Pavement Slabs?
- Materials And Tools You’ll Need
- Preparing The Concrete Mix
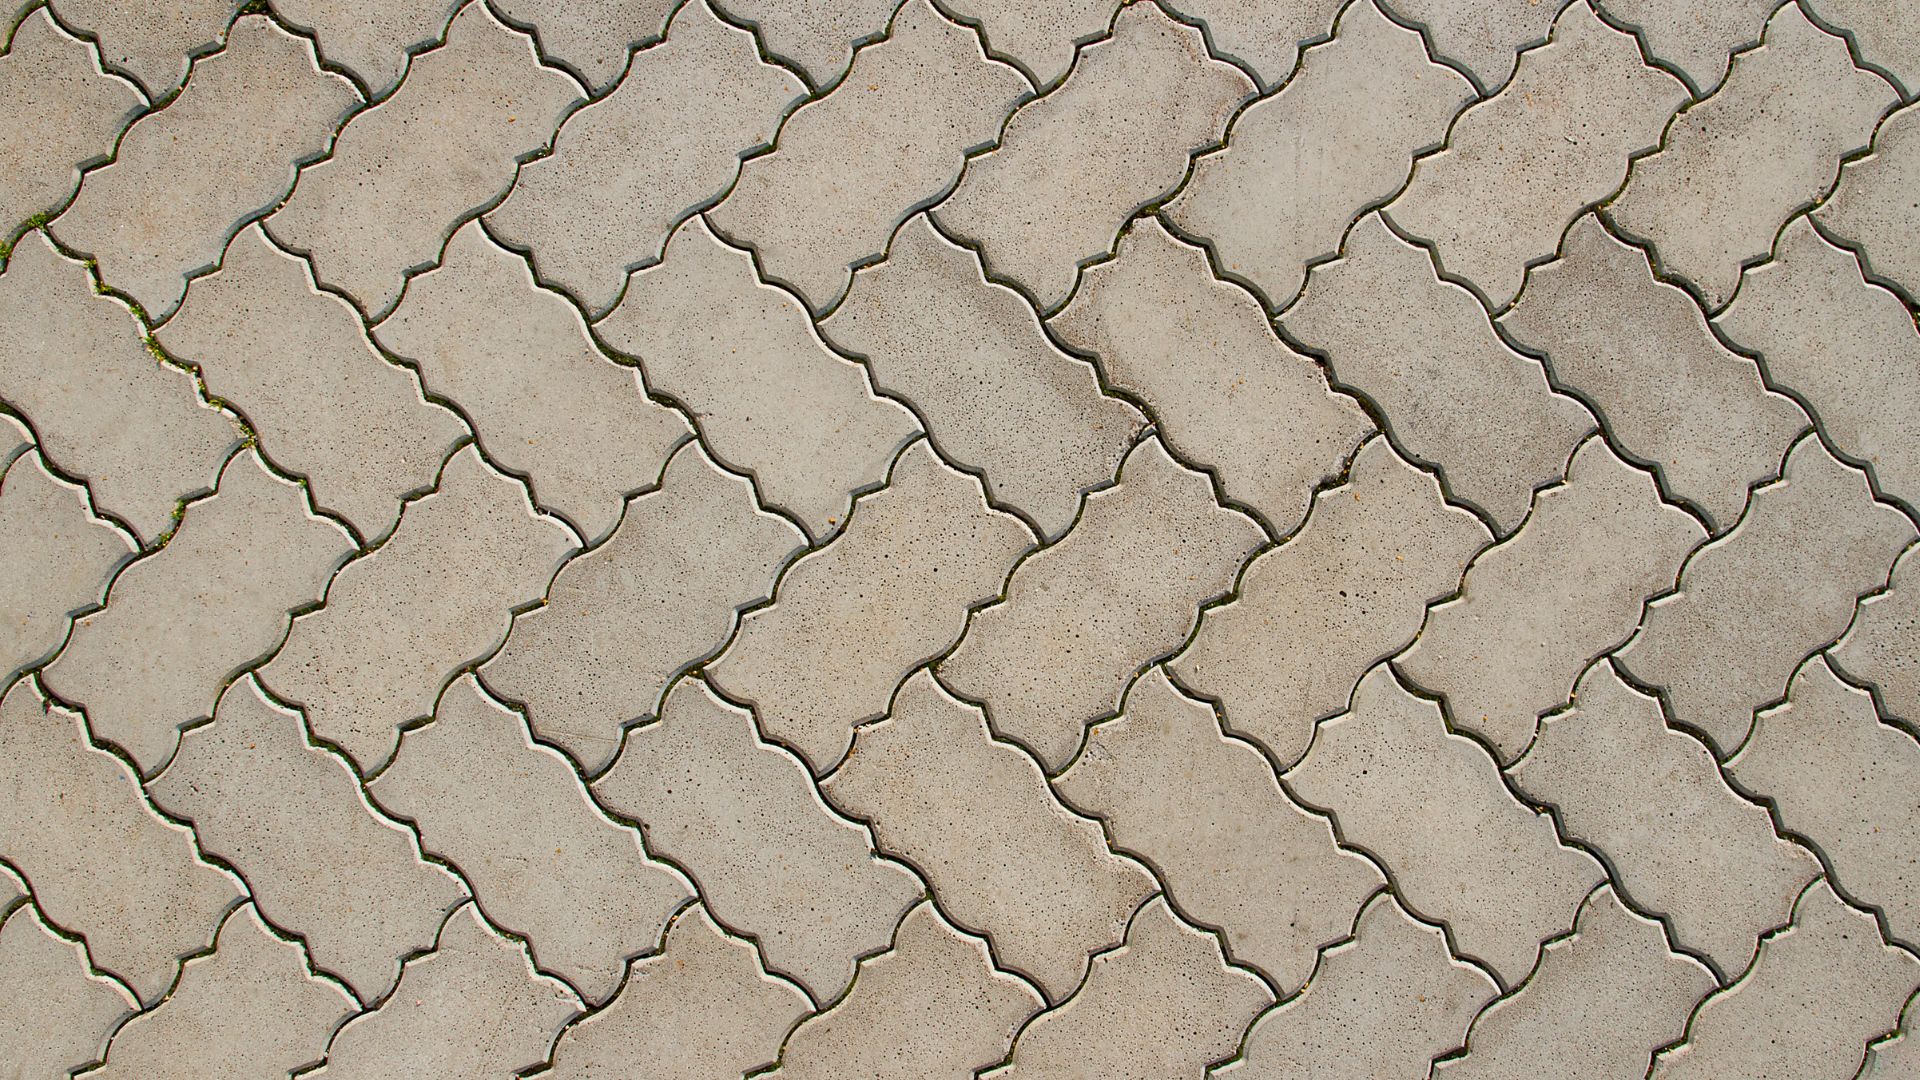
- Creating The Pavement Slab Mold
- Pouring The Concrete
- Removing And Finishing The Slabs
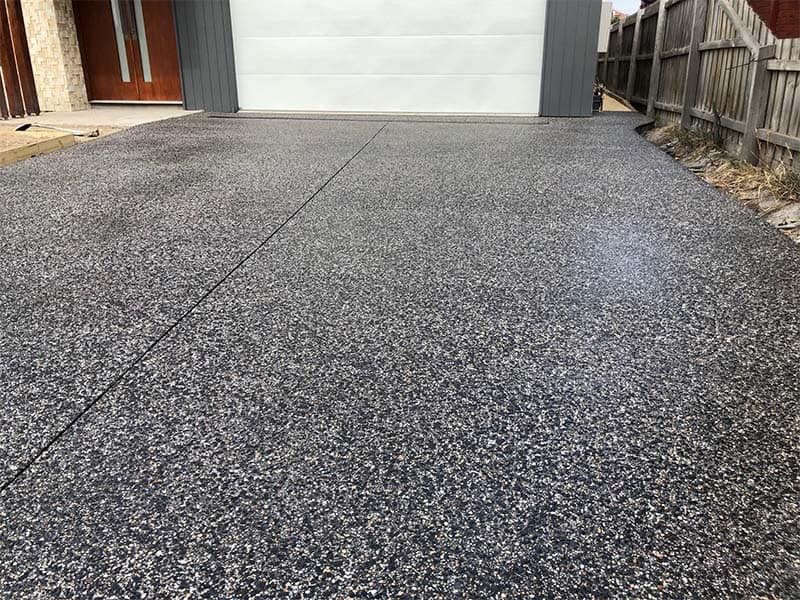
- Installing Your Pavement Slabs
- Maintenance Tips For Long-Lasting Pavement Slabs
- Common Mistakes To Avoid
- FAQs: About How To Make Pavement Slabs
- How long does it take for pavement slabs to cure?
- What is the best concrete mix for making pavement slabs?
- Can I make pavement slabs without a mold?
- What type of mold works best for DIY pavement slabs?
- Can I color my pavement slabs?
- How do I ensure my pavement slabs are durable?
- Do I need to seal my pavement slabs?
- Can I use recycled materials in my pavement slab mix?
- What’s the best way to prevent cracks in pavement slabs?
- How do I prepare the ground for laying pavement slabs?
- Conclusion
Why Make Your Own Pavement Slabs?
Creating your own pavement slabs comes with several advantages that go beyond simply laying down a path or patio. From cost savings to design flexibility and sustainability, making your own slabs can be a rewarding project for homeowners looking to enhance their outdoor spaces. Below, we delve into the key reasons why making your own pavement slabs is a smart choice.
Cost-Effectiveness
One of the most significant benefits of making your own pavement slabs is the potential to save money. Pre-made slabs, especially those that are high-quality or have unique designs, can be expensive. By creating your own, you cut out the middleman and pay only for the raw materials needed, such as cement, sand, and aggregate. These materials are generally inexpensive and can be purchased in bulk, further reducing the overall cost. Additionally, making slabs yourself allows you to control the quantity, ensuring that you create only what you need without paying for excess. Over time, the savings can add up, particularly if you’re working on a large project, like a patio or driveway.
Furthermore, if you’re tackling smaller repairs or additions to an existing paved area, making your own slabs prevents the need to hunt down matching pre-made options, which can sometimes be more costly or unavailable. This cost-effective approach makes DIY paving a budget-friendly solution for anyone looking to make a significant impact on their property without breaking the bank.
Customization
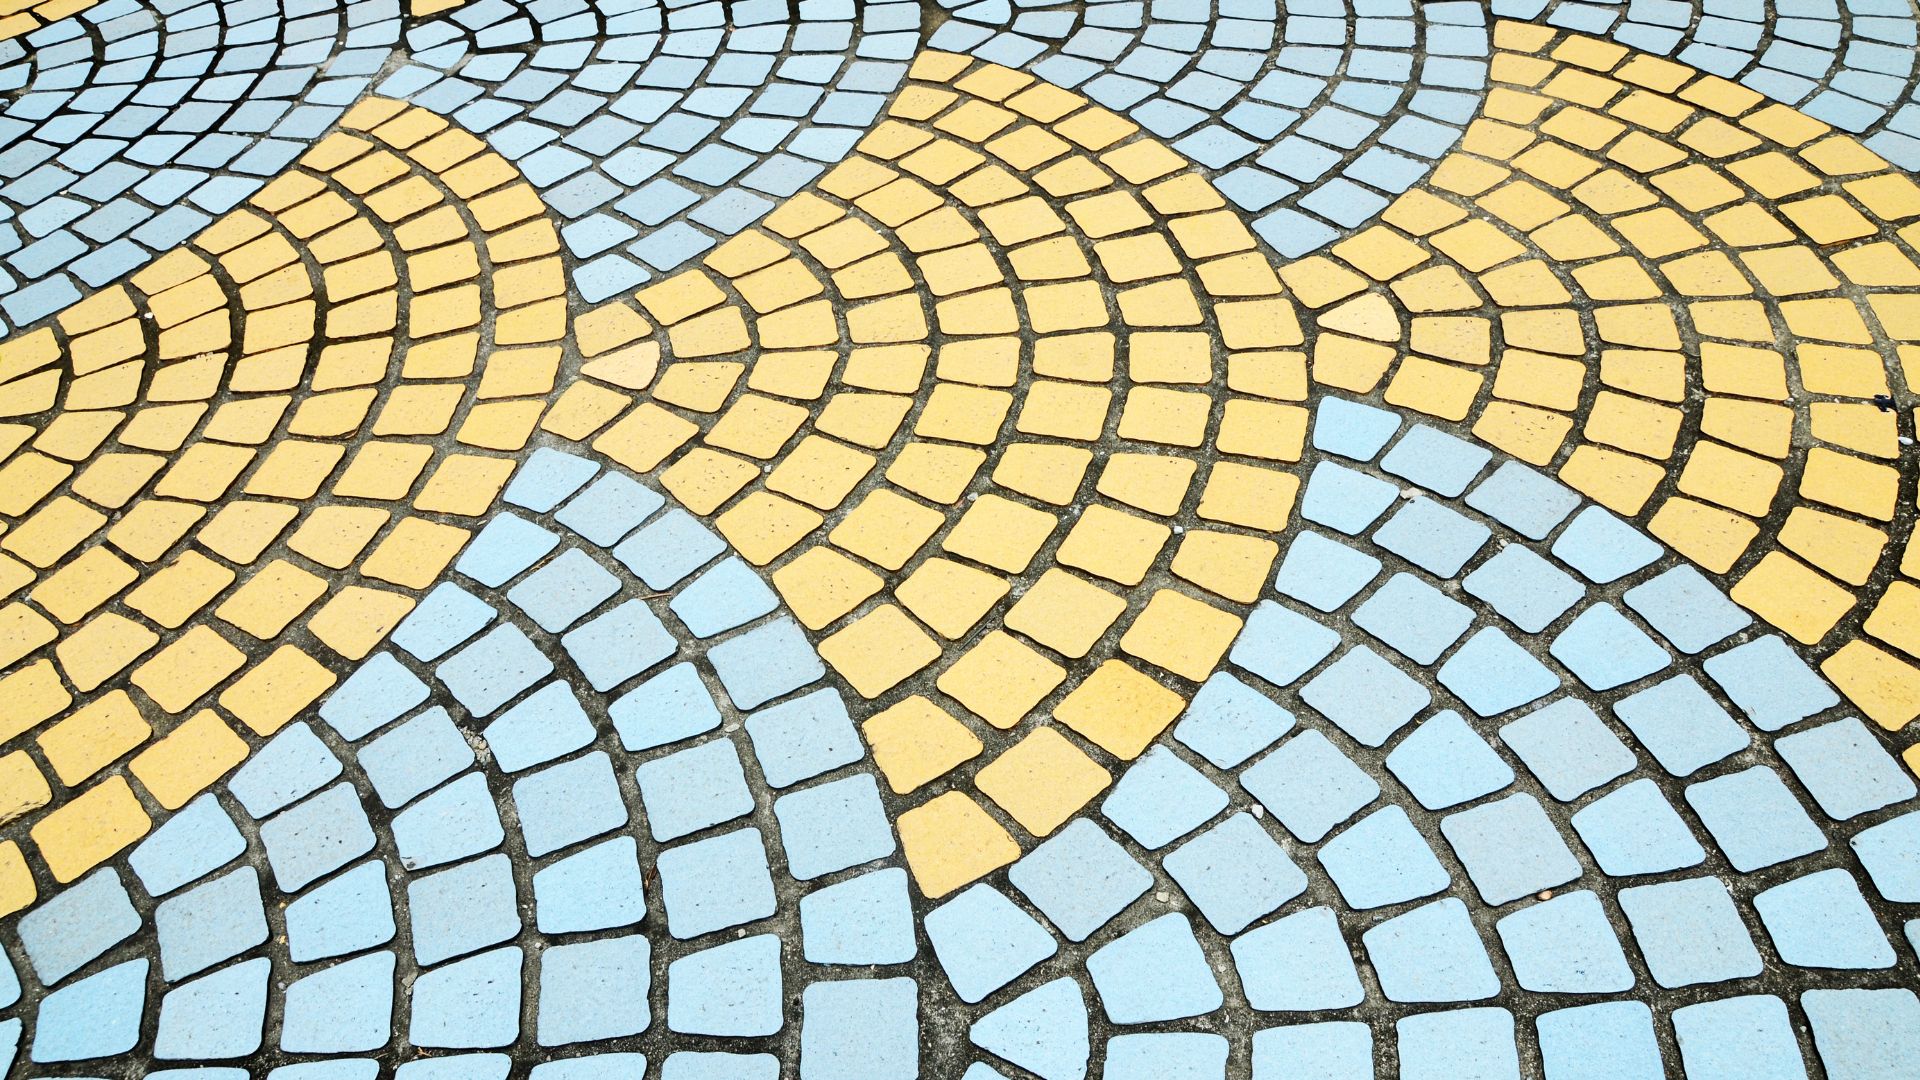
Another compelling reason to make your own pavement slabs is the freedom to customize them to your exact specifications. Pre-made slabs often come in standard sizes, shapes, and colors, which may not suit your specific design vision. By making your own, you have complete control over the outcome. Whether you want rectangular, square, or more creative shapes, you can design slabs that perfectly fit your space and style.
Color customization is another key benefit. You can mix pigments into the concrete to match or contrast with your home’s exterior or landscape design. Additionally, you can experiment with surface textures, adding patterns, imprints, or even embedding decorative stones or tiles for a unique look. This level of flexibility ensures that your outdoor space reflects your personal style, giving it a custom, tailored appearance that you won’t find with store-bought slabs.
Sustainability
In today’s eco-conscious world, sustainability is a growing priority, and making your own pavement slabs can be a greener option compared to purchasing pre-made ones. By using natural materials or incorporating recycled components such as crushed glass, reclaimed concrete, or other eco-friendly aggregates, you can reduce the environmental footprint of your project. Many store-bought slabs are manufactured in ways that consume large amounts of energy and resources, whereas making your own allows you to choose materials that are sustainable and minimize waste.
Moreover, the ability to produce only what you need reduces excess material production and waste. This DIY approach also means you can source materials locally, cutting down on the carbon emissions that result from transportation. If sustainability is important to you, creating your own pavement slabs offers an opportunity to build a functional and beautiful space while aligning with environmentally friendly principles.
Making your own pavement slabs is a smart choice for homeowners looking to save money, achieve a custom design, and make sustainable choices. Whether you’re paving a small garden path or a large driveway, this approach offers long-term benefits that make it worth considering for your next project.
Materials And Tools You’ll Need
When making your own paving slabs, the right materials and tools are essential to ensuring the finished product is durable, functional, and visually appealing. Below, we’ll break down the key items you’ll need, along with a few optional add-ons to help you personalize your project.
Concrete Mix: Ready-Mix vs. Homemade
One of the first decisions you’ll make is whether to use a ready-mix concrete or mix your own. Each option has its pros and cons.
- Ready-Mix Concrete: This is the most convenient option for beginners or those who want to save time. Ready-mix concrete comes pre-blended with the correct ratio of cement, sand, and gravel, so all you need to do is add water. It’s widely available at hardware stores and comes in various grades, depending on your project’s strength requirements. The biggest advantage is that it ensures consistency, but it tends to be more expensive than mixing your own.
- Homemade Concrete Mix: If you’re more experienced or on a tighter budget, mixing your own concrete is a great alternative. The typical formula involves a 1:2:4 ratio—1 part cement, 2 parts sand, and 4 parts gravel. You can adjust the mix to suit the project, but doing this requires some knowledge of how each material impacts the strength and texture of the final product. While homemade mixes can be cost-effective, they do require careful measuring and mixing to ensure quality.
Both options can yield excellent results, but choosing between them depends on your level of comfort with the process and how much time you’re willing to invest.
Mold Options: Plastic, Wood, or Silicone
Molds are essential for shaping your concrete slabs, and you have several options when it comes to materials:
- Plastic Molds: These are commonly used because they are affordable and reusable. They come in various shapes and sizes, allowing you to create uniform slabs easily. You can purchase plastic molds online or at home improvement stores. Their durability and ease of use make them popular among DIYers.
- Wooden Molds: If you prefer a more customized or rustic look, wooden molds are a good option. You can make these yourself using basic materials like plywood. The flexibility to create custom dimensions is a huge plus, but wooden molds require sealing to prevent moisture damage, and they may not last as long as plastic or silicone.
- Silicone Molds: Silicone is ideal if you want intricate details or unique textures. Although silicone molds tend to be more expensive, they offer a high level of detail and are flexible, making it easy to remove the concrete once it has set. These molds are great for decorative projects but may not be necessary for standard paving slabs.
Each mold material has its advantages, so the right choice depends on your specific project and aesthetic goals.
Other Essential Tools
In addition to concrete and molds, you’ll need a variety of tools to complete your project. Here are some essentials:
- Mixing Tools: You’ll need a strong mixing tool, such as a hoe or a concrete mixer, to blend your ingredients smoothly. If you’re mixing by hand, ensure you use a large, sturdy container.
- Trowels: Trowels are necessary for spreading and smoothing the concrete within the mold. Opt for both flat and pointed varieties to help with different tasks.
- Level: A level is crucial to ensure your slabs are flat and even. This will prevent issues later when laying the slabs.
- Water: Water is essential for mixing your concrete. Be mindful of how much water you add, as too much or too little can compromise the strength and durability of the finished slab.
- Protective Gear: Always wear gloves, safety goggles, and a mask when working with concrete, as it can be harsh on the skin and irritating to the eyes and lungs.
By gathering these tools before you begin, you’ll be better prepared for a smooth and efficient slab-making process.
Optional Add-ons: Decorative Elements
For those looking to add a personal touch to their paving slabs, there are several decorative elements you can incorporate:
- Dyes: Concrete dyes or pigments can be added to the mix to give your slabs a variety of colors. This is a simple way to match your slabs to your home or landscape design.
- Textures: Texturing tools, such as stamps or rollers, allow you to create unique patterns on the surface of your slabs. You can buy pre-made texture tools or get creative with household items.
- Embedded Materials: Embedding materials like stones, shells, or leaves into the concrete before it sets can create interesting effects. These natural elements add texture and visual interest, making your slabs truly one-of-a-kind.
These optional add-ons allow you to create paving slabs that reflect your personal style, making them a feature rather than just a functional element in your garden or walkway.
By understanding the materials and tools required for your paving slab project, you’re well on your way to creating a durable, personalized outdoor space that will stand the test of time.
Preparing The Concrete Mix
Choosing the Right Mix
When preparing to make pavement slabs, choosing the right concrete mix is essential to ensuring the longevity and durability of your project. The type of mix you use will depend largely on the function and location of your slabs. For outdoor areas subject to harsh weather conditions, such as heavy rain or freezing temperatures, it’s crucial to use a mix designed for weather resistance. In general, a mix with a higher ratio of cement will offer better strength and durability. Concrete mixes are typically categorized by their compressive strength, measured in megapascals (MPa). For most residential pavement slabs, a mix rated between 25 MPa and 35 MPa is suitable, providing enough strength to handle foot traffic, moderate loads, and changing weather conditions.
If you’re unsure of which mix to choose, look for ready-made concrete mixes labeled specifically for pavements or driveways, as these will have the right balance of strength, durability, and weather resistance built in. These mixes are often enhanced with additives such as air-entraining agents, which help improve freeze-thaw durability, especially in colder climates.
Mixing the Concrete
Once you’ve chosen the appropriate mix, the next step is to ensure that the concrete is mixed correctly. You can mix concrete by hand for small jobs or use a concrete mixer for larger projects. Here’s a step-by-step guide to achieve a smooth and workable concrete mix:
1. Measure the Ingredients: For a standard mix, the most common ratio is 1 part cement, 2 parts sand, and 4 parts gravel or crushed stone. Add water gradually as you mix.
2. Start with Dry Materials: If you’re mixing by hand, start by combining the dry materials in a wheelbarrow or mixing tub. Make sure the cement, sand, and gravel are thoroughly blended to avoid clumps later.
3. Add Water Slowly: Slowly add water to the dry mix. It’s essential not to add too much water at once, as this can lead to a weaker mix. A general rule of thumb is to use around 0.5 to 0.6 parts water for every part of cement, but it’s important to adjust based on how the mix feels as you go. The mixture should be smooth and slightly wet, but not overly runny or soupy.
4. Continue Mixing: If you’re using a concrete mixer, allow the machine to work for 3-5 minutes, ensuring the mix has a uniform texture. For hand mixing, use a shovel to continuously turn the mixture until all ingredients are combined.
Adjusting for Strength
If you’re making pavement slabs that need to withstand heavier loads, such as for a driveway or areas with regular vehicle traffic, you’ll want to adjust the mix for added strength. There are a few ways to do this:
1. Reinforcements: Adding reinforcements like steel wire mesh or fiberglass fibers can greatly increase the durability of your concrete. Wire mesh helps distribute weight more evenly across the slab, reducing the risk of cracking under pressure. Fiberglass fibers, on the other hand, are mixed directly into the concrete, providing strength throughout the entire slab. Both options improve the overall integrity of the pavement, particularly for larger slabs that may bear heavy loads.
2. High-Strength Concrete: If you anticipate extra weight or wear and tear, you can also opt for a higher-strength concrete mix. Increasing the cement-to-aggregate ratio, for example, or using specific additives can further boost the compressive strength of your mix, ensuring your slabs are ready to handle heavy-duty applications.
By carefully selecting the right mix, mastering the process of mixing, and incorporating reinforcements, you’ll create a concrete slab that not only looks great but will stand the test of time, no matter what conditions it’s exposed to.
Creating The Pavement Slab Mold
Creating the perfect mold for your pavement slabs is an essential step in ensuring a successful outcome for your project. The mold you use defines the shape, size, and overall aesthetics of the slabs, so it’s crucial to put some thought into your choice and construction.
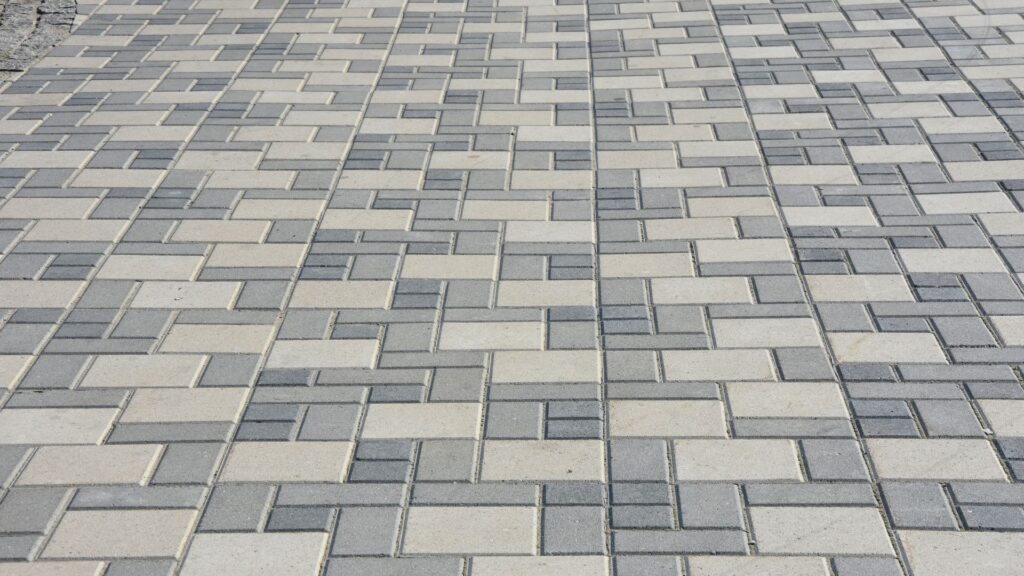
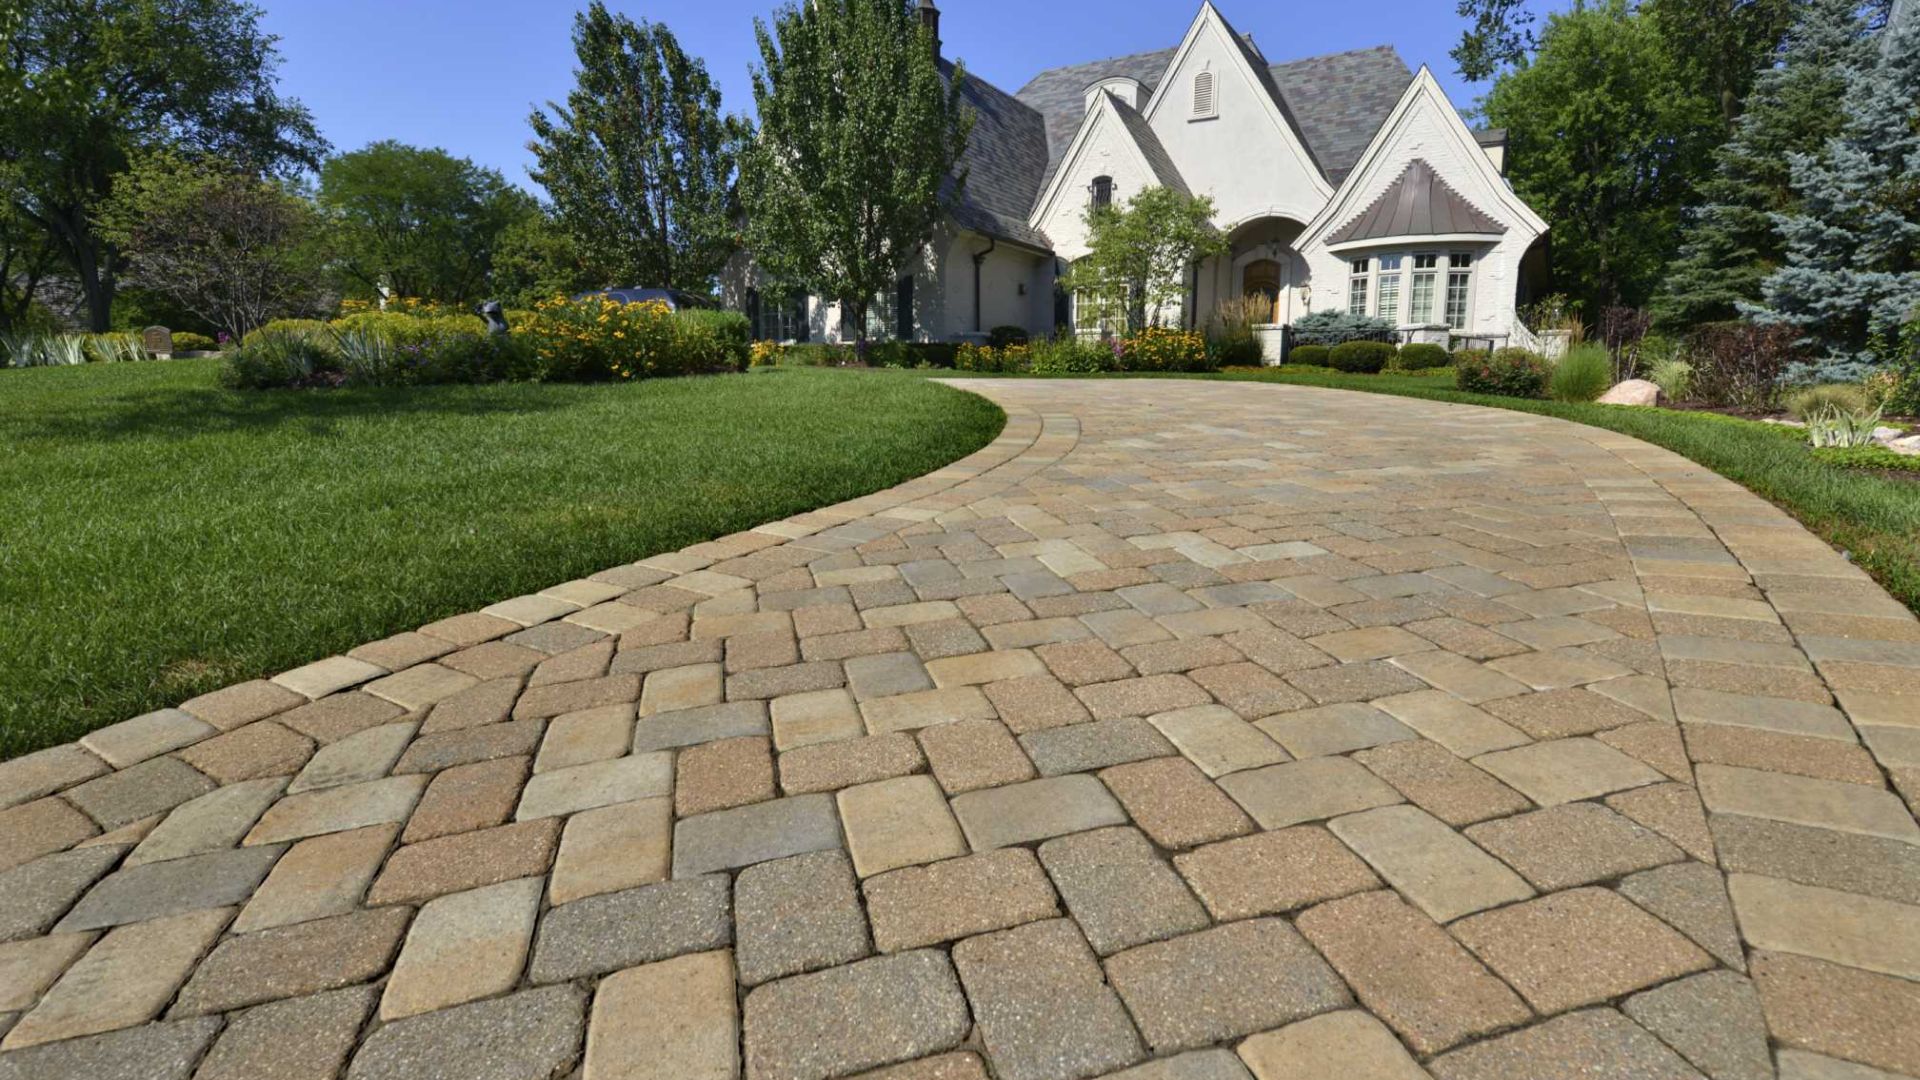
Choosing the Shape and Size
The first decision to make is the shape and size of your pavement slabs. This choice largely depends on the design of your space and your personal preferences. For example, if you’re aiming for a clean, modern look, square or rectangular slabs may be ideal. These classic shapes create a uniform, geometric pattern that can easily be arranged in straight lines or staggered patterns. They work especially well in contemporary settings, patios, or garden paths where symmetry is key.
For those wanting a more natural or rustic feel, irregular-shaped slabs can add unique character. Irregular molds mimic natural stones and work beautifully in more organic designs, like winding garden paths or countryside-style patios. Additionally, they give you flexibility to create a pattern that’s less rigid, which can feel more inviting in green spaces.
When deciding on size, keep in mind the dimensions of your overall project. Larger slabs are great for open spaces like driveways or patios, while smaller slabs may be better suited for intricate areas such as garden paths. Another factor to consider is how easy the slabs will be to handle and install; larger slabs can be heavier and more difficult to move, especially for DIYers.
DIY Mold Creation
If you’re handy and enjoy DIY projects, creating your own molds can be a rewarding and cost-effective option. For basic square or rectangular slabs, wood is a popular and accessible material for mold-making. You can easily source affordable wooden planks from local hardware stores. To create a mold, simply cut the wood to your desired dimensions and assemble it into a box frame. Make sure the corners are well-secured using nails or screws to prevent leakage when the concrete is poured in.
For those looking for more creative shapes, plywood or MDF boards can be cut into custom forms. If you want rounded or irregular designs, you can bend flexible materials like PVC strips or even metal to shape the mold. Just remember to line the inside with a release agent, such as cooking spray or a layer of plastic, to prevent the concrete from sticking to the mold.
One major benefit of DIY molds is that you can adjust the size and shape exactly to fit your needs, which is especially useful for custom projects. However, it’s essential to ensure your mold is sturdy and well-sealed, as any gaps or weak spots can cause the concrete to seep out or result in uneven slabs.
Ready-Made Molds
If DIY isn’t your style or you’re short on time, ready-made molds are an excellent alternative. Available in a wide range of shapes, sizes, and designs, pre-made molds offer a convenient solution for both beginners and seasoned DIYers. You can find these molds at hardware stores, garden centers, or online marketplaces.
When shopping for ready-made molds, it’s important to consider their durability. Molds made from high-quality plastic or silicone tend to be more durable and flexible, which makes it easier to remove the concrete slab once it’s set. Look for molds that are thick and sturdy, as cheaper, thinner molds can warp under the weight of the concrete or break after repeated use.
Ease of use is another factor to consider. Some molds come with built-in features like handles or notches that make it simpler to remove the slab. Additionally, many manufacturers offer molds with textured designs, such as stone or brick patterns, which can save you the time and effort of stamping or finishing the slab by hand.
Whether you choose to create your own mold or purchase a ready-made option, taking the time to carefully plan this step ensures you’ll get the results you want—a durable, visually appealing pavement slab that enhances your outdoor space.
Pouring The Concrete
When it comes to creating durable and aesthetically pleasing paving slabs, the process of pouring the concrete is crucial. This step determines the structural integrity of the slab, as well as its final appearance. Below is a breakdown of the key elements involved in this phase, from filling the mold to curing the concrete.
Filling the Mold
Once you’ve prepared the mold, the first step is to pour the concrete mixture evenly into it. Begin by mixing the concrete to the right consistency – not too watery, as that can weaken the slab, but not too thick, as that can make it difficult to pour and settle. Slowly pour the concrete into the mold, ensuring that it fills every corner and edge. You want to avoid air pockets or gaps, as these can weaken the slab and lead to cracks over time. A helpful tip is to use a vibrating tool or gently tap the sides of the mold to release any trapped air bubbles, allowing the concrete to settle evenly. As you fill the mold, periodically check that the surface of the concrete is level to prevent any uneven spots in the slab.
Smoothing the Surface
Once the mold is filled, the next step is to smooth the surface of the concrete. This is where the finishing touches come in to ensure your slab looks polished and professional. Using a trowel, begin by lightly pressing down and sweeping it across the surface to level the concrete. This action removes any excess material and creates a smooth, even finish. It’s important to work gently yet consistently, as overworking the surface can lead to small cracks or an uneven texture. Keep an eye out for any imperfections, and make adjustments as necessary. For larger slabs, a long, straight edge can also be used to “screed” the surface, helping to level the concrete across a wider area.
Adding Decorative Touches
Before the concrete starts to set, you have the opportunity to add decorative elements that will give your paving slab a unique, custom look. For a textured finish, consider using a stamping tool to create patterns or a broom to create a non-slip surface. If you prefer a pop of color, now is the time to incorporate concrete dyes or stains. Ensure that any designs or color are applied evenly across the slab for a consistent look. Decorative aggregates like pebbles or glass can also be pressed into the surface, adding both texture and visual interest. These customizations allow for a creative touch while maintaining the structural integrity of the slab.
Curing the Concrete
Curing the concrete is a critical part of the process, as it ensures that the slab hardens properly and achieves maximum strength. After pouring and smoothing the slab, it’s essential to let the concrete cure for at least 24 to 48 hours. During this time, the slab will slowly harden as the water evaporates. To prevent cracks or weak spots, keep the surface of the concrete moist. This can be done by misting the slab with water periodically or covering it with a plastic sheet to retain moisture. Proper curing not only strengthens the slab but also helps it resist weathering and wear over time. Avoid walking on or placing heavy objects on the slab until it is fully cured, which can take up to a week for best results.
By following these steps carefully, you’ll ensure that your concrete paving slabs are both strong and visually appealing, ready to serve as a durable foundation for years to come.
Removing And Finishing The Slabs
When you’ve finished creating your paving slabs, the process isn’t complete until you’ve removed them from the mold and prepped them for use. This final stage is crucial to ensure your slabs look professional and last long, especially if they’ll be exposed to the elements outdoors.
Safely Removing the Slabs from the Mold
Removing slabs from the mold requires a steady hand and some patience. You want to make sure the slabs are fully cured before attempting removal, which typically takes about 24 to 48 hours, depending on weather conditions and the thickness of the slab. Begin by lightly tapping the mold’s sides with a rubber mallet to loosen the concrete. This helps avoid cracks and reduces tension between the slab and the mold.
Next, gently turn the mold upside down and slowly lift it off the slab. If the slab doesn’t slide out easily, resist the urge to force it, as this can result in cracks. Instead, keep tapping the mold lightly or allow the slab to cure for a few more hours before trying again. Taking your time here ensures that your slab comes out intact and free of unwanted damage.
Smoothing Edges
Once the slab is free from the mold, you may notice rough edges or slight imperfections. These are common, especially along the borders where the concrete meets the mold. Use a masonry chisel or a sanding block to carefully smooth out these rough spots. A light hand is key—removing too much material can compromise the slab’s shape. Focus on evening out the surface without altering the thickness.
For more significant imperfections, you can use a bit of water mixed with a thin layer of concrete patching compound. Apply the mixture to the affected areas using a trowel, smoothing it down until the surface is even. Be sure to feather the edges so the patch blends seamlessly with the rest of the slab. Let this cure according to the product’s instructions before proceeding to the next step.
Sealing the Slabs
Sealing is an essential step, especially if your slabs will be used outdoors, as it protects them from moisture, UV rays, and general wear and tear. Select a high-quality concrete sealer, preferably one designed for outdoor use. There are many options, but a penetrating sealer will provide long-term protection without altering the slab’s appearance.
Before applying the sealer, make sure the slab is completely dry and clean. Use a broom or soft brush to remove any debris, dust, or particles that could interfere with the sealer’s effectiveness. Follow the manufacturer’s guidelines for applying the sealer—this usually involves using a roller or spray to apply an even coat across the surface. Allow the first coat to fully dry before applying a second coat for extra protection.
Sealing not only enhances the durability of your slabs but also brings out the natural color and texture of the concrete, giving it a professional, polished look. Properly sealed slabs will resist cracking, fading, and water damage, ensuring that your project stays beautiful for years to come.
By taking care during these final stages, you can be confident that your paving slabs will be both functional and visually appealing, ready for any outdoor environment.
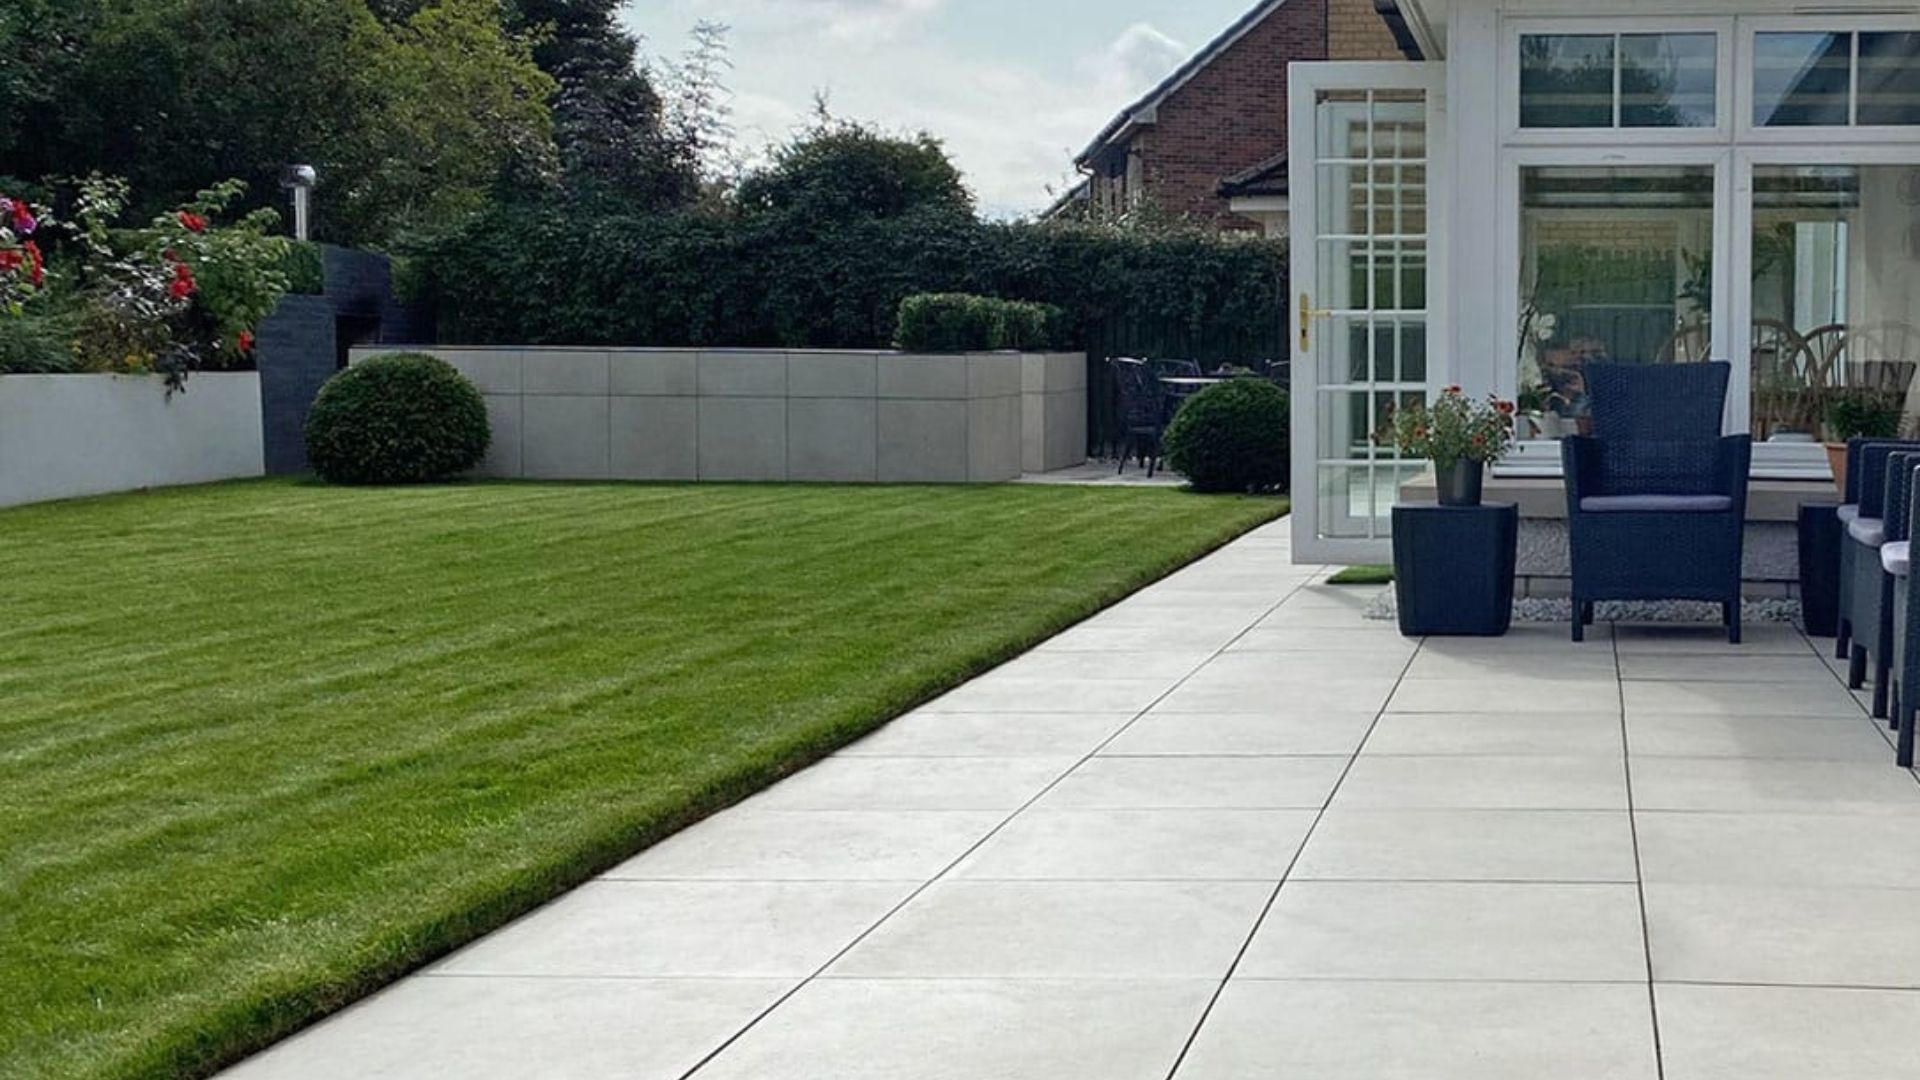
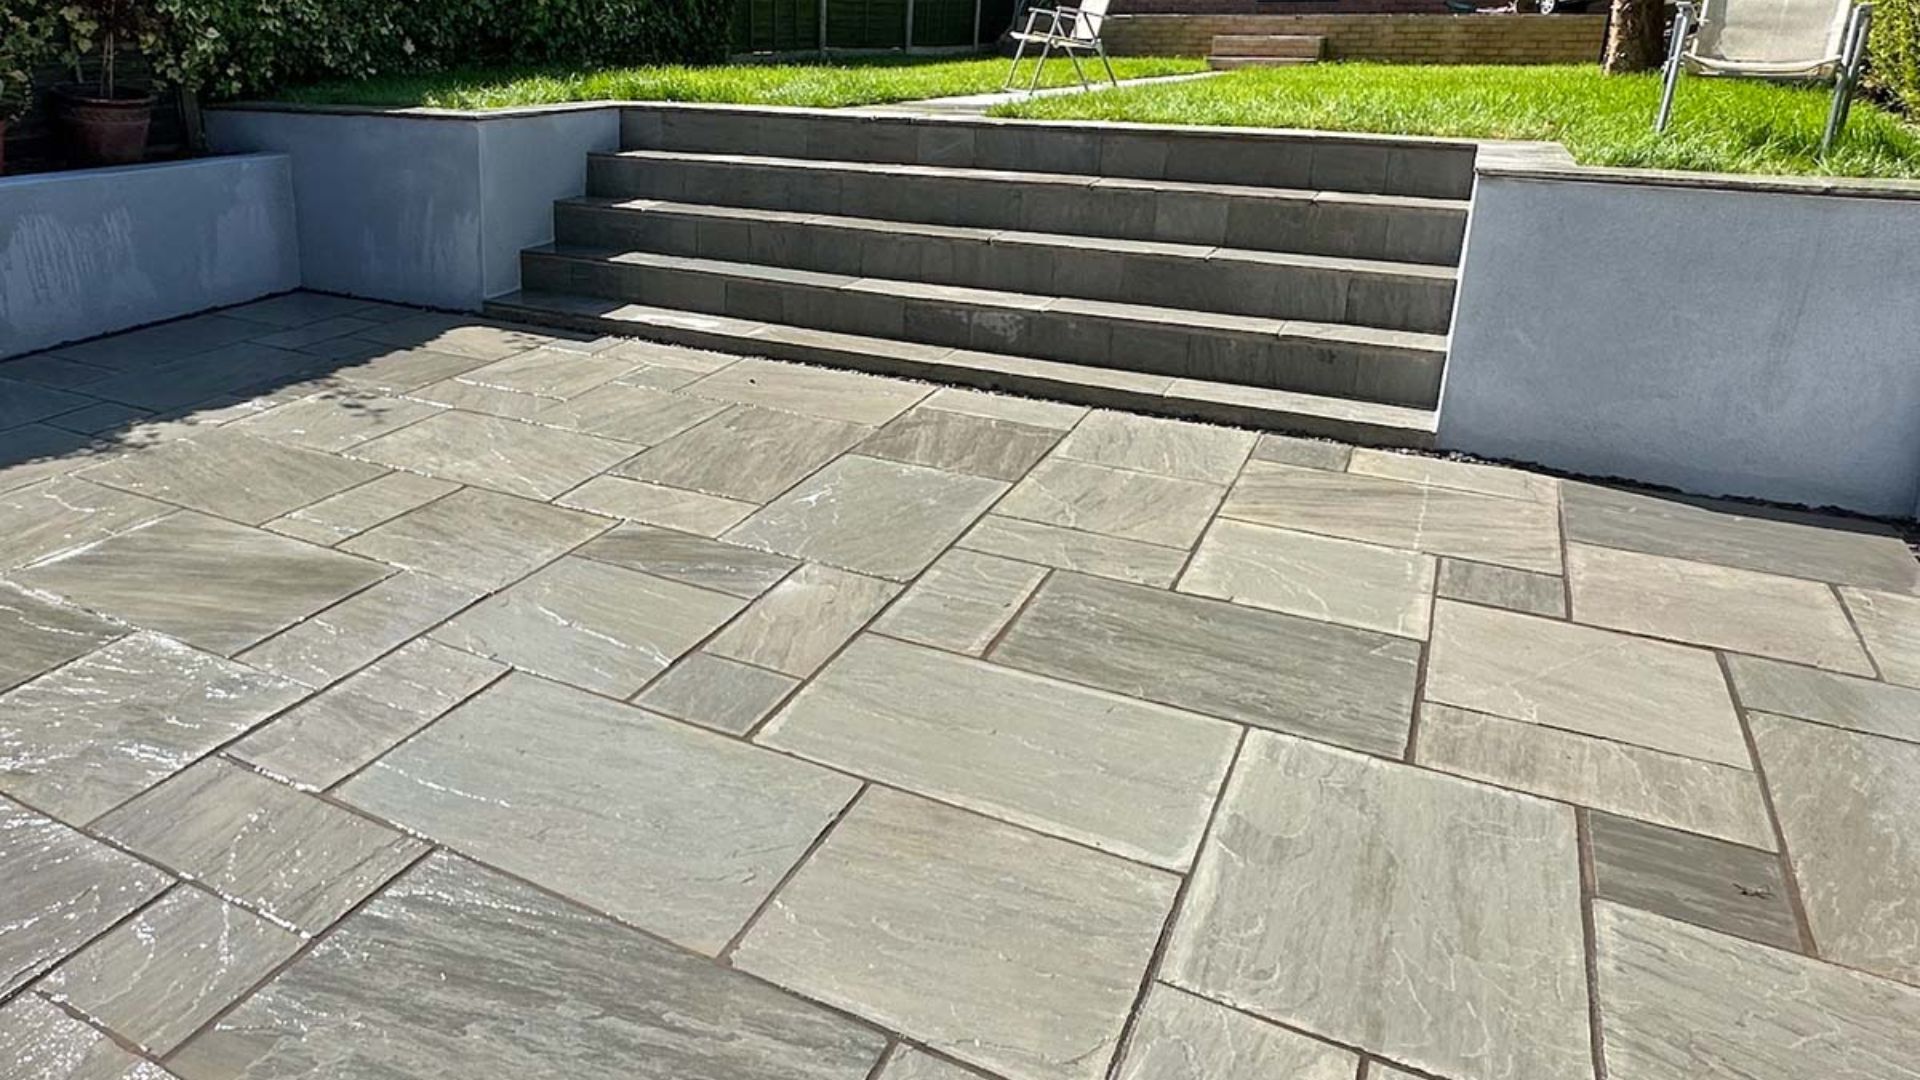
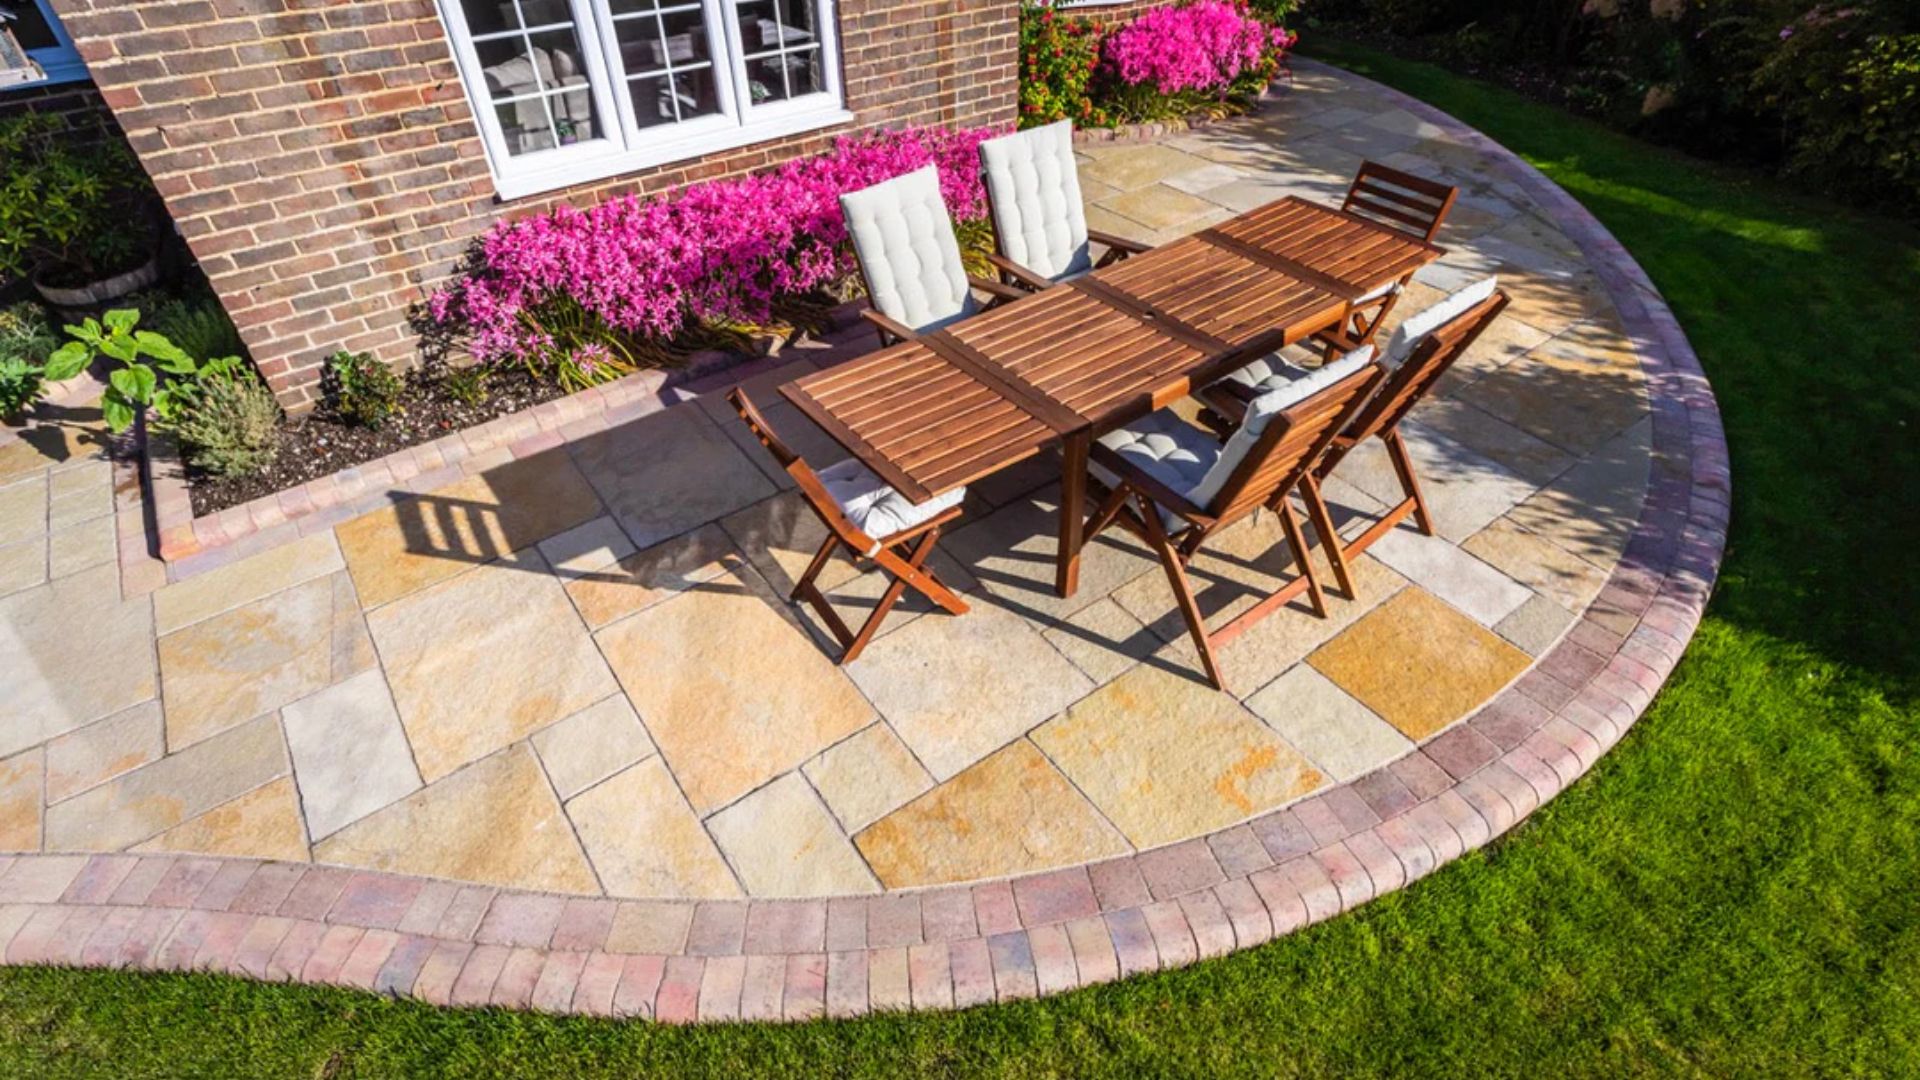
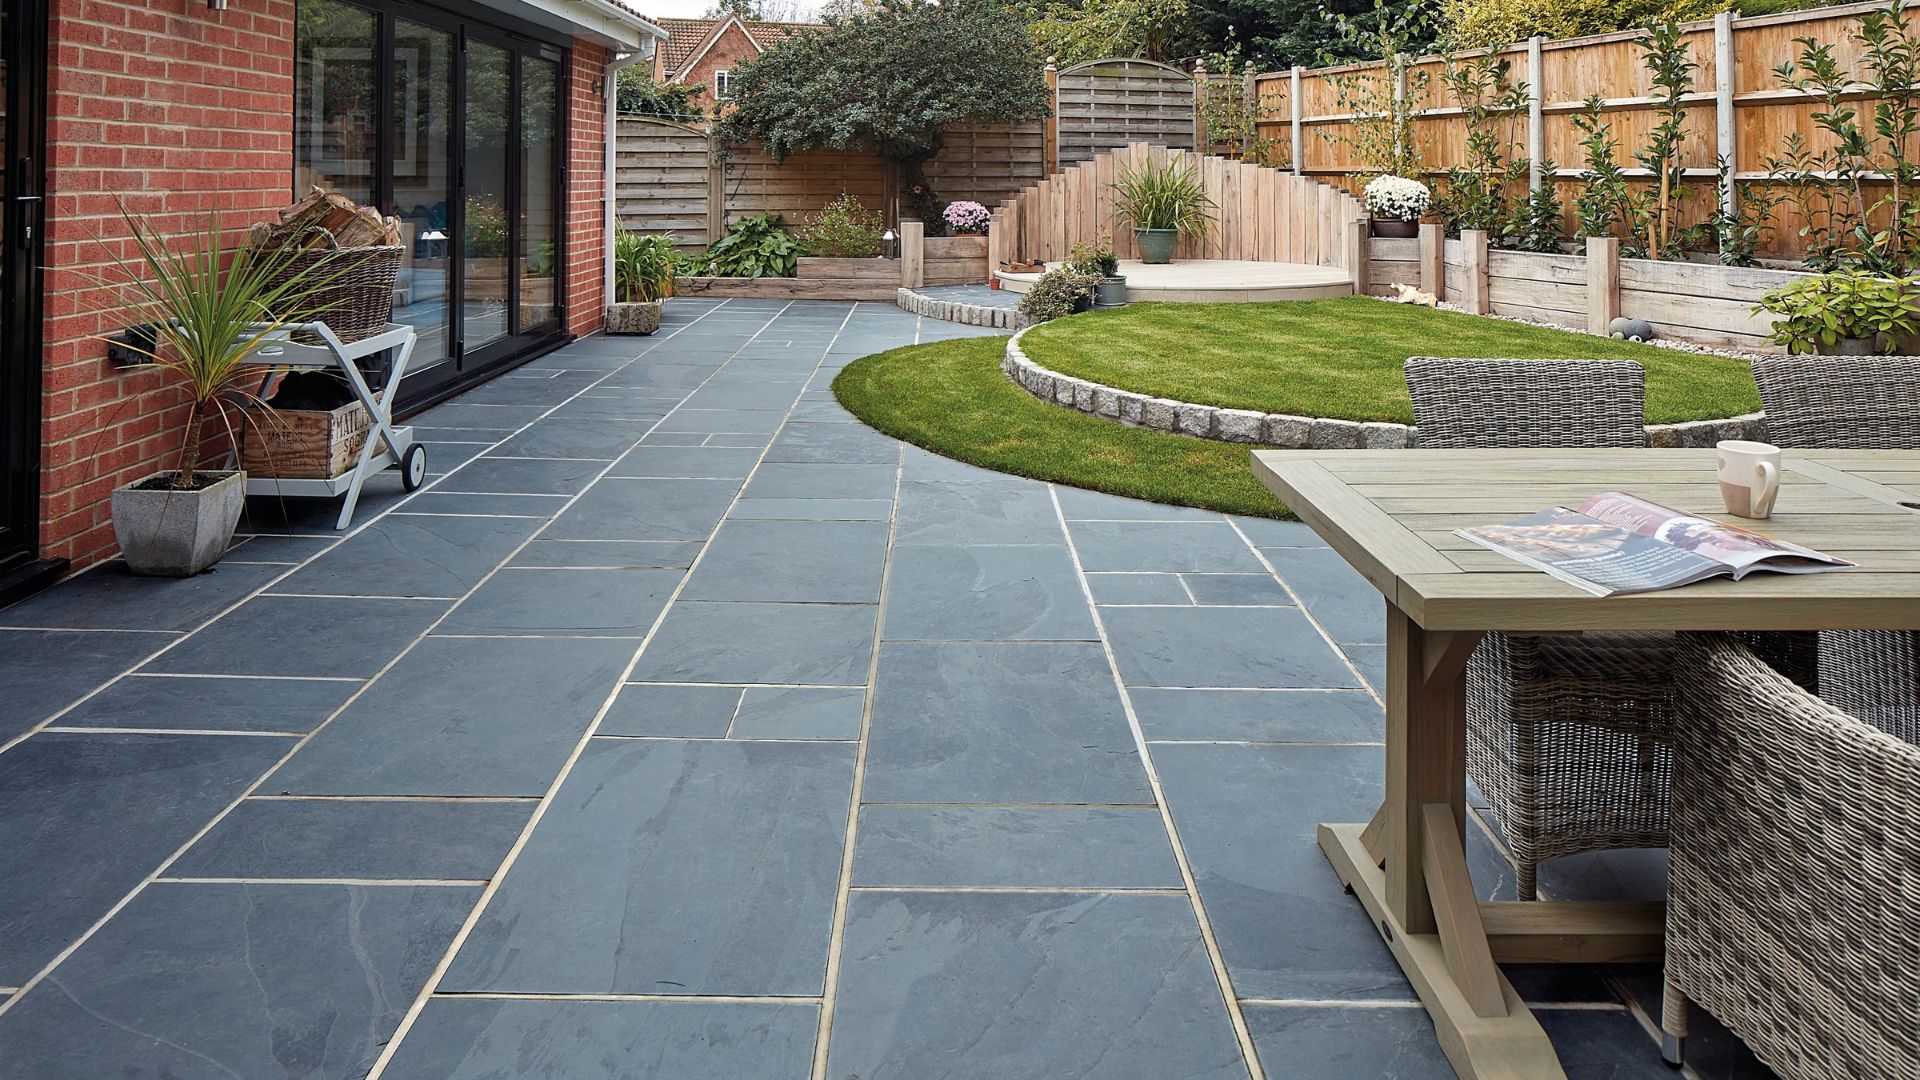
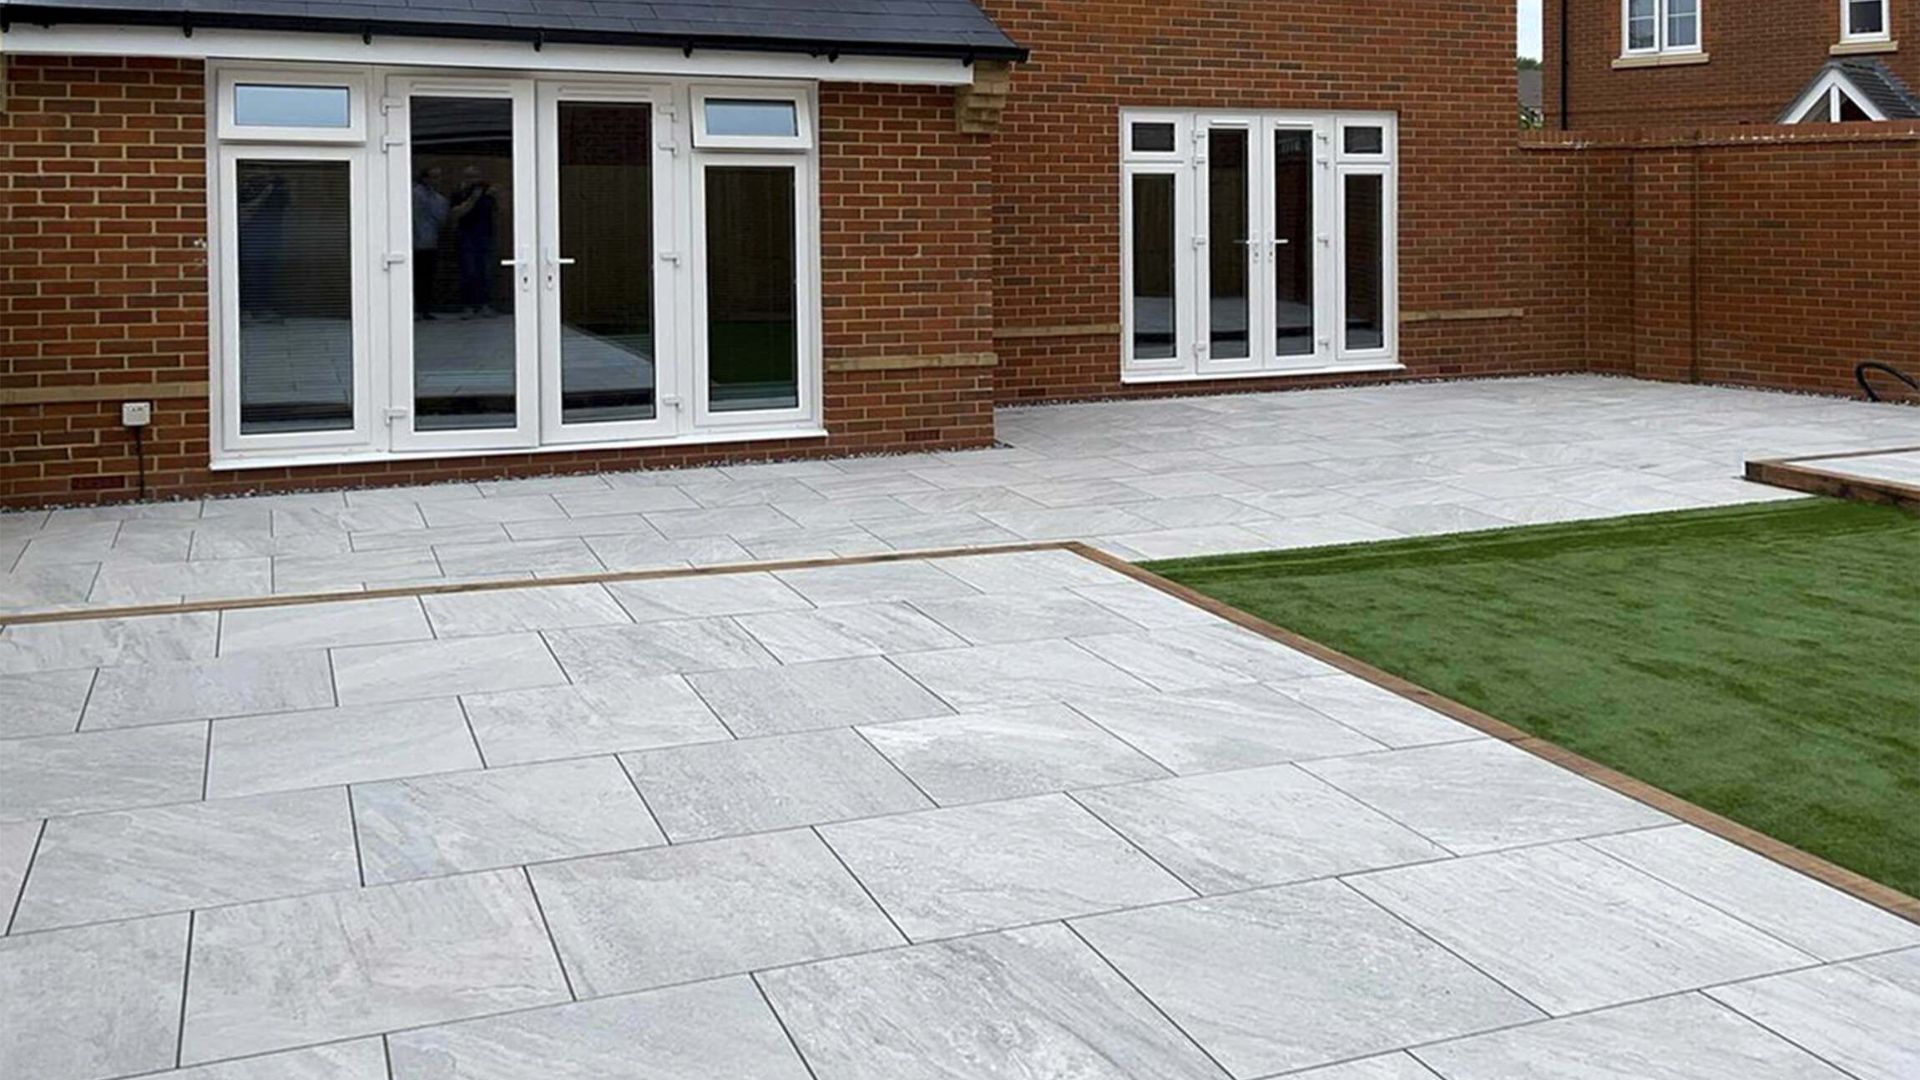
Installing Your Pavement Slabs
Installing pavement slabs requires attention to detail and proper technique to ensure a long-lasting and attractive surface. Whether you’re creating a patio, walkway, or garden feature, following these steps will give you professional results.
Preparation of the Ground
Before you start laying the slabs, it’s crucial to prepare the ground properly. Begin by marking the area where you want to install the slabs, using stakes and string to create clear boundary lines. Once the area is marked, dig out the soil to the desired depth, typically around 100-150 mm (4-6 inches), depending on the thickness of your slabs and the intended use of the surface.
Next, level the ground using a rake, ensuring the area is even. Any uneven spots could cause the slabs to shift over time. After leveling, compact the soil using a plate compactor or a hand tamper to create a firm, stable foundation. This step helps prevent future settling and shifting, which could lead to uneven slabs.
To enhance the base, add a layer of gravel or crushed stone, about 50-100 mm (2-4 inches) thick. Spread this evenly over the area and compact it as well. This gravel base aids in drainage and provides additional stability for the slabs. Finally, place a thin layer of sand, around 25 mm (1 inch), on top of the gravel. Level the sand to create a smooth surface on which the slabs will rest.
Laying the Slabs
Once the ground is prepared, you can start laying the pavement slabs. Begin in one corner of the area, working your way out from there. Carefully place the first slab on the sand base, gently pressing it into place. Use a spirit level to ensure it is perfectly level. If necessary, tap the slab with a rubber mallet to adjust its position.
As you continue laying the slabs, leave a consistent gap between each one for joint filling later. The standard spacing is about 10-15 mm (0.4-0.6 inches), but this can vary depending on your design preference. To maintain even spacing, consider using spacers or a measuring tool.
Periodically check that the slabs are level as you work across the area. Adjust the sand underneath each slab if needed to correct any unevenness. Once all the slabs are in place, stand back to ensure the pattern looks even and consistent. It’s important to avoid walking on the newly laid slabs for at least 24-48 hours to allow them to settle properly.
Finishing the Joint Areas
The final step in installing your pavement slabs is to finish the joints between them. This not only enhances the appearance but also locks the slabs in place, preventing movement.
For joint filling, you can use either sand or a dry cement mix. If using sand, simply sweep it into the gaps between the slabs, ensuring that each joint is completely filled. Then, use a plate compactor or tamper to press the sand into the joints. After compacting, add more sand as needed until the gaps are full.
Alternatively, if you prefer a more durable solution, you can use a dry cement mix. Carefully pour the mix into the joints, ensuring even distribution. Once filled, lightly mist the surface with water to set the cement. Be careful not to over-water, as too much moisture can cause the cement to wash away or crack.
After the joint areas are filled and compacted, you should allow the surface to set for 24-48 hours. During this time, avoid heavy foot traffic to ensure the slabs remain in place.
By following these steps, you can create a beautiful, stable surface with your pavement slabs that will last for years.
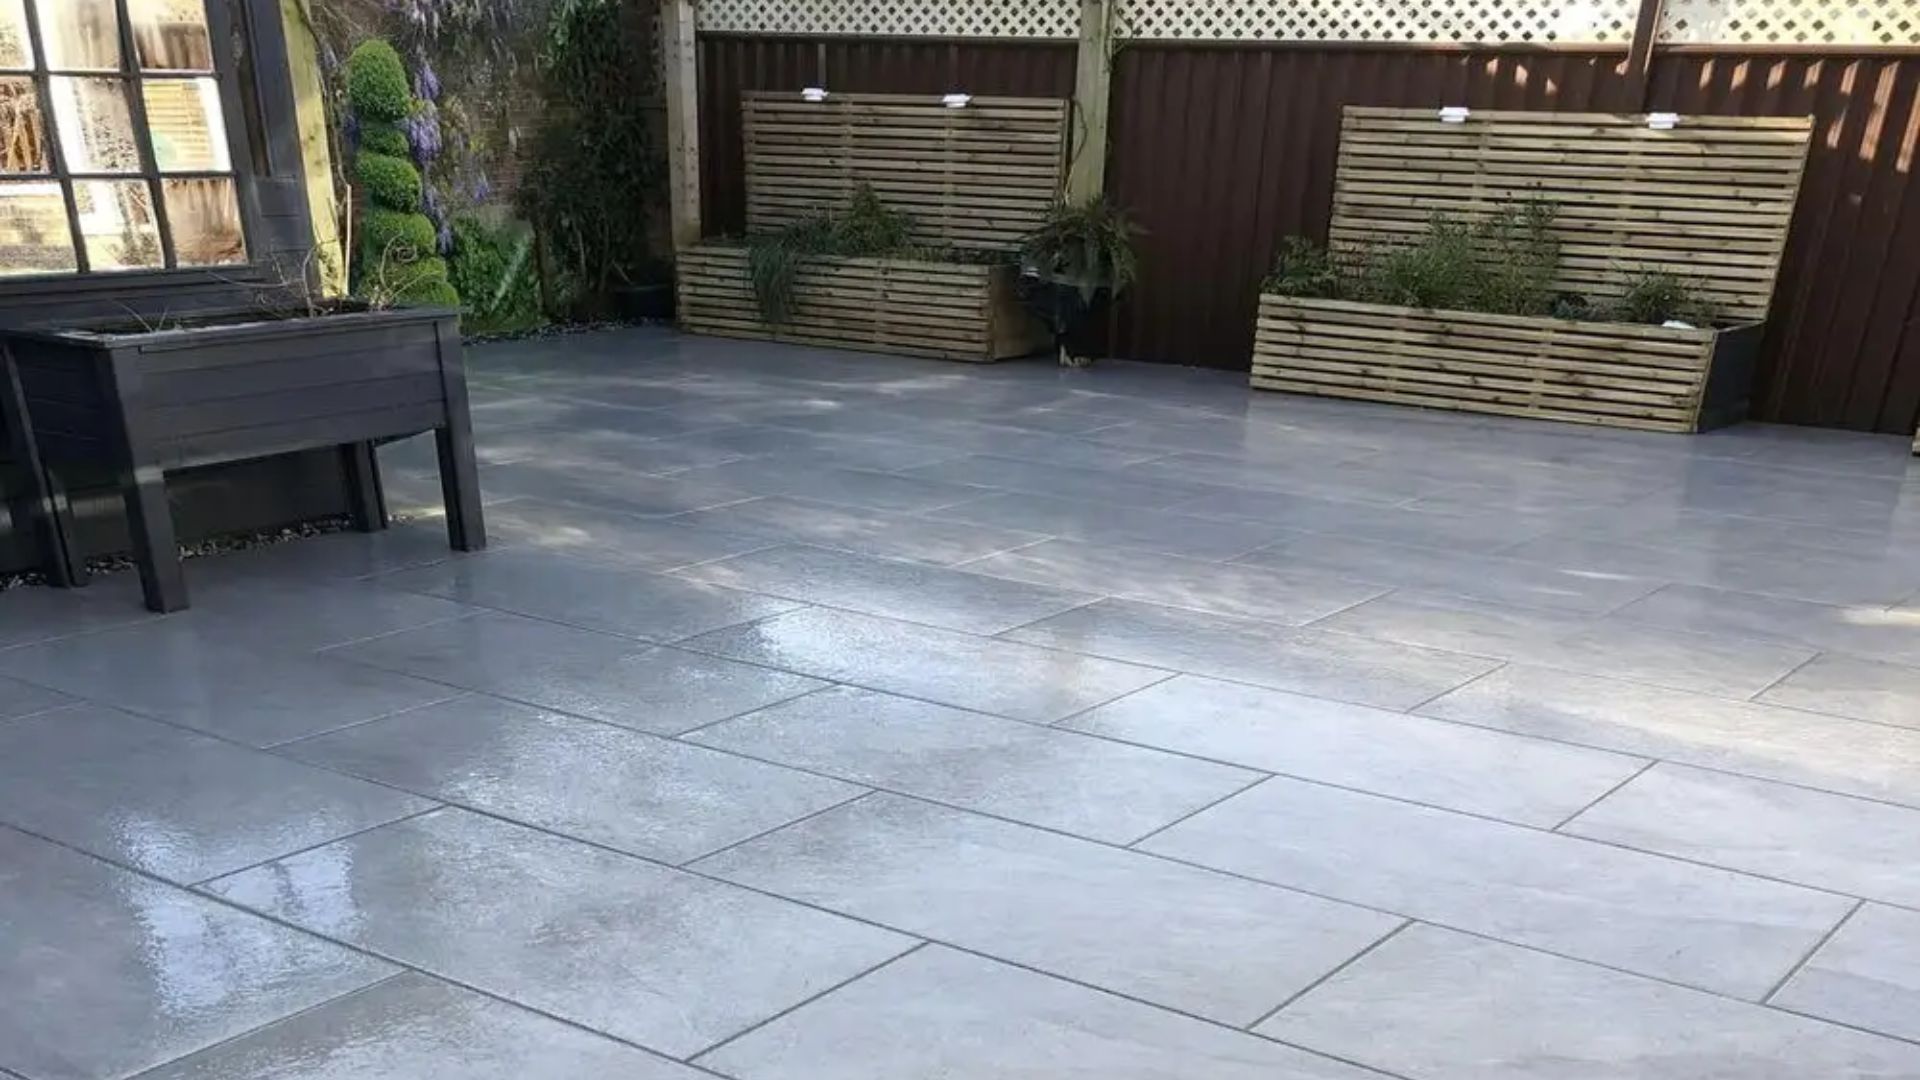
Maintenance Tips For Long-Lasting Pavement Slabs
Taking proper care of your pavement slabs is crucial to ensuring their longevity and maintaining their aesthetic appeal. Regular maintenance can help prevent damage, extend the lifespan of the slabs, and keep them looking their best. Below are some key tips to follow:
Cleaning
Pavement slabs can accumulate dirt, grime, moss, and stains over time, which may detract from their appearance. Regular cleaning is an essential part of keeping them fresh and stain-free. Ideally, you should clean your slabs every three to six months, depending on environmental factors like weather, surrounding plants, and foot traffic.
For light cleaning, a brush and mild detergent mixed with water can effectively remove dirt and debris. If your slabs are in a shaded area or near trees, moss and algae might become an issue. In such cases, you can use a moss and algae remover that’s safe for the specific material of your slabs. When using a pressure washer, set it on a low setting to avoid damaging the surface. However, use it sparingly, as frequent pressure washing can weaken the slabs over time.
Resealing
Resealing pavement slabs is another crucial maintenance task. Sealing the slabs protects them from water damage, UV rays, and stains from oil or other substances. Resealing should be done every two to three years, or as needed, depending on the climate and wear.
To reseal, clean the slabs thoroughly and let them dry completely before applying the sealant. Choose a sealant that’s appropriate for your slab material, whether it’s concrete, natural stone, or another type. Use a roller or sprayer to apply the sealant evenly across the surface, and allow it to dry according to the manufacturer’s instructions. A proper sealant will enhance the color of the slabs, provide a protective barrier, and keep the slabs looking new for longer.
Repairing Cracks
Over time, small cracks may develop due to weather fluctuations, heavy loads, or natural ground movement. Addressing these cracks early can prevent them from expanding into more significant issues, saving you time and money in the long run.
For small cracks, a DIY repair can be relatively simple. You can use a concrete crack filler or patching compound specifically designed for your slab type. First, clean the area around the crack, removing any dirt, debris, or loose particles. Apply the filler into the crack using a putty knife or a similar tool, ensuring the filler goes deep into the crevice. Smooth it out and let it dry as per the instructions. Once dried, the repaired area can be lightly sanded to match the surrounding surface.
By following these cleaning, resealing, and crack repair tips, you can keep your pavement slabs looking pristine and extend their lifespan. Regular attention to maintenance not only enhances the visual appeal of your outdoor spaces but also ensures your slabs stay durable and safe for years to come.
Common Mistakes To Avoid
When creating pavement slabs, avoiding common mistakes can make the difference between a sturdy, long-lasting slab and one that cracks or deteriorates prematurely. Paying attention to crucial details ensures your hard work pays off with high-quality results. Let’s explore some of the most frequent pitfalls to watch out for.
Inconsistent Mixing
One of the biggest mistakes when making pavement slabs is inconsistent mixing of the concrete. Concrete that isn’t mixed thoroughly or in the correct proportions can result in weak or brittle slabs that won’t withstand the pressures of everyday use. This can lead to cracking, crumbling, and the need for repairs or replacements sooner than expected. To avoid this, it’s crucial to follow the manufacturer’s guidelines for mixing ratios of water, cement, and aggregate. Using a concrete mixer or carefully hand-mixing ensures all materials are evenly combined, resulting in a solid, uniform mixture. Achieving the right consistency also helps in creating a smoother finish and increases the overall strength of the slab.
Not Allowing Proper Curing
Another common mistake is failing to allow proper curing time. Curing is the process that allows the concrete to harden and gain strength gradually. Removing the slabs from the molds too early, before the concrete has fully set, can result in cracks and weak points in the structure. It may seem tempting to speed up the process, especially when you’re eager to move on to the next steps, but patience is essential. For optimal results, the concrete should be allowed to cure in its mold for at least 24 to 48 hours before any handling. Even after removal, the slabs should continue curing for up to 28 days to reach maximum strength. Neglecting this step can lead to a slab that is susceptible to damage over time.
Ignoring Ground Preparation
Proper ground preparation is often overlooked but is one of the most critical steps in laying pavement slabs. A poorly prepared base can cause slabs to settle unevenly, leading to cracks, dips, or a generally unprofessional appearance. Before laying the slabs, the ground must be cleared of debris, leveled, and compacted. A solid base, such as a layer of gravel or compacted sand, helps distribute weight evenly and prevents future shifting or sinking. Without this step, even the best-made slabs can fail due to an unstable foundation, causing unnecessary frustration and costly repairs in the long run.
By avoiding these common mistakes—ensuring consistent mixing, allowing proper curing, and preparing the ground thoroughly—you’ll significantly improve the durability and appearance of your pavement slabs. Proper attention to detail now will save you time and effort down the road, resulting in a professional finish that stands the test of time.
FAQs: About How To Make Pavement Slabs
How long does it take for pavement slabs to cure?
Pavement slabs generally take 24-48 hours to cure initially in the mold, but it’s recommended to let them fully dry and harden over several days (up to a week) before heavy use. Keeping the slabs moist during this period helps prevent cracks and ensures durability.
What is the best concrete mix for making pavement slabs?
A standard concrete mix for pavement slabs typically consists of 1 part cement, 2 parts sand, and 3 parts gravel, with enough water to achieve a workable consistency. For stronger slabs, you can use a mix designed for outdoor or heavy-use areas, such as one containing reinforced fibers or additives for extra durability.
Can I make pavement slabs without a mold?
Yes, but using a mold helps ensure consistent size and shape. If you prefer a more rustic look, you can create freeform slabs by pouring the concrete directly onto a prepared surface and shaping it by hand. However, this method requires more attention to detail for even thickness and strength.
What type of mold works best for DIY pavement slabs?
Plastic, silicone, or wooden molds are the most commonly used for making pavement slabs. Plastic and silicone molds are durable and reusable, while wooden molds can be easily customized for size and shape. The mold material should be sturdy enough to hold the concrete in place while it cures without warping.
Can I color my pavement slabs?
Yes, you can color pavement slabs by adding concrete dye or pigment to the mix before pouring. Another option is to apply a concrete stain or paint after the slabs have cured. Both methods allow for a wide range of color customization, helping you achieve a unique look for your outdoor space.
How do I ensure my pavement slabs are durable?
To ensure durability, use a quality concrete mix, follow the correct water-to-cement ratio, and make sure the concrete is mixed thoroughly. Reinforcing the slabs with steel mesh or fiber additives can also improve strength. Proper curing and sealing after installation will protect the slabs from weather and wear.
Do I need to seal my pavement slabs?
Yes, sealing your pavement slabs helps protect them from moisture, dirt, and weather damage. A good concrete sealer will also enhance the appearance of the slabs, making them last longer and resist staining. It’s best to apply a sealer after the slabs have fully cured and every few years for maintenance.
Can I use recycled materials in my pavement slab mix?
Yes, you can incorporate recycled materials, such as crushed glass, old bricks, or pieces of broken concrete, into your mix. These materials can add texture and visual interest to the slabs, making them more eco-friendly without sacrificing strength.
What’s the best way to prevent cracks in pavement slabs?
To prevent cracks, ensure that your concrete mix has the right water ratio and that it’s evenly distributed in the mold. Curing the slabs properly by keeping them moist and avoiding early removal from the mold is key. Reinforcing the concrete with steel mesh or fibers also helps prevent cracking.
How do I prepare the ground for laying pavement slabs?
First, clear the area and ensure the ground is level. Add a compacted base layer of gravel or sand to provide a solid foundation. This base helps with drainage and ensures that the slabs remain stable and even after installation. Proper ground preparation is essential to prevent shifting and sinking over time.
Conclusion
In conclusion, creating your own pavement slabs may seem like a challenging project, but by following the steps outlined—designing your mold, mixing and pouring the concrete, allowing it to cure, and finishing the slabs with care—you can achieve professional-quality results. With patience and attention to detail, anyone can master this DIY task and add lasting value to their outdoor space. Don’t be discouraged by the process; instead, embrace it as a rewarding opportunity to enhance your skills. If you have any questions or want to share your experience, feel free to drop a comment below, and be sure to subscribe for more helpful DIY guides!
About the Author:
Mike Veail is a recognized digital marketing expert with over 6 years of experience in helping tradespeople and small businesses thrive online. A former quantity surveyor, Mike combines deep industry knowledge with hands-on expertise in SEO and Google Ads. His marketing strategies are tailored to the specific needs of the trades sector, helping businesses increase visibility and generate more leads through proven, ethical methods.
Mike has successfully partnered with numerous companies, establishing a track record of delivering measurable results. His work has been featured across various platforms that showcase his expertise in lead generation and online marketing for the trades sector.
Learn more about Mike's experience and services at https://theleadguy.online or follow him on social media: