Using the right sand for pavers is key to a stable and durable installation. In this guide, learn about the types of sand you need, their specific uses, and how to calculate the right amount for your project.
Key Takeaways
- Select the right type of sand for pavers based on functions, with polymeric sand being ideal for weed resistance and washout prevention.
- Accurate calculation of sand volume and proper sand depth (1 to 2 inches) are critical for the stability and longevity of paver installations.
- Ensure proper preparation of the base layer and use compaction techniques to prevent shifting, drainage issues, and other common pitfalls in paver projects.
Types of Sand for Pavers
Selecting the appropriate sand type is vital for a successful paver project. Different sand types serve unique functions in paving projects, including concrete sand, polymeric sand, and coarse sand.
Different types of sand offer distinct benefits, from weed resistance to ease of application.
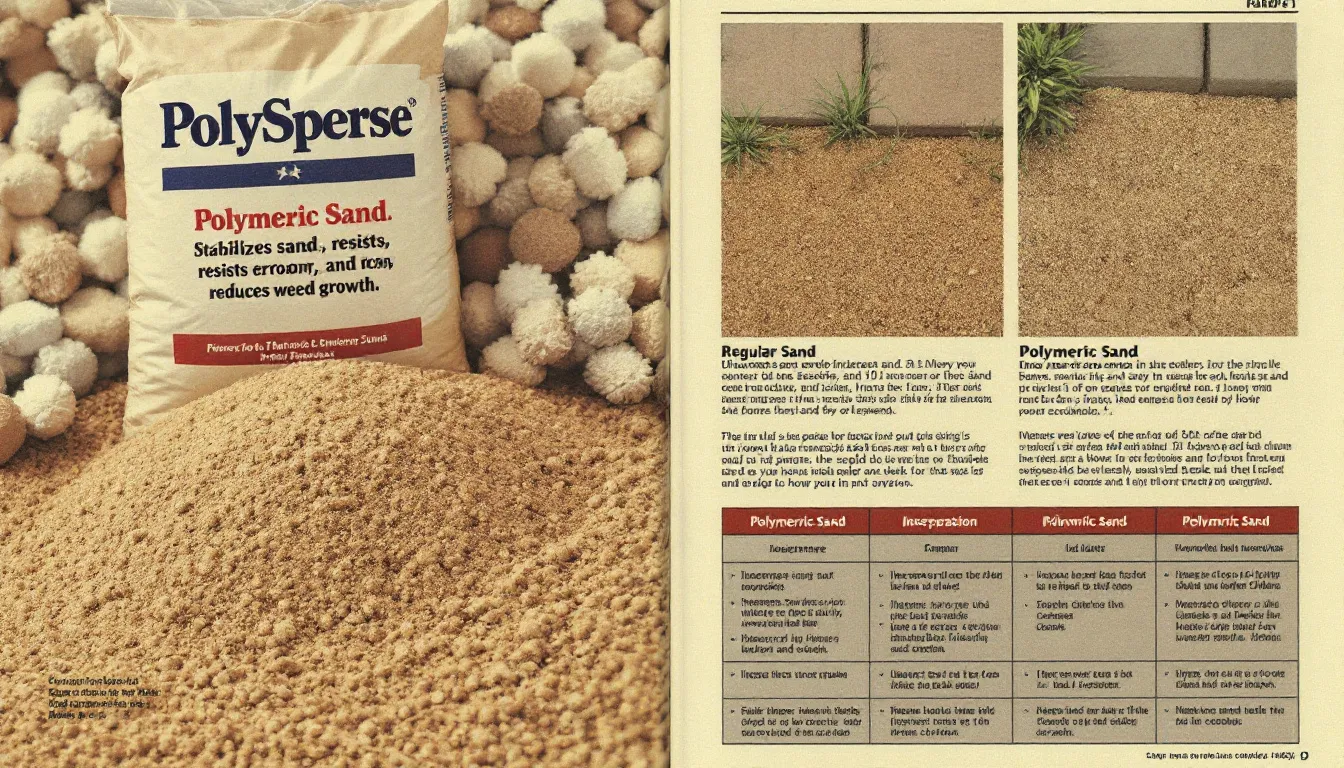
Polymeric Sand
Polymeric sand is a popular choice for paver installations due to its ability to reduce weed growth and resist washout. Remove all existing sand down to the bottom of the paver before applying polymeric sand to ensure proper bonding.
Watering polymeric sand activates the polymers that bind the sand, creating stable paver joints. This type of sand is particularly beneficial in areas prone to heavy rainfall, as it helps prevent the washout of sand from the joints.
Regular Sand
Regular sand, valued for its affordability and straightforward application, is ideal for both DIY enthusiasts and professionals. This affordability and ease of use make it a popular choice for many paver projects, especially when combined with cement mortar, at this course point.
While it may not offer the same level of weed resistance as polymeric sand, regular sand provides a reliable and budget-friendly solution for most installations.
Bedding Paving Sand
Bedding paving sand, also known as GAP7, No.3 Sand, and AP3, is commonly available in 20kg bags. This type of sand is specifically designed for creating a stable bedding layer for pavers, ensuring that they remain level and secure over time.
The unique properties of bedding paving sand make it an excellent choice for supporting the paver structure and providing good drainage.
How Much Sand is Needed

Determining how much sand you’ll need for your paver project is a critical step that can save you time and money. Begin by measuring the area’s dimensions to determine the sand required for pavers. Proper planning ensures that you have sufficient sand to complete the job without frequent trips to the store.
Calculating Sand Volume
Accurately calculate the sand needed by measuring the length and width of the paved area. Multiply these dimensions to find the total area.
Next, consider the desired thickness of the sand layer. Multiply the area by the desired sand depth to find the total sand volume needed. This method provides a clear and precise calculation, ensuring you have enough sand for the entire project.
Sand Depth
The depth of the sand layer is crucial for the stability and longevity of your paver installation. Sand depth typically ranges from 1 to 2 inches, depending on the type of paver and local conditions. Typically, a sand depth of 1 inch is recommended for most installations to ensure stability. The optimal sand depth may vary depending on the pavers used and the specific project requirements, considering the entire depth of the installation.
Maintaining the appropriate joint depth is essential for ensuring that pavers remain stable and water can flow freely. The bedding sand must be spread evenly to a recommended depth of about 50mm to provide proper support for the pavers. Proper compaction of the sand layer is also necessary to eliminate air pockets and create a solid foundation for the pavers.
Preparing the Base Layer
A solid base layer ensures the longevity and stability of your paver installation. Preparing the underlying stone surface properly ensures that the pavers remain level and stable over time.
Failing to choose the right backfill material can compromise the stability of the pavers, leading to issues such as shifting and sinking.
Soil Preparation
Clearing the area of vegetation and debris is crucial for effective soil preparation before laying sand for pavers. Removing any organic material or debris from the soil with a leaf blower prevents shifting after installation.
Excavating the ground to a depth that accommodates both the pavers and sand layer is necessary for a stable installation. Preparing the soil properly ensures that the base layer can support the pavers.
Laying the Bedding Layer
Compaction of the bedding layer is crucial to eliminate air pockets and provide a solid foundation for the pavers. A combination of compacted gravel and sand creates a stable base. The bedding layer should be composed of coarse sand that provides good drainage while supporting the pavers. Proper compaction after watering helps secure paver alignment and stability.
A solid base for pavers requires proper compaction of the ground and layering of materials. Removing soft or unstable soil layers and replacing them with more suitable materials enhances the stability of the paver base. The sand layer should be leveled and compacted to create a uniform surface for laying pavers.
Filling Gaps Between Pavers
Filling gaps between pavers is essential for stability and aesthetics. Properly filled joints not only enhance the appearance of your paver installation but also reduce weed growth and the need for frequent maintenance.
Joint Width Considerations
The width of joints between pavers significantly impacts the effectiveness of the sand application and the overall stability of the paver installation. Proper joint width ensures that the pavers remain aligned and stable, reducing the risk of shifting or settling over time.
Carefully considering the joint width ensures effective sand application and long-term paver stability.
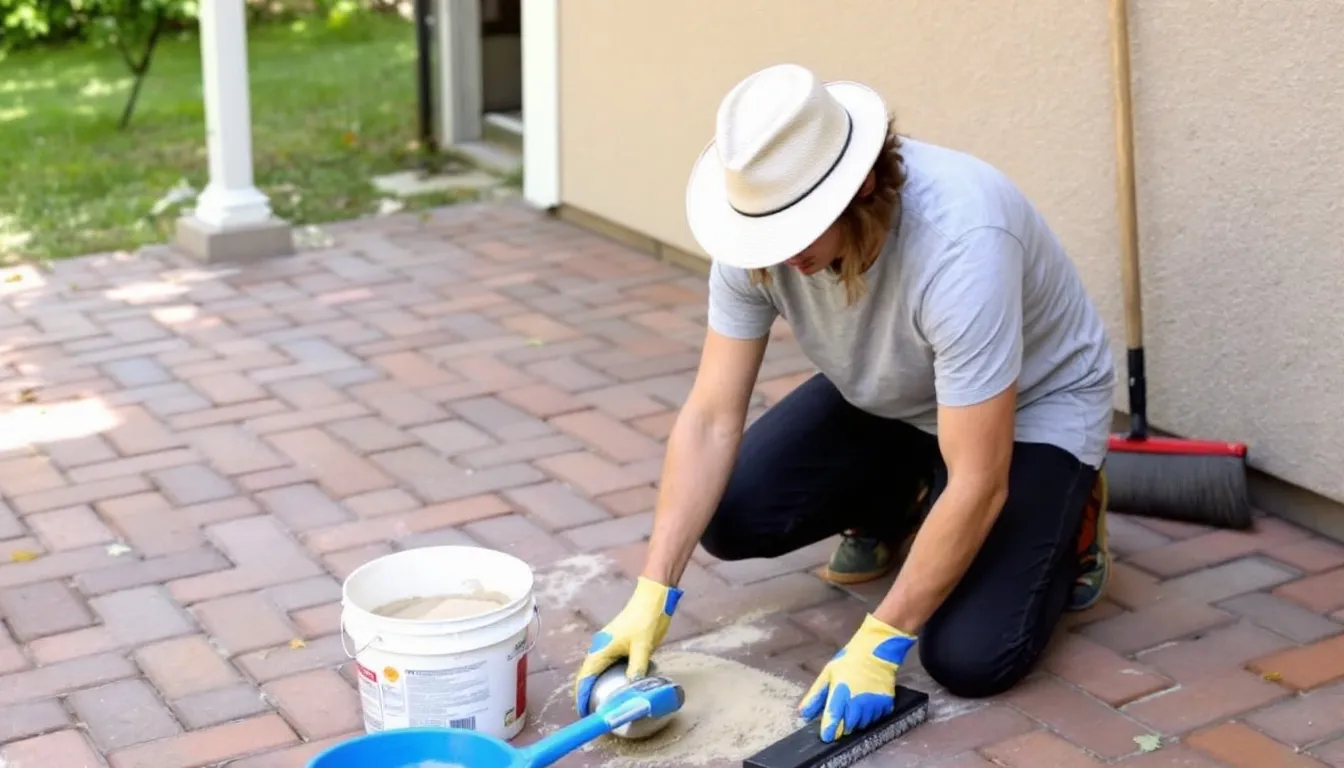
Applying Sand
Pour the sand into paver joints, then use a broom to sweep it firmly into the gaps. Excess sand should be removed from the surface of the pavers after sweeping it into the joints to prevent crusting. When watering joints to activate polymeric sand, ensure that the surface of the pavers is cleaned simultaneously to avoid sand buildup.
After initial compaction, it is recommended to add more sand to the surface and repeat the compaction process to fill gaps. This ensures that all gaps are adequately filled, preventing weed growth and shifting of the pavers over time.
Watering and Compaction
Watering and compaction are crucial for ensuring the longevity and stability of your paver installation. Water polymeric sand by spray it lightly using a garden hose to moisten the surface without displacing it.
Be cautious not to overwater, as doing so can cause the polymers to soak and lead to blow staining.
Proper Watering Techniques
Using an adjustable nozzle on your garden hose set to shower is recommended for watering polymeric sand, as it provides gentle coverage without excessive force. Water small sections of around 30 square feet for about 30 seconds at a time to control the water flow and prevent displacement. When watering on a slope, start from the lower end and work upward to maintain sand placement and prevent washout. Proper watering techniques ensure that the sand remains compacted and effectively fills the gaps between pavers.
Wider joints may lead to washout if they allow excessive water flow during activation, while extremely narrow joints may cause sand spillover due to insufficient water flow. Always monitor the flow and adjust your technique based on the joint size and slope of your paver installation.
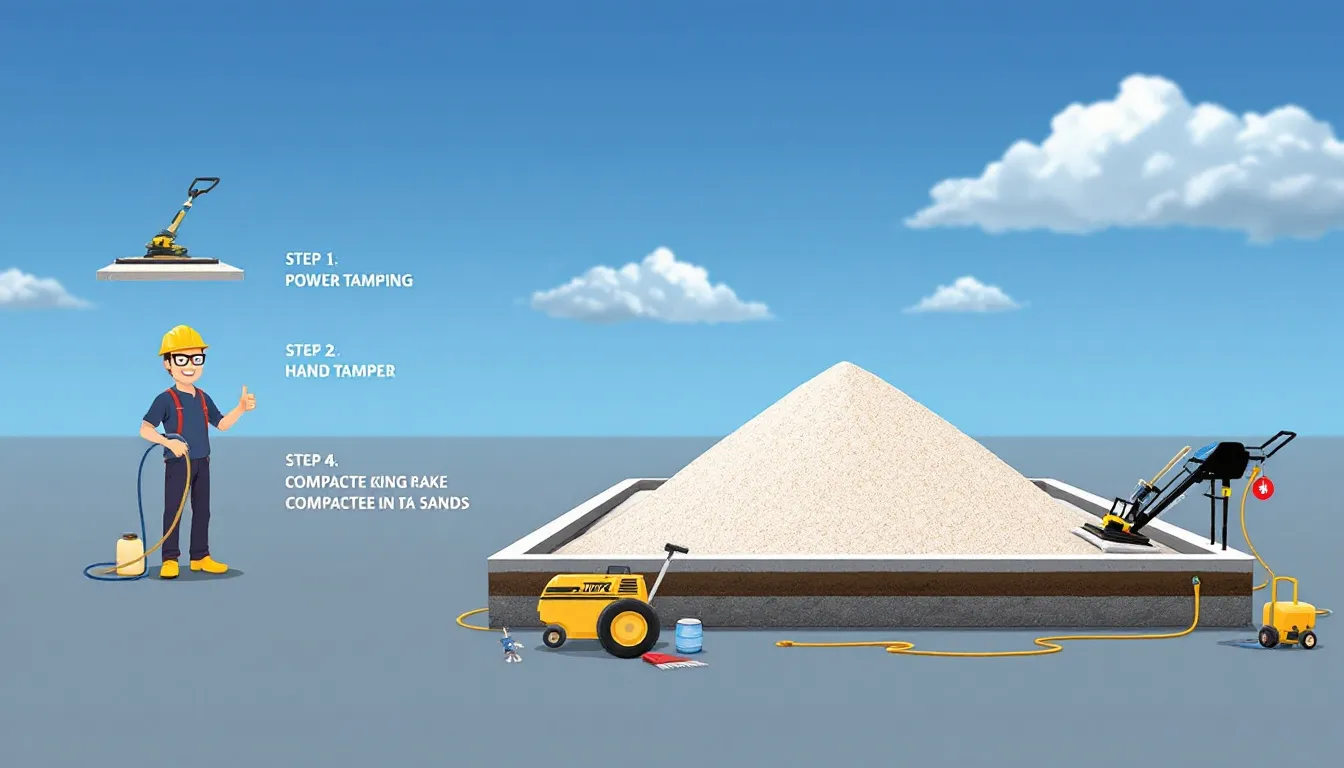
Compacting the Sand
Using a plate compactor ensures even distribution of pressure, which minimizes settling and maintains the paver structure. Ensure that sand remains level, ideally 1/8 inch below the edge of the pavers after watering.
Pour and swept sand into the joints of the pavers, and if the paver has a bevel, ensure that the sand is even with the bottom of the bevel. Proper compaction is essential to maintain stability and prevent future shifting.
Protecting Your Paver Installation
Protecting your patio pavers installation is essential to prevent common issues such as washout and damage from heavy rain. Properly sealing paver joints helps ensure better quality and less maintenance of the paver installation.
Additional protective measures include using sand products that enhance stability and prevent erosion. Additionally, these measures contribute to long-term security sustainability.
Rain Protection
Implementing temporary barriers can shield the paver installed from excessive rainfall. Using a tarp or plastic cover can shield newly laid sand and pavers from heavy rain while they set.
Keep the pressure low while watering polymeric sand to avoid washout and maintain its placement in the joints. Protecting newly laid sand and pavers from heavy rain is crucial to prevent washout and ensure proper curing.
Applying a Sealer
A sealer enhances the longevity of pavers by providing a barrier against moisture and stains. Applying a sealer helps to guard against moisture and staining, prolonging the lifespan of the pavers. A sealer can enhance the visual appeal of pavers and protect them from discoloration due to UV exposure.
The overall benefits of sealing pavers include increased durability, aesthetic enhancement, and protection from environmental factors.
Common Mistakes to Avoid
One of the prevalent errors when using sand for pavers is not thoroughly removing excess sand from the surface, which can lead to a rough finish and complications during activation that fix the overall quality, leaving users wondering unable to achieve the desired results and resulting in cracks.
Regular reapplication of sealer is necessary to maintain the protective benefits against stains and weather damage.
Overfilling Joints
Leaving joints overfilled, more than an eighth of an inch from the top, can result in spill-over during watering, compromising the effectiveness of the joint stabilization. Adding too much sand in the joints can lead to sand spilling over the edges, which not only looks unkempt but can also impede proper water drainage.
Ensuring the joints are filled to the correct level is crucial for both aesthetics and functionality, as properly cured joints enhance durability.
Poor Drainage Solutions
Proper drainage is essential to prevent water pooling, which can damage the pavers and undermine the base layer. Inadequate drainage can lead to issues such as erosion, shifting of pavers, and increased maintenance costs.
To ensure adequate drainage, it’s crucial to grade the area correctly and choose appropriate sand that facilitates water flow. This prevents water accumulation and ensures the longevity of your paver installation.
Summary
In conclusion, selecting the right sand for your paver project, accurately calculating how much you need, and properly preparing the base layer are all critical steps that ensure the stability and durability of your installation. By understanding how to fill gaps, water, and compact sand correctly, and by protecting your pavers from environmental factors, you can achieve a long-lasting and visually appealing paved surface. With these tips and techniques, your patio pavers will remain beautiful and functional for years to come.
Frequently Asked Questions
What type of sand is best for paver joints?** **?
Polymeric sand is the best choice for paver joints because it effectively minimizes weed growth and prevents washing away, ensuring durability and stability.
How do I calculate the amount of sand needed for my project?** **?
To calculate the amount of sand needed for your project, measure the length and width of the area, then multiply these dimensions by the desired sand depth to find the total volume. This method will provide you with the accurate amount required for your project.
What is the recommended depth for the sand layer under pavers?** **?
A sand layer depth of 1 to 2 inches is recommended under pavers, as this ensures proper support and stability based on the type of pavers and local conditions.
How can I protect my paver installation from heavy rain?** **?
To protect your paver installation from heavy rain, cover newly laid sand and pavers with a tarp or plastic sheeting. This will help ensure they set properly without being washed away.
Why is proper compaction important for paver installations?** **?
Proper compaction is crucial for paver installations as it eliminates air pockets, ensures stability, and maintains the alignment of the pavers. This leads to a durable and long-lasting surface.
About the Author:
Mike Veail is a recognized digital marketing expert with over 6 years of experience in helping tradespeople and small businesses thrive online. A former quantity surveyor, Mike combines deep industry knowledge with hands-on expertise in SEO and Google Ads. His marketing strategies are tailored to the specific needs of the trades sector, helping businesses increase visibility and generate more leads through proven, ethical methods.
Mike has successfully partnered with numerous companies, establishing a track record of delivering measurable results. His work has been featured across various platforms that showcase his expertise in lead generation and online marketing for the trades sector.
Learn more about Mike's experience and services at https://theleadguy.online or follow him on social media: