Welcome to our comprehensive guide on concrete driveway regulations in New Zealand! If you’re considering upgrading your driveway to concrete, it’s essential to understand the various regulations and requirements that govern this process. This guide will walk you through everything you need to know, from national building code requirements to local council regulations, and provide practical advice on planning, design, construction standards, and maintenance. Whether you’re a homeowner looking to DIY or planning to hire a professional, this post will equip you with the knowledge to ensure your project is compliant, safe, and durable. Let’s dive in and demystify the concrete driveway regulations in NZ to help you create a beautiful and lasting driveway.
In New Zealand, concrete driveway regulations are governed by both the national NZ Building Code and local council requirements. Key considerations include obtaining necessary consent, adhering to site preparation and construction standards, ensuring proper drainage and slope, and following safety guidelines. Homeowners must check specific regional regulations and may need to apply for building consent, especially for larger projects. Compliance with these regulations ensures a durable, safe, and legally compliant driveway.
- Understanding The Basics
- National Building Code Requirements
- Local Council Regulations
- Planning And Approval Process
- Design And Construction Standards
- Environmental And Safety Considerations
- Common Mistakes To Avoid
- Tips For Hiring A Professional
- Maintenance And Upkeep
- FAQs: About Concrete Driveway Regulations In NZ
- What is the NZ Building Code and how does it relate to concrete driveways?
- Do I need building consent for installing a concrete driveway in NZ?
- How can I find out the local regulations for concrete driveways in my area?
- What are the common site preparation requirements for a concrete driveway?
- What materials are recommended for a concrete driveway?
- What are the drainage requirements for a concrete driveway?
- Are there specific thickness requirements for concrete driveways in NZ?
- Can I install a concrete driveway myself, or should I hire a professional?
- What are some common mistakes to avoid when installing a concrete driveway?
- How should I maintain my concrete driveway to ensure longevity?
- Conclusion
Understanding The Basics
Definition of Concrete Driveways: What Constitutes a Concrete Driveway?
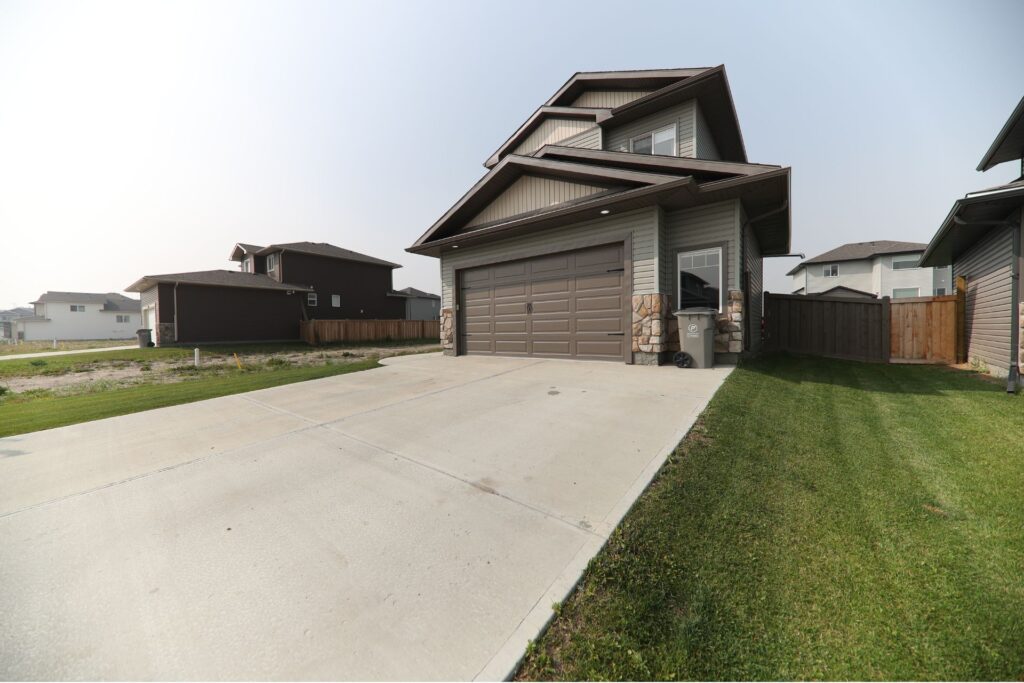
A concrete driveway is a surface designed for vehicles to drive on, typically leading from a street to a garage or parking area. It’s made from a mixture of cement, water, sand, and gravel, which hardens over time to create a durable and long-lasting surface. Concrete driveways are a popular choice for both residential and commercial properties due to their strength, longevity, and relatively low maintenance requirements.
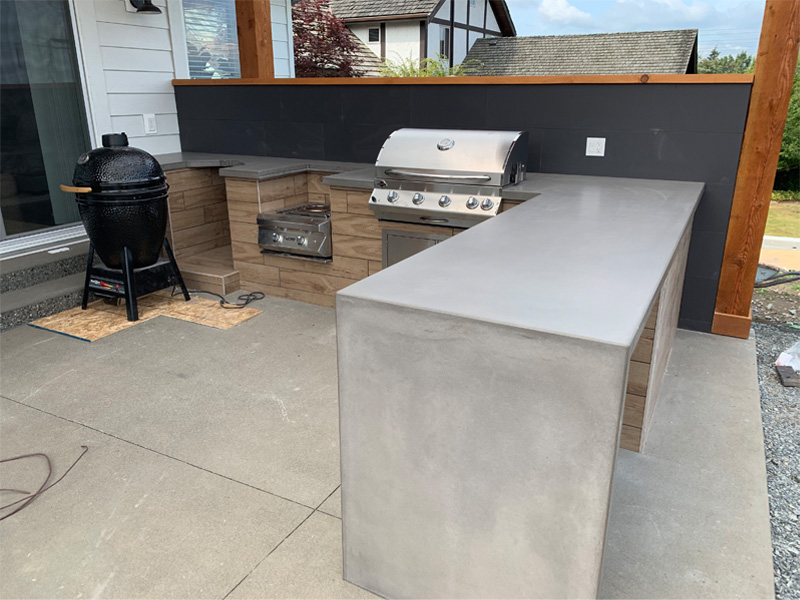
Concrete driveways can come in various styles, from plain gray slabs to decorative finishes. They can be stamped, stained, or textured to mimic the look of other materials like stone, brick, or even wood. This versatility makes concrete an attractive option for homeowners looking to enhance their property’s curb appeal.
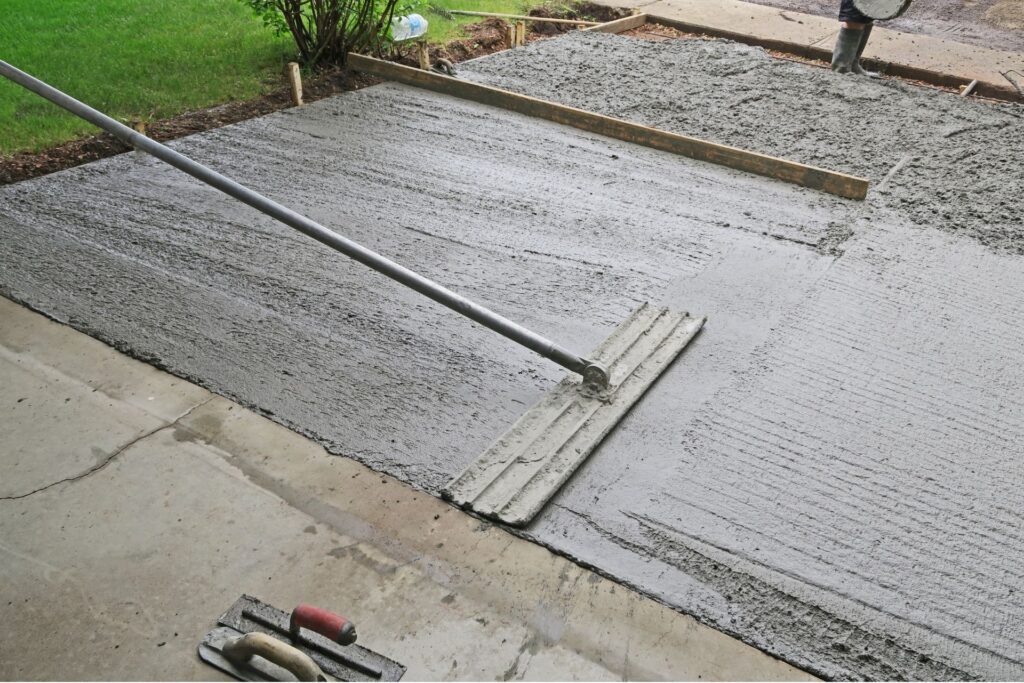
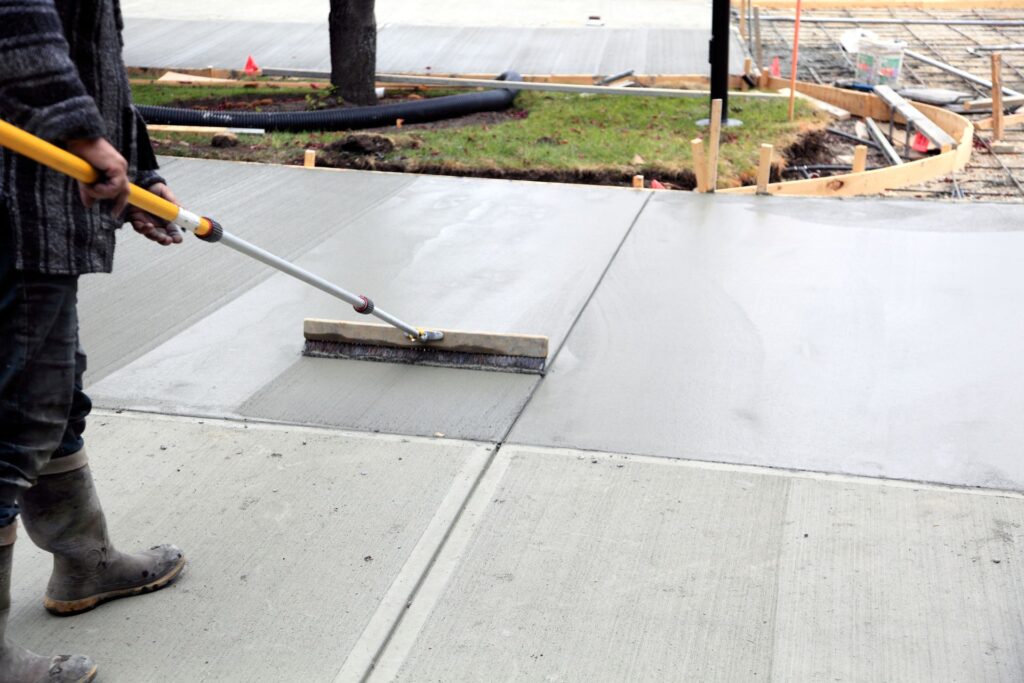
The process of installing a concrete driveway involves several steps. First, the area is excavated and graded to ensure proper drainage. Then, forms are set up to contain the concrete and shape the driveway. Reinforcement, such as rebar or wire mesh, is often added to increase the driveway’s strength. The concrete is then poured, spread, and leveled before being left to cure. Proper curing is crucial to achieving the driveway’s maximum strength and durability.
Common Uses: Residential vs. Commercial Driveways
Residential Driveways
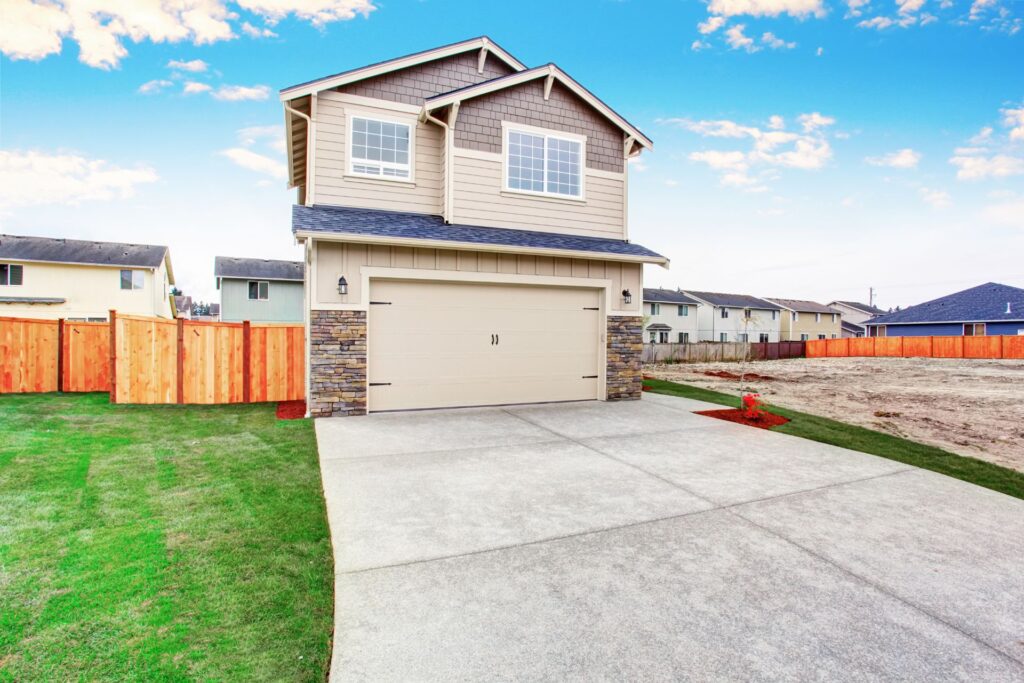
Residential driveways are the most common type of concrete driveway. They provide a safe and convenient place for homeowners to park their vehicles and can significantly enhance a home’s appearance. In addition to their functional purpose, residential driveways can be a key feature in a property’s landscape design.
Homeowners often choose concrete for their driveways because of its durability and ease of maintenance. A well-installed and maintained concrete driveway can last for decades, withstanding the weight of multiple vehicles and resisting the wear and tear from weather conditions. Moreover, concrete driveways are relatively easy to clean and can be sealed to protect against stains from oil and other substances.
Commercial Driveways
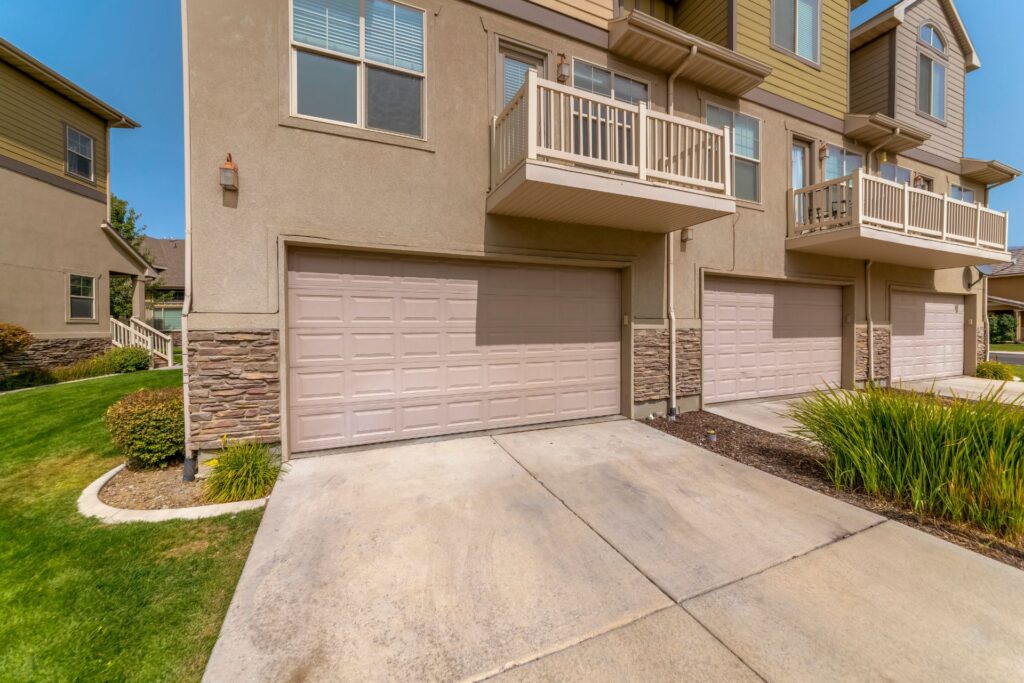
Commercial driveways, on the other hand, are designed to accommodate heavier traffic and larger vehicles. These driveways are commonly found in places like shopping centers, office buildings, and industrial complexes. The concrete used for commercial driveways is often reinforced more heavily and poured to a greater thickness to support the increased load and usage.
In commercial settings, concrete driveways are preferred for their robustness and ability to handle frequent and heavy use without deteriorating quickly. They also offer a clean, professional appearance that can contribute to the overall aesthetics of a commercial property. Additionally, concrete driveways in commercial areas are designed with considerations for safety and accessibility, ensuring that they meet relevant codes and standards.
In both residential and commercial applications, the choice of concrete for driveways reflects a balance of practicality and visual appeal. Whether enhancing a home’s curb appeal or providing a durable surface for heavy traffic in a commercial setting, concrete driveways are a reliable and versatile option.

National Building Code Requirements
Overview of the NZ Building Code
The New Zealand Building Code is a fundamental framework that ensures all building work across the country meets essential standards for safety, health, and durability. It’s a comprehensive set of regulations that covers various aspects of construction, from structural integrity to fire safety. For homeowners and builders, understanding the NZ Building Code is crucial, particularly when embarking on driveway projects. This code ensures that every driveway built is safe, functional, and capable of withstanding the test of time.
Concrete driveways, being a significant aspect of residential construction, are no exception to these standards. The NZ Building Code provides guidelines to ensure that these driveways are not only aesthetically pleasing but also durable and safe for everyday use. It outlines the necessary materials, construction practices, and design specifications required to meet New Zealand’s stringent building standards.
Specific Sections Pertinent to Driveways
When it comes to concrete driveways, several specific sections of the NZ Building Code are particularly relevant. These sections provide detailed requirements and guidelines to ensure the construction is up to standard.
1. B1 Structure: This section of the code deals with the structural stability and durability of buildings and structures. For concrete driveways, it mandate that the driveway must be designed and constructed to withstand expected loads and environmental conditions without significant deformation or failure. This includes ensuring proper thickness, reinforcement, and foundation preparation to prevent cracking and other structural issues over time.
2. B2 Durability: The B2 section focuses on the longevity of building materials and components. In the context of concrete driveways, this means using high-quality concrete mixes, adequate curing processes, and protective measures against weathering and wear. The goal is to ensure that the driveway remains functional and retains its structural integrity for many years.
3. E1 Surface Water: Managing surface water is critical to prevent flooding and water damage. The E1 section of the Building Code specifies requirements for drainage systems that effectively channel water away from the driveway and surrounding areas. Proper slope gradients, drainage channels, and permeable materials are often recommended to comply with this part of the code.
4. D1 Access Routes: While this section is primarily focused on access within buildings, it also has implications for driveways, especially in terms of accessibility and ease of use. Driveways must be designed to provide safe and convenient access for vehicles and pedestrians, which includes considerations for slope, surface texture, and clearances.
5. F4 Safety from Falling: This section is concerned with preventing falls in and around buildings. Driveways, particularly those with significant slopes or adjacent to elevated areas, it require appropriate safety measures such as barriers or guardrails to prevent accidents.
By adhering to these sections of the NZ Building Code, homeowners and builders can ensure that their concrete driveways are not only compliant with national standards but also safe, durable, and functional. Understanding and implementing these requirements is key to a successful and long-lasting driveway project.
Local Council Regulations
Variation by Region
In New Zealand, building and construction regulations can significantly vary from one region to another. This variability stems from the fact that each local council has the authority to establish and enforce its own set of rules and standards. For instance, what is permissible in Auckland might not be acceptable in Wellington or Christchurch. These differences can impact everything from the types of materials you can use to the specific design requirements for your project. This regional variation is crucial to understand because adhering to the correct regulations is essential for the approval and successful completion of your building project.
How to Find Local Regulations
Navigating the myriad of local regulations can be daunting, but there are several practical steps homeowners can take to ensure compliance.
1. Visit the Council’s Website: Most local councils have comprehensive websites that detail their specific building regulations, application forms, and guidance documents. This is often the best starting point for any project.
2. Contact the Council Directly: If the information online is unclear, calling or visiting the council office can provide more detailed and personalized guidance. Council officers can offer insights into the specific requirements and any recent updates to the regulations.
3. Consult with a Professional: Hiring a local architect, builder, or consultant who is familiar with the regional regulations can be invaluable. These professionals can ensure your plans meet all necessary standards and help streamline the approval process.
4. Attend Information Sessions: Many councils hold information sessions or workshops for homeowners and builders. These sessions can provide a wealth of information and answer specific questions about your project.
Examples of Local Regulations
To illustrate the diversity in local regulations, let’s look at some examples from major cities in New Zealand:
Auckland: Auckland Council has specific regulations regarding the use of certain cladding materials to manage moisture and reduce the risk of weathertightness issues. The council also enforces strict controls on building heights and densities in different zones to manage urban growth and protect residential amenities.
Wellington: In Wellington, the focus is often on seismic resilience due to the city’s earthquake risk. Building regulations here may require more robust foundation designs and structural reinforcements compared to other regions. Additionally, Wellington has stringent rules on preserving its historic buildings and maintaining the city’s unique character.
Christchurch: Post-earthquake rebuilding efforts in Christchurch have led to the introduction of innovative and strict building standards. These include advanced foundation requirements and enhanced structural integrity measures to ensure new buildings can withstand seismic activities. The council also emphasizes sustainable building practices and the integration of green spaces within urban developments.
By understanding and adhering to these local regulations, homeowners can ensure their building projects proceed smoothly and meet all necessary legal requirements. This proactive approach not only facilitates approval processes but also contributes to the safety, sustainability, and aesthetic harmony of the local environment.
Planning And Approval Process
Do You Need a Consent?
When embarking on any building project, it’s crucial to determine whether you need building consent. Building consent is typically required for new constructions, significant alterations, or additions to existing structures. This includes projects like adding a new room, constructing a deck, or even significant landscaping work that affects the structure’s stability. Conversely, minor repairs or maintenance work usually do not require consent. Always check with your local council to confirm whether your specific project needs approval.
Application Process
Applying for building consent can seem daunting, but it becomes manageable when broken down into clear steps:
1. Pre-Application Meeting: Schedule a meeting with your local council to discuss your project. This step can provide valuable insights into the requirements and streamline the process.
2. Prepare Your Plans: Develop detailed plans of your project, including architectural drawings, structural calculations, and any other necessary technical documentation.
3. Complete the Application Form: Fill out the building consent application form available on your local council’s website or at their offices. Ensure all details are accurate and complete.
4. Submit Your Application: Submit the completed form along with your project plans and other required documents to the council.
5. Council Review: The council will review your application to ensure it complies with the Building Code and other relevant regulations. They may request additional information or modifications to your plans.
6. Receive Consent: Once your application is approved, you will receive your building consent. Make sure to keep this document accessible throughout your project.
Documents Needed
To ensure a smooth application process, gather the following documents:
Detailed Plans: Architectural and structural drawings of your project.
Specifications: Detailed descriptions of the materials and construction methods to be used.
Project Information Memorandum (PIM): A document from your local council providing information about the land and any special requirements.
Engineering Reports: If your project involves significant structural work, you may need reports from a structural engineer.
Owner Authorization: If you are not the property owner, you will need written authorization from the owner to proceed with the application.
Fee Payment: Proof of payment for the application fee.
Having all these documents ready and correctly filled out will help avoid delays in the approval process.
Timelines and Costs
Understanding the typical timelines and costs involved in obtaining building consent can help you plan your project more effectively.
Timelines:
Pre-Application Meeting: Usually takes about a week to schedule.
Application Review: The council typically has 20 working days to process your application. This period can be extended if additional information is required.
Approval and Issue of Consent: Once all information is satisfactory, consent can be issued within a few days.
Costs:
Application Fees: These vary depending on the scope and complexity of your project. Basic applications might cost a few hundred dollars, while more complex projects can run into the thousands.
Additional Costs: You may also incur costs for professional services such as architects, engineers, and surveyors.
By understanding these timelines and costs, you can budget appropriately and avoid unexpected delays or expenses. Always check with your local council for the most accurate and up-to-date information regarding your specific project.

Design And Construction Standards
When it comes to building a high-quality driveway, adhering to specific design and construction standards is crucial. This ensures durability, functionality, and compliance with local regulations. Let’s delve into the key components of these standards:
Site Preparation
Requirements for Site Preparation Before Laying the Driveway
The first step in constructing a robust driveway is thorough site preparation. This involves clearing the area of any vegetation, debris, or old materials that could affect the new driveway’s integrity. It’s essential to have a clean, level base to work on, which often requires excavation to remove topsoil and reach a stable subgrade. The subgrade should be compacted to avoid any future settling that could cause cracks or dips in the driveway surface.
Additionally, soil conditions must be evaluated. In areas with poor soil quality, it might be necessary to enhance the subgrade with a layer of gravel or crushed stone. This not only provides a solid foundation but also aids in drainage, preventing water from pooling under the driveway.
Thickness and Materials
Minimum Thickness Requirements and Recommended Materials
The thickness of the driveway is another critical factor. For residential driveways, a minimum thickness of 4 inches of concrete is generally recommended. However, if the driveway will regularly bear heavy loads, such as large vehicles or trucks, increasing the thickness to 6 inches or more is advisable. This added thickness enhances the driveway’s strength and longevity.
Choosing the right materials is equally important. A high-quality concrete mix is essential, with a recommended mix design that includes a proper balance of cement, aggregates, and water. Adding fiber reinforcement to the concrete mix can further enhance its durability by reducing the likelihood of cracking.
Slope and Drainage
Regulations Regarding the Slope of the Driveway and Drainage Solutions
Proper slope and drainage are vital to ensure the longevity and functionality of your driveway. The driveway should have a slight slope to allow water to drain away efficiently. Typically, a slope of 1-2% (1/8 inch per foot) is recommended. This ensures that water doesn’t pool on the surface, which can lead to damage over time.
Drainage solutions must also be integrated into the design. Installing drains at the edges of the driveway or in areas where water tends to collect can help manage runoff. French drains or trench drains are effective solutions to divert water away from the driveway and prevent erosion or undermining of the structure.
Reinforcement
Standards for Reinforcing the Concrete
Reinforcement plays a crucial role in enhancing the strength and durability of concrete driveways. Steel rebar or wire mesh is commonly used to reinforce the concrete. The reinforcement should be placed at the mid-depth of the concrete slab to effectively handle tensile stresses and prevent cracking.
For optimal results, the rebar should be spaced according to the specific load requirements of the driveway. Typically, for residential driveways, rebar is placed in a grid pattern with a spacing of around 18 to 24 inches. Proper placement and securing of the reinforcement are essential to ensure it stays in position during the concrete pouring process.
In summary, adhering to these design and construction standards is essential for building a driveway that is durable, functional, and compliant with regulations. Proper site preparation, appropriate thickness and materials, effective slope and drainage solutions, and robust reinforcement are all critical components of a well-constructed driveway. By following these guidelines, you can ensure that your driveway will stand the test of time and provide reliable performance for years to come.
Environmental And Safety Considerations
When planning and constructing a residential driveway, it’s crucial to consider both environmental and safety factors. Not only do these considerations ensure compliance with local regulations, but they also contribute to the long-term durability and usability of the driveway. This section delves into the key environmental and safety aspects that should be taken into account.
Runoff and Drainage
One of the primary environmental concerns associated with driveways is runoff and drainage. Poorly managed runoff can lead to flooding and erosion, which can damage both the driveway and surrounding properties. To mitigate these issues, it’s essential to design a driveway with proper drainage systems in place.
Tips for Managing Runoff and Drainage
1. Grading and Sloping: Ensure the driveway is graded and sloped to direct water away from the house and towards designated drainage areas.
2. Drainage Channels: Install drainage channels or French drains along the edges of the driveway to capture and redirect runoff.
3. Vegetative Swales: Use vegetative swales or rain gardens to absorb and filter runoff, reducing the impact on local waterways.
By implementing these strategies, you can prevent common problems like water pooling and soil erosion, protecting both your property and the environment.
Permeable Concrete
Another effective solution for managing runoff is the use of permeable concrete. Unlike traditional concrete, permeable concrete allows water to pass through its surface, reducing runoff and promoting groundwater recharge. This environmentally friendly option is gaining popularity due to its numerous benefits and compliance with various regulations aimed at reducing urban runoff.
Benefits of Permeable Concrete
Reduces Runoff: Helps prevent flooding by allowing water to infiltrate the ground.
Improves Water Quality: Filters pollutants from stormwater before it enters the groundwater system.
Regulatory Compliance: Meets many local and regional regulations designed to control stormwater runoff.
When considering permeable concrete, it’s important to consult with local authorities to ensure it meets all necessary regulations and to understand any maintenance requirements. Proper installation and regular maintenance will ensure that permeable concrete remains effective over time.
Safety Standards
Ensuring the safety of your driveway is paramount. A well-designed driveway should not only be functional but also safe for all users, including pedestrians and vehicles. Safety considerations encompass everything from surface materials to visibility and lighting.
Key Safety Standards
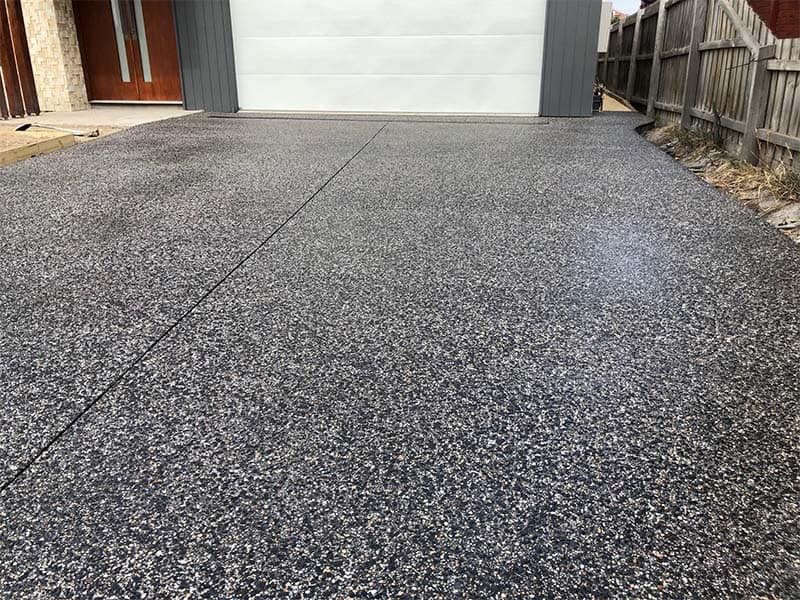
Non-Slip Surfaces: Choose materials that provide a non-slip surface, particularly in wet or icy conditions. Textured concrete or pavers with a rough finish can help prevent slips and falls.
Visibility: Ensure the driveway is well-lit, especially if it is used during nighttime. Proper lighting improves visibility and reduces the risk of accidents.
Clear Markings: Use clear markings to delineate the edges of the driveway and any potential hazards. Reflective markers or paint can enhance visibility.
Adhering to these safety standards not only protects your family and visitors but also reduces liability in case of accidents. Regularly inspecting and maintaining the driveway can help identify and address any safety concerns promptly.
In conclusion, taking into account environmental and safety considerations when designing and building a residential driveway is essential for ensuring long-term functionality and compliance with regulations. By managing runoff and drainage effectively, opting for permeable concrete, and adhering to safety standards, you can create a driveway that is both environmentally friendly and safe for all users.

Common Mistakes To Avoid
When it comes to residential driveways, there are several common mistakes that can lead to long-term issues and unnecessary expenses. Whether you’re hiring a professional or considering a DIY project, being aware of these potential pitfalls can save you time, money, and frustration. Let’s dive into some of the most frequent mistakes and how to avoid them.
Non-Compliance Issues
One of the most significant mistakes homeowners can make is failing to comply with local building codes and regulations. These non-compliance issues can arise in various forms, such as:
1. Incorrect Permitting
Many municipalities require permits for driveway installations. Skipping this step can result in hefty fines, stop-work orders, or even the necessity to remove and redo the work. Ensuring you have the proper permits before starting any construction can save you from these headaches.
2. Improper Drainage Solutions
Driveways must have adequate drainage to prevent water accumulation, which can lead to erosion, flooding, and damage to the driveway and surrounding structures. Common non-compliance issues include incorrect grading and insufficient drainage systems. These mistakes can cause water to pool on the surface, leading to cracks and potholes over time.
3. Ignoring Setback Requirements
Setback requirements dictate how far your driveway needs to be from property lines, structures, and other features. Ignoring these requirements can result in disputes with neighbors and potential legal action. Always check local regulations to ensure your driveway meets all setback rules.
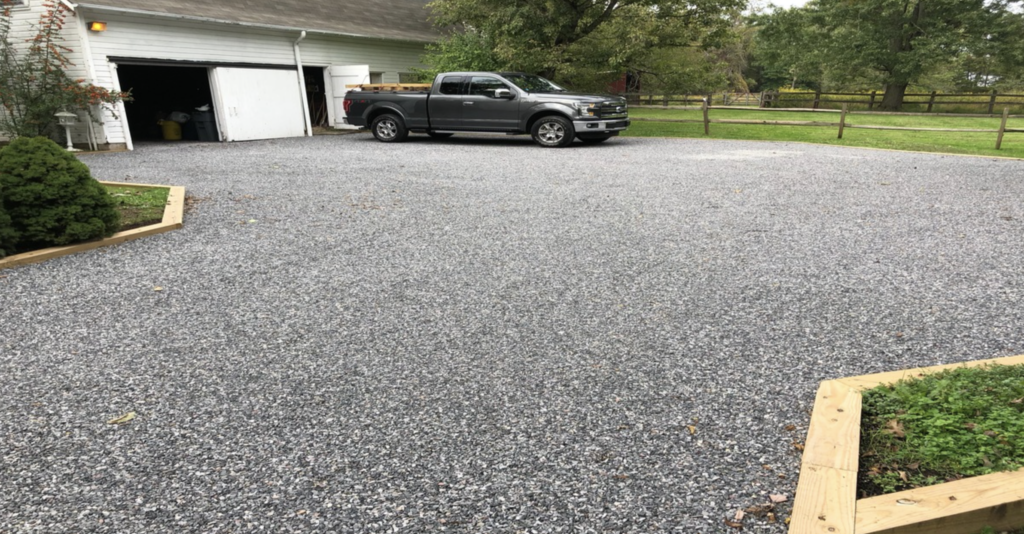
4. Using Non-Approved Materials
Some areas have specific requirements for the materials used in driveway construction. Using non-approved materials can lead to fines and may necessitate the replacement of the driveway. Always confirm that the materials you plan to use are compliant with local codes.
The consequences of non-compliance can be severe, ranging from financial penalties to structural failures. Therefore, it’s crucial to familiarize yourself with local regulations and ensure your project adheres to them.
DIY Pitfalls
Many homeowners are tempted to tackle driveway installation as a DIY project to save money. While DIY can be rewarding, it often leads to several common mistakes, especially if you lack experience. Here are some pitfalls to watch out for:
1. Inadequate Site Preparation
Proper site preparation is critical for a durable driveway. This includes removing topsoil, compacting the subbase, and ensuring proper grading. Skipping or inadequately performing these steps can lead to a weak foundation, causing the driveway to settle and crack over time.
2. Poor Material Selection
Using the wrong materials can significantly impact the longevity and performance of your driveway. For example, choosing a cheap, low-quality asphalt or concrete mix may save money upfront but can result in frequent repairs and replacements. Investing in high-quality materials suited to your climate and soil conditions is essential.
3. Incorrect Thickness
The thickness of your driveway is crucial for its durability. A common mistake is pouring concrete or laying asphalt too thin, which can lead to premature cracking and failure. Ensure that your driveway is built to the recommended thickness for your specific use, whether it’s for light vehicle traffic or heavier loads.
4. Neglecting Reinforcement
Reinforcement, such as rebar or wire mesh in concrete driveways, provides additional strength and helps prevent cracking. Skipping this step can lead to significant structural issues down the line. Make sure to incorporate the necessary reinforcement to enhance your driveway’s durability.
5. Ignoring Climate Factors
Climate plays a significant role in driveway performance. For instance, areas with freeze-thaw cycles require specific materials and construction techniques to prevent damage. Failing to account for your local climate can lead to cracks, heaving, and other problems. Research the best practices for driveway installation in your region to avoid these issues.
6. Inadequate Maintenance
Even a well-constructed driveway requires regular maintenance to stay in good condition. DIY enthusiasts often overlook this aspect, leading to the deterioration of the driveway over time. Regular sealing, crack filling, and cleaning can extend the lifespan of your driveway and maintain its appearance.
In conclusion, avoiding these common mistakes can ensure your driveway is both compliant with local regulations and built to last. Whether you choose to hire a professional or go the DIY route, careful planning, and attention to detail are key to a successful driveway installation.
Tips For Hiring A Professional
When embarking on a project that requires professional assistance, hiring the right contractor can make all the difference. Here’s a detailed guide to ensure you hire a qualified professional who meets your expectations and complies with regulations.
Finding a Qualified Contractor
What to Look for in a Contractor
Selecting a qualified contractor starts with understanding what to look for. Firstly, seek contractors who have a solid reputation in the industry. This can be gauged through online reviews, word of mouth, and professional ratings. Look for contractors with a proven track record of successfully completing projects similar to yours. This ensures they have the necessary experience and expertise.
Check if they have the appropriate licenses and certifications required in your area. Licensing ensures that the contractor meets the minimum standards of competency and professionalism. Additionally, verify if they are insured and bonded, which protects you from potential liabilities and ensures that the contractor can complete the job.
Lastly, consider the contractor’s communication skills and professionalism. They should be responsive, transparent about costs, and willing to provide detailed written estimates. Good communication is crucial for the smooth execution of your project.
Questions to Ask
Important Questions to Ask Potential Contractors to Ensure Compliance with Regulations
Before hiring a contractor, it’s essential to ask the right questions. Start by inquiring about their experience with projects similar to yours. Ask for examples of past work and, if possible, visit some of their completed projects. This gives you a clear idea of their capability and craftsmanship.
Ensure compliance with local regulations by asking if they have the necessary permits and licenses for your project. A qualified contractor should be knowledgeable about local building codes and regulations and be willing to handle the permitting process on your behalf.
Inquire about their work process and timeline. Ask how they plan to manage the project, handle any potential delays, and keep you updated on progress. Understanding their workflow helps set realistic expectations and ensures there are no surprises along the way.
Finally, discuss payment terms and conditions. A reputable contractor will provide a detailed contract outlining the scope of work, payment schedule, and warranty terms. Avoid contractors who demand a large upfront payment or who are unwilling to put agreements in writing.
Checking Credentials
How to Verify a Contractor’s Qualifications and Past Work
Verifying a contractor’s qualifications and past work is a critical step in the hiring process. Start by requesting a list of references from past clients. Contact these references to get firsthand feedback on their experience with the contractor, the quality of work, and any issues they encountered.
Check the contractor’s credentials through relevant professional associations and licensing boards. Many regions have online databases where you can verify a contractor’s license status and check for any complaints or disciplinary actions.
Additionally, explore online reviews and ratings on platforms like Google, Yelp, or the Better Business Bureau. While individual reviews should be taken with a grain of salt, a consistent pattern of positive or negative feedback can provide valuable insights.
For an extra layer of assurance, visit some of the contractor’s completed projects. This allows you to see the quality of their work firsthand and speak with previous clients about their experience.
By following these tips, you can hire a professional contractor who is qualified, reliable, and capable of delivering quality work while ensuring compliance with all necessary regulations.
Maintenance And Upkeep
Maintaining your concrete driveway is essential to ensuring its longevity and appearance. Proper upkeep can save you money in the long run by preventing major repairs and preserving the driveway’s aesthetic appeal. Here’s a detailed guide to help you keep your concrete driveway in top shape.
Routine Maintenance
Routine maintenance is the cornerstone of a durable concrete driveway. Simple, regular tasks can significantly extend the lifespan of your driveway and keep it looking pristine.
1. Cleaning: Regularly sweeping away debris like leaves, dirt, and rocks can prevent staining and damage. For deeper cleaning, use a power washer or a garden hose with a high-pressure nozzle to remove grime and stains. A mild detergent can be added for tough spots.
2. Stain Removal: Oil, grease, and other spills should be cleaned up promptly to avoid stains. A mixture of baking soda and water can be effective for absorbing oil, while commercial concrete cleaners are available for more stubborn stains.
3. Weed Control: Weeds can grow in the cracks of your concrete driveway, potentially causing more damage. Regularly check for and remove any weeds, using a weed killer if necessary.
4. Avoiding Harsh Chemicals: De-icing salts and harsh chemicals can deteriorate the concrete. Use sand or kitty litter for traction during winter months instead.
Repairing Damage
Despite your best efforts, cracks and minor damage can occur. Addressing these issues promptly can prevent them from worsening and ensure your driveway remains compliant with local regulations.
1. Small Cracks: For small cracks, a concrete patching compound can be used. Clean the crack thoroughly before applying the patch. Follow the manufacturer’s instructions for the best results.
2. Large Cracks and Holes: For larger cracks and holes, you may need to use a concrete resurfacer or hire a professional. Ensuring the underlying issue is addressed, such as soil movement or tree roots, can prevent future damage.
3. Regulations: Check local building codes and regulations before undertaking any repairs. Some areas may have specific guidelines for driveway repairs to ensure safety and compliance.
Resealing
Resealing your concrete driveway is a crucial step in its maintenance routine. It provides a protective layer that shields the concrete from the elements and everyday wear and tear.
1. Frequency: It’s generally recommended to reseal your driveway every 2-3 years. However, this can vary depending on the local climate and the amount of traffic the driveway receives.
2. Choosing the Right Sealer: There are various types of sealers available, including acrylic, epoxy, and penetrating sealers. Acrylic sealers are popular for their ease of application and cost-effectiveness, while epoxy and penetrating sealers offer superior protection but can be more expensive.
3. Application: Before resealing, clean the driveway thoroughly. Apply the sealer according to the manufacturer’s instructions, typically using a roller or sprayer. Ensure the driveway is completely dry before applying the sealer, and allow sufficient drying time after application before using the driveway.
4. Weather Considerations: Choose a dry, warm day for resealing to ensure the best results. Avoid applying sealer during extreme temperatures or wet conditions, as this can affect the effectiveness of the sealer.
By following these maintenance and upkeep tips, you can keep your concrete driveway in excellent condition for many years. Regular maintenance, prompt repairs, and timely resealing are the keys to a durable and attractive driveway.

FAQs: About Concrete Driveway Regulations In NZ
What is the NZ Building Code and how does it relate to concrete driveways?
The NZ Building Code sets out the standards for construction and safety that all building work must comply with within New Zealand. For concrete driveways, it specifies requirements for materials, thickness, drainage, and overall design to ensure durability and safety.
Do I need building consent for installing a concrete driveway in NZ?
In many cases, yes. If your driveway project involves significant alterations to the existing structure, or if it’s part of a new build, you will likely need to obtain building consent from your local council. It’s essential to check with your local council for specific requirements.
How can I find out the local regulations for concrete driveways in my area?
Local regulations can vary significantly. You can find out specific requirements by visiting your local council’s website or contacting their building department directly. They will provide guidelines and necessary steps for compliance.
What are the common site preparation requirements for a concrete driveway?
Site preparation typically involves clearing the area of debris, ensuring a stable base, and setting up proper drainage solutions. This preparation helps prevent future issues like cracking and water pooling.
What materials are recommended for a concrete driveway?
High-quality concrete mixes designed for driveways are recommended. These mixes often include additives for increased durability and resistance to weather conditions. Reinforcement with steel bars or mesh is also common to prevent cracking.
What are the drainage requirements for a concrete driveway?
Proper drainage is crucial to prevent water buildup and damage. The driveway should have a slight slope to direct water away from structures and into designated drainage areas. Some regions may require specific drainage systems like permeable concrete or drainage channels.
Are there specific thickness requirements for concrete driveways in NZ?
Yes, the NZ Building Code and local regulations typically specify a minimum thickness for concrete driveways to ensure they can withstand the weight of vehicles and other stresses. The common standard is around 100mm to 150mm, depending on the expected load.
Can I install a concrete driveway myself, or should I hire a professional?
While DIY installation is possible, it requires a good understanding of construction principles and compliance with all regulations. Hiring a professional ensures that the driveway is built to code, potentially saving time and money in the long run.
What are some common mistakes to avoid when installing a concrete driveway?
Common mistakes include inadequate site preparation, improper mixing of concrete, insufficient thickness, and poor drainage planning. These can lead to issues like cracking, settling, and water damage. Always follow best practices and regulations to avoid these problems.
How should I maintain my concrete driveway to ensure longevity?
Regular maintenance includes cleaning to remove debris, sealing cracks promptly, and applying a sealant every few years to protect the surface. Proper maintenance helps extend the life of your driveway and keeps it compliant with safety standards.
Conclusion
In conclusion, we’ve explored the various types of reinforcement suitable for residential driveways, delving into the benefits and drawbacks of each option. Whether it’s the durability of steel rebar, the flexibility of wire mesh, or innovative solutions like fiber reinforcement, selecting the right material is crucial for the longevity and strength of your driveway. Before embarking on your project, it’s essential to check your local regulations and consult with professionals to ensure compliance and optimal results. For further information, consider visiting local council websites and reviewing the NZ Building Code to stay informed and prepared.
About the Author:
Mike Veail is a recognized digital marketing expert with over 6 years of experience in helping tradespeople and small businesses thrive online. A former quantity surveyor, Mike combines deep industry knowledge with hands-on expertise in SEO and Google Ads. His marketing strategies are tailored to the specific needs of the trades sector, helping businesses increase visibility and generate more leads through proven, ethical methods.
Mike has successfully partnered with numerous companies, establishing a track record of delivering measurable results. His work has been featured across various platforms that showcase his expertise in lead generation and online marketing for the trades sector.
Learn more about Mike's experience and services at https://theleadguy.online or follow him on social media: