Welcome to your go-to guide on concrete for pavers in NZ, whether you’re upgrading your driveway, creating a backyard patio, or laying a garden path, getting the concrete right is key to a long-lasting finish. Concrete forms the foundation of most paving projects, but with so many mix types, methods, and local considerations, it’s easy to make costly mistakes. In this post, you’ll learn what type of concrete suits different paver jobs, how to avoid drainage issues, and what to know about New Zealand’s unique climate and soil conditions. Whether you’re planning a DIY project or hiring a professional, this guide will help you make confident decisions from start to finish.
The best concrete for pavers in NZ is a dry mix or sand-cement blend for standard pathways and patios, while a reinforced concrete slab is ideal for driveways or heavy-use areas. Choose a mix that suits your soil type, drainage needs, and local weather conditions to ensure long-lasting, stable paver installations.
Table of Contents
What Are Pavers And Why Use Concrete?
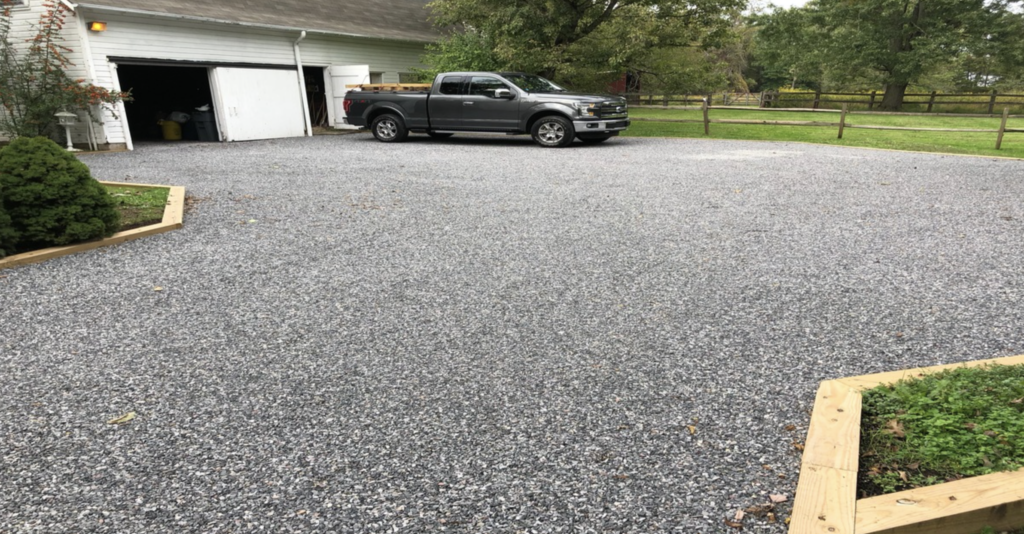
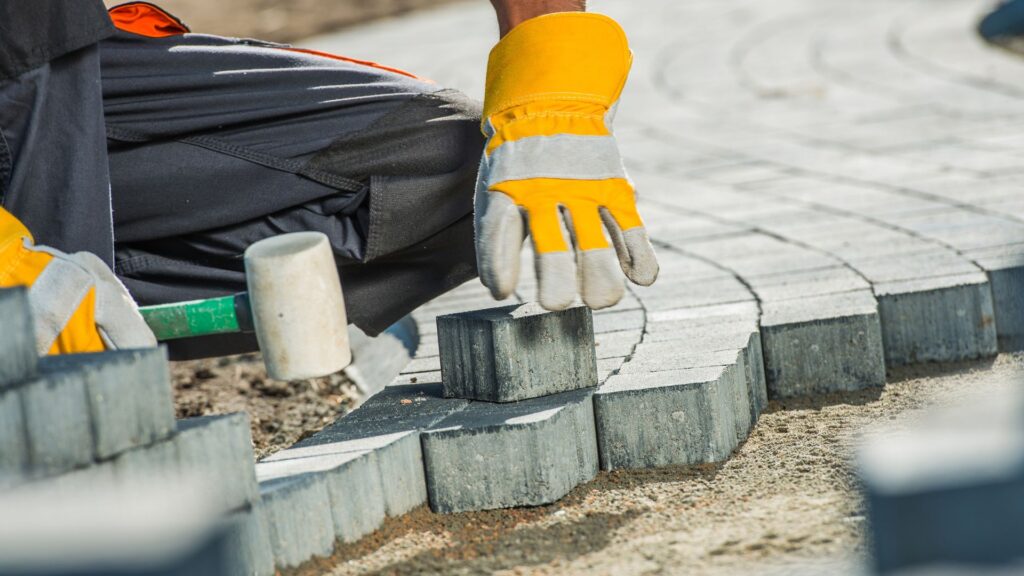
Pavers are individual units made from materials like concrete, brick, or natural stone, designed to create flat surfaces for outdoor spaces. They come in various shapes, sizes, and textures and are often laid in patterns to add both function and style to landscapes. Unlike poured concrete slabs, pavers allow for easier repairs and offer a more flexible surface that can handle minor ground movement without cracking.
In New Zealand homes, pavers are commonly used for driveways, patios, garden paths, and walkways. They’re a practical choice for Kiwi homeowners because they can handle heavy foot traffic and changing weather conditions while adding a clean, modern look to outdoor areas. Whether it’s a front yard entrance or a backyard entertainment space, pavers help create surfaces that are safe, slip-resistant, and visually appealing.
Concrete plays a major role in paver installations, both as a base material and as a joint filler. As a base, concrete provides a strong, stable foundation that keeps pavers from shifting or sinking over time. It’s especially useful in high-use areas like driveways, where the surface needs to support the weight of vehicles. As a joint filler, concrete or mortar helps lock the pavers in place, reduces weed growth between gaps, and prevents movement caused by rain or temperature changes.
Homeowners in New Zealand choose concrete because it offers three major benefits: strength, durability, and affordability. A well-prepared concrete base can last for decades without major issues, making it ideal for permanent outdoor features. It resists erosion, handles NZ’s frequent rain, and stays solid under daily use. Concrete is also cost-effective compared to other base options, making it a smart investment for both small and large projects. When installed correctly, it gives homeowners peace of mind that their paver layout will stay level, secure, and attractive for years to come.

Different Types Of Concrete For Pavers
Choosing the right type of concrete for your pavers can make a big difference in how long your outdoor space lasts and how well it holds up over time. In New Zealand, where weather and soil conditions vary from region to region, using the right mix matters. Whether you’re working on a driveway, patio, or garden path, understanding the different types of concrete helps you plan smarter and avoid common issues like cracking, shifting, or drainage problems.
Dry Mix Vs Wet Mix Concrete
Dry mix and wet mix concrete are two of the most common options used for paving bases in NZ. A dry mix is a blend of cement and sand (sometimes with added gravel) that’s spread dry and then moistened with water once it’s in place. It’s ideal for small jobs like patios, pathways, or garden edging where heavy loads aren’t expected. Homeowners often choose this because it’s easier to manage and doesn’t require complex tools.
Wet mix concrete, on the other hand, is fully mixed with water before being poured. It creates a more solid and stable base. This is the preferred choice for driveways, commercial spaces, or any area that will bear heavy foot or vehicle traffic. While wet mix takes more effort to pour and level, it delivers a stronger, longer-lasting result.
When To Use Each
Use dry mix concrete when:
- You’re laying pavers for a garden path, walkway, or light-use patio
- You want a faster, low-mess installation
- You’re working on a small area and don’t need extra durability
Use wet mix concrete when:
- The area will support vehicles, such as driveways or parking pads
- The ground is uneven and needs a reinforced structure
- You’re building in a region with heavy rain or poor drainage
Concrete Slab Base
A concrete slab base is the most stable foundation for pavers. It involves pouring a full wet mix concrete slab, allowing it to cure, and then laying pavers on top using a mortar or adhesive. This type of base is best for heavy-use areas, including:
- Driveways
- Commercial entrances
- High-traffic footpaths
The slab acts as a solid platform that prevents movement, especially in soft or shifting soil conditions, which are common in parts of New Zealand.
Best For Heavy-Use Areas
If your pavers will support regular car traffic or need to last for years with minimal maintenance, a concrete slab base is the way to go. It’s especially valuable in cities like Auckland or Wellington, where rainfall can weaken traditional paver bases. A slab ensures the surface stays level and avoids long-term settlement problems.
Mortar Vs Sand-Cement Mix
For setting and securing pavers, many homeowners face a choice between using mortar or a sand-cement mix.
Mortar is a wet mix of cement, sand, and water. It creates a strong bond between pavers and the base. It’s perfect for vertical applications (like steps or raised edges) and when you want your pavers locked tightly in place.
Sand-cement mix is drier and often used as a bedding layer or for filling joints. It offers flexibility, making it easier to adjust the paver height during installation.
Pros of mortar:
- Creates a solid, durable bond
- Prevents paver movement
- Great for permanent structures
Cons of mortar:
- Takes longer to apply
- Less forgiving if mistakes happen
Pros of sand-cement mix:
- Easier to work with for beginners
- Quicker installation process
- Allows for drainage between pavers
Cons of sand-cement mix:
- Less rigid hold
- May require occasional topping up
Real-World Examples Or Use Cases In NZ Properties
In Christchurch, where seismic activity can affect ground stability, homeowners often choose a sand-cement dry mix for patios to allow for slight ground movement without cracking. In Auckland, where driveways face both heavy rainfall and regular vehicle use, many contractors pour full concrete slabs to prevent shifting and water pooling.
For coastal homes in Tauranga or Napier, mortar is commonly used to prevent sand and salt from washing out the joint material between pavers. Meanwhile, DIYers in suburban Wellington often stick to a dry mix for garden pathways and backyard areas that don’t carry weight but still need a neat, durable surface.
Each region in New Zealand has different needs, but the right concrete type always comes down to how the space will be used, the load it must handle, and the local conditions it must withstand. Making an informed choice at the start helps avoid expensive fixes later on.
What To Consider Before Laying Pavers On Concrete
Laying pavers over concrete might seem simple, but if you skip key preparation steps, you could face problems like water pooling, cracking, or shifting pavers down the line. Before you start, it’s important to assess the area, understand how the local climate affects outdoor surfaces, and make sure your base is ready. Here’s what to consider:
Drainage And Water Runoff
Water buildup is one of the most common causes of paver failure. Concrete is a solid surface that doesn’t absorb water, so if your base doesn’t have proper drainage, rain can collect between or under the pavers. This can cause the surface to become slippery, damage joint materials, or lead to mold and mildew. Always make sure your concrete base has a slight slope to direct water away from your home and garden. In some cases, installing weep holes or a thin drainage mat can help water escape through gaps in the pavers.
Local Climate Factors (NZ Rain, Frost)
New Zealand’s weather can be unpredictable. Frequent rain, cold snaps, and frost can all impact how your pavers hold up over time. In colder areas, trapped moisture under pavers can freeze and expand, causing them to lift or crack. Choose a concrete mix that holds up in freeze-thaw conditions, and make sure any gaps or joints are filled with material that prevents water entry. In coastal regions, salt and moisture can also wear down surfaces faster, so sealing your pavers or using a weather-resistant joint filler may help.
Ground Preparation And Leveling
Even if you’re laying pavers over an existing slab, ground preparation still matters. The concrete must be clean, level, and structurally sound. Remove any oil, dirt, moss, or crumbling edges before you begin. If there are large cracks or dips in the concrete, patch them first to prevent uneven paver placement. A bumpy or unlevel surface can make your project look messy and may create tripping hazards. Use a straightedge or laser level to check your surface before moving forward.
Council Regulations Or Local Standards
Before you dig, pour, or lay anything, check your local council’s rules. Some areas in New Zealand have specific guidelines for hardscaping, especially if your project involves altering drainage patterns, working near property lines, or adding impermeable surfaces. You may need permission for certain works, especially in urban zones or flood-prone areas. Skipping this step could lead to costly removals or fines.
Tip: Check with your local council before starting outdoor hardscaping projects.
Taking the time to get these basics right can save you time, money, and future repairs. With proper drainage, a level surface, and awareness of local conditions, you’ll lay a solid foundation for pavers that stay in place for years.
Step-By-Step: How To Lay Pavers Over Concrete In NZ
Laying pavers over concrete might sound simple, but doing it right takes a bit of planning and care. If you’re in New Zealand, it’s even more important to account for weather, drainage, and long-term durability. Below is a complete guide to help you lay pavers over a concrete base properly, whether you’re updating a patio, walkway, or driveway.
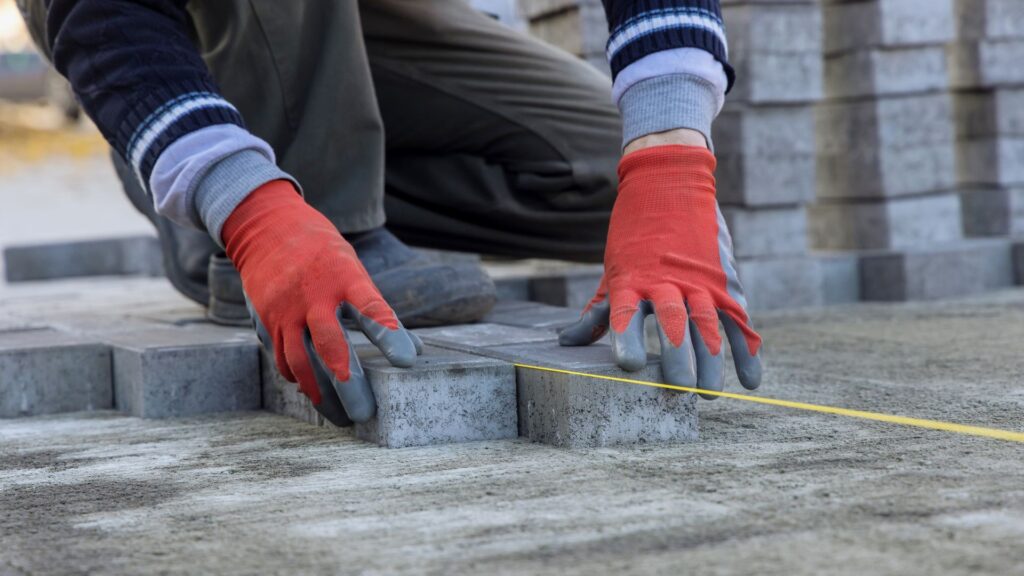
Planning And Layout
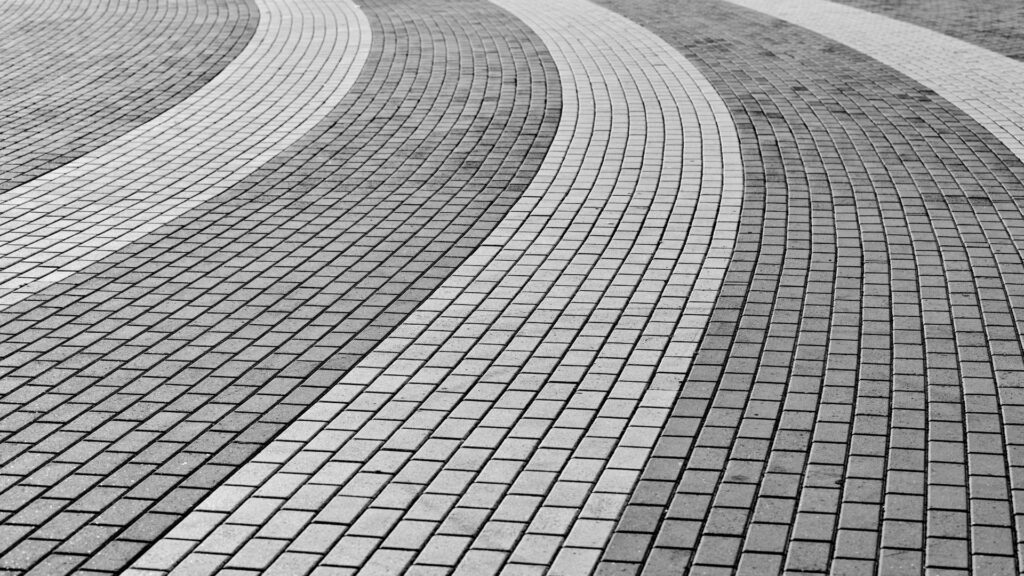
Start by measuring the area where you’ll lay the pavers. Mark out the dimensions with spray paint or string lines to get a clear visual of your layout. Decide on a paver pattern that suits the shape of your space. Herringbone, stretcher bond, or basket weave patterns are common options. Think about where water will flow, your layout should follow a gentle slope away from your home to prevent pooling.
Make sure to plan expansion joints and spacing. If you’re laying pavers over an existing slab, check for cracks, dips, or uneven spots. These issues can affect the final look and performance of your surface if left unaddressed.
Tools And Materials Checklist
Before starting, gather all the necessary tools and materials. Here’s what you’ll need:
- Pavers
- Concrete bonding agent (if needed)
- Mortar or sand-cement mix
- Polymeric sand or jointing sand
- Rubber mallet
- Measuring tape
- Spirit level
- Trowel
- Concrete mixer or mixing tools
- Broom and hose
- Safety gloves and eyewear
Having everything ready helps prevent delays and ensures a smoother workflow.
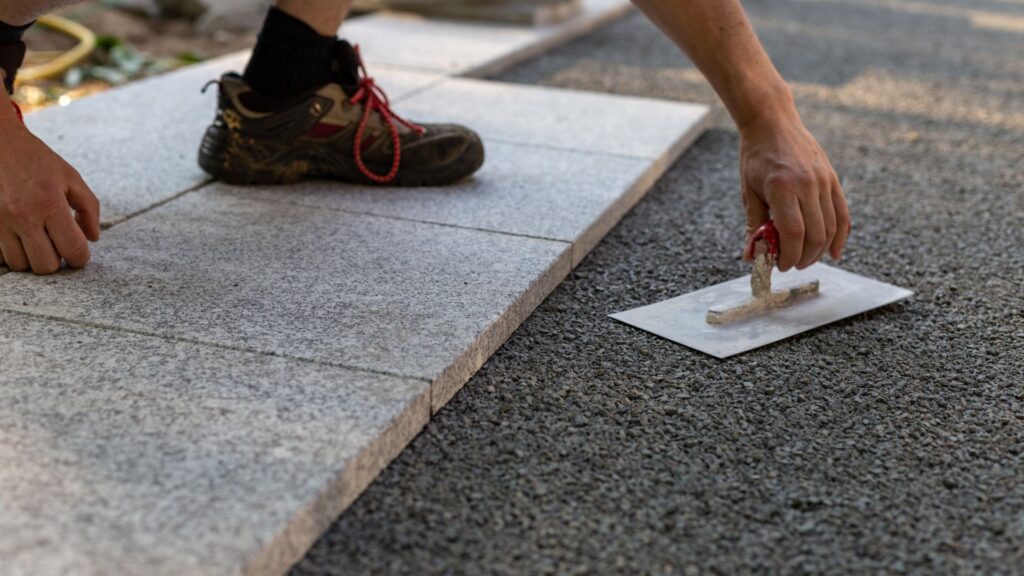
Preparing The Base
If you’re working with an existing concrete slab, inspect it carefully. Clean the surface by removing dirt, grease, moss, or old adhesive using a stiff brush and power washer. Fill any cracks or low spots with patching compound and let it dry completely.
Next, ensure proper drainage. Water should flow away from your house or foundation. If the slab is flat with no slope, you can use a screed layer or self-leveling compound to adjust the slope slightly.
Mixing And Pouring Concrete
If you’re installing a new concrete base rather than using an existing one, mix concrete using the correct ratio of cement, sand, gravel, and water. For most residential areas, a 20 MPa strength mix works well. Pour it evenly across the marked area and spread it using a screed board. Use a bull float to smooth the surface and add control joints every 2–3 meters to reduce cracking.
Let the concrete cure for at least 7 days. Keep it moist during this period to prevent early shrinkage cracks.
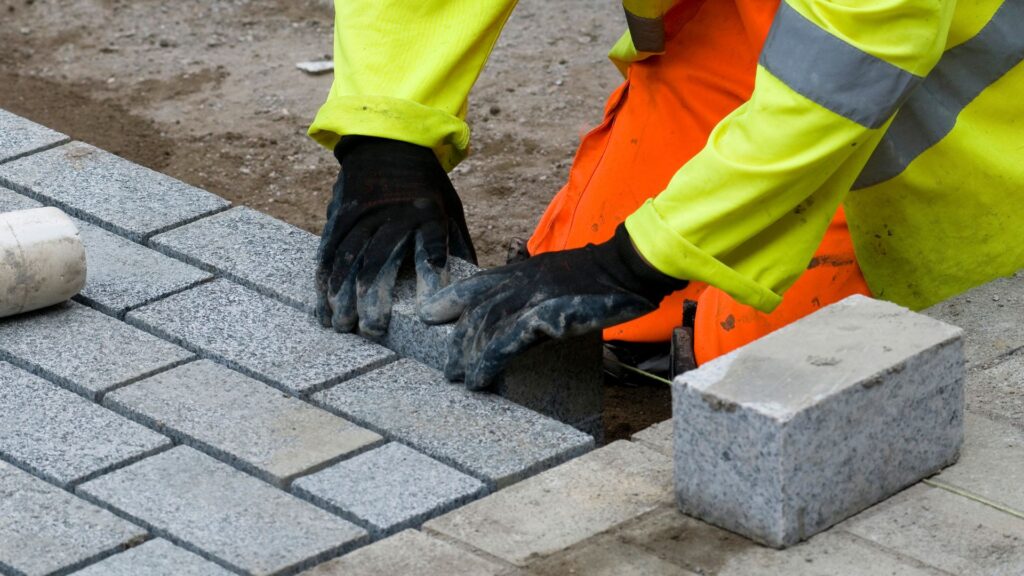
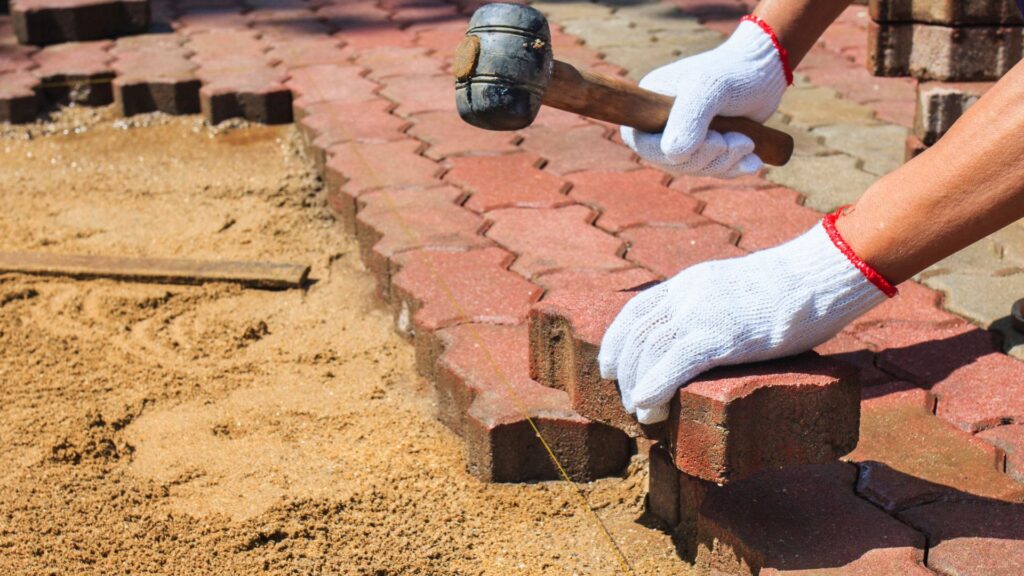
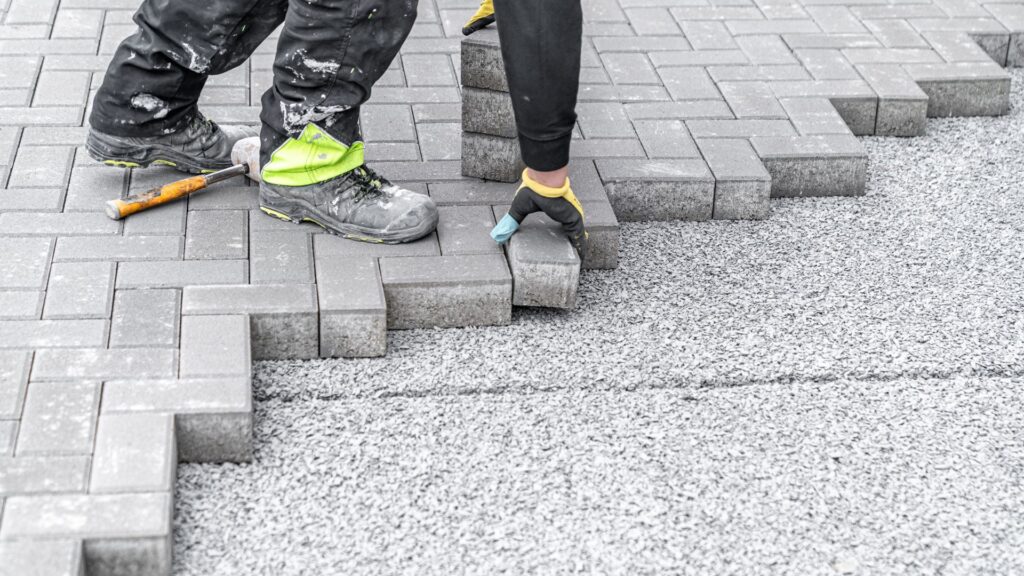
Setting And Spacing Pavers
Once the base is ready, start laying your pavers from one corner and work your way out. Apply mortar or a bonding agent on the back of each paver for better adhesion. Use a rubber mallet to tap each paver into place. Check each one with a spirit level to maintain an even surface.
Leave consistent gaps between pavers for jointing material. Typical spacing is 3 to 5 mm, but this may vary depending on your design or product specifications.
Filling Joints (Sand, Mortar, Or Polymeric Sand)
After all pavers are set, it’s time to fill the joints. You can use:
- Dry Sand: Brush it into the joints, then hose lightly to settle the sand. Repeat as needed.
- Mortar: Use this for a more rigid surface. Apply with a pointing trowel and smooth the joints.
- Polymeric Sand: Activated with water, this hardens to resist weed growth and movement. It’s a good middle-ground option for durability and appearance.
Sweep away any excess material and allow everything to cure according to product instructions.
This entire process helps ensure your pavers stay in place, drain properly, and look great over time. Whether you’re tackling a small patio or a full driveway, following these steps carefully will lead to long-lasting results. If you want a visual reference or a ready-to-print checklist, consider creating your own or downloading one from a trusted NZ supplier’s website.
Common Mistakes To Avoid
When laying pavers with a concrete base in New Zealand, a few simple mistakes can lead to costly repairs or early wear. Whether you’re taking on a DIY paving project or working with a contractor, understanding what to avoid can save you time, money, and frustration. Below are the most common issues that come up with concrete for pavers, especially in NZ’s varied weather conditions.
Using The Wrong Concrete Mix
Choosing the right concrete mix is not just a technical detail, it’s the foundation of a successful project. Many people use standard concrete mixes without considering the type of pavers, the expected weight load, or the soil beneath. For example, a lightweight dry mix might work for a garden path but will fail under the weight of a parked car on a driveway. For heavier-use areas, reinforced wet concrete with proper curing is a must. Always match the mix to the purpose of the space and the site conditions to avoid cracking, sinking, or instability.
Poor Drainage Design
Water management is one of the most overlooked parts of any outdoor paving job. In New Zealand, where heavy rain is common, poor drainage can lead to water pooling under or around your pavers. This weakens the concrete, causes pavers to shift, and invites mold or algae buildup. A solid drainage plan includes a sloped base to direct runoff away from structures, weep holes if you’re using a slab, and avoiding impermeable joints where water can’t escape. Ignoring drainage turns a well-laid patio into a maintenance headache.
Not Allowing For Expansion Gaps
Concrete expands and contracts with temperature changes. If you install pavers too tightly without expansion gaps, you risk surface pressure that can cause buckling, cracking, or even lifting. This is especially important in areas that get strong sun exposure or experience temperature swings. Expansion joints help absorb movement and keep everything in place. You don’t need large gaps, just enough space to prevent materials from grinding against each other.
Ignoring Surface Slope
A level patio sounds ideal, but in reality, you want a slight slope, about 1:40 gradient, away from your home or any structure. Ignoring this step traps water, creating puddles that damage both the pavers and the concrete base over time. It can also lead to water seeping under foundations or into basements. Whether you’re using sand-cement mix or a full slab, planning the slope during base preparation ensures water drains properly and your surface stays dry and stable.
By avoiding these common mistakes, you’ll end up with a paver installation that lasts longer, looks better, and needs less maintenance down the road.
Concrete Maintenance Tips For Long-Lasting Pavers
Keeping your concrete pavers in top shape doesn’t require a lot of effort, but it does require consistency. A few simple maintenance habits can make a big difference in how your paved areas hold up over time, especially in New Zealand’s ever-changing climate. From sealing joints to stopping weed growth, here’s what you need to know to extend the life and appearance of your concrete pavers.
Sealing Joints
Sealing the joints between your pavers is one of the easiest ways to protect your surface from moisture, staining, and weed growth. In New Zealand, where rainfall can be heavy, unsealed joints quickly trap water and dirt. Over time, this leads to erosion and loosening of the pavers. Use a high-quality joint sealer that’s designed for outdoor use and compatible with your chosen joint filler, whether it’s sand, mortar, or a polymeric blend. Apply the sealant on a dry day and avoid walking on the surface for at least 24 hours after application. Re-seal every 2 to 3 years for maximum protection.
Preventing Weeds And Moss
Weeds and moss are common in damp areas and shady spots, especially in parts of NZ with higher humidity. They grow in the gaps between pavers and can cause them to lift or separate over time. To prevent this, regularly inspect your paver joints and brush in fresh jointing sand where needed. If moss is forming, remove it using a stiff broom and a vinegar-water solution or a moss-killing spray that’s safe for concrete. Keeping the area clean and dry whenever possible also helps reduce regrowth. If you’re using a sealer, choose one with weed- and moss-resistant properties for added protection.
Dealing With Cracks Or Shifting
Even with the best installation, pavers can sometimes crack or shift, especially in areas with poor drainage or unstable soil. Small cracks should be filled with a concrete patch product before water seeps in and makes them worse. For pavers that have moved out of place, lift them gently, inspect the base, and re-level the area with compacted sand or mortar as needed. Consistent inspections help you catch minor issues before they turn into bigger repair jobs. In NZ regions with frequent frost, movement is more likely, so winter checkups are a good habit.
Cleaning Methods For NZ Weather Conditions
New Zealand weather can be unpredictable, with a mix of sun, rain, frost, and wind throughout the year. To keep your pavers looking good, sweep them regularly to remove debris, leaves, and dirt. For a deeper clean, use a pressure washer on a low setting, making sure not to damage the surface or joints. You can also use a mild detergent and water with a stiff brush to remove stains or buildup. Avoid harsh chemicals, especially near gardens or drains. If you live in a coastal area, rinse your pavers occasionally to remove salt deposits that can degrade the concrete over time.
By following these concrete maintenance tips, you’ll get more years out of your pavers and keep them looking great in any NZ environment. Regular upkeep doesn’t just protect your investment, it helps your outdoor spaces stay safe, functional, and visually appealing all year round.
How Much Does It Cost In NZ?
If you’re planning to install pavers using concrete in New Zealand, understanding the costs involved can help you budget realistically and avoid surprises. Whether you’re tackling a small patio or a full driveway upgrade, the total cost will depend on materials, labour, and the tools you choose to use. Let’s break it down.
Average Material Cost Per Square Meter
For most paving jobs in NZ, the average cost of materials ranges between $40 and $80 per square meter. This estimate includes the cost of concrete mix, pavers, bedding sand, and jointing materials. If you’re using a reinforced concrete slab as a base, expect to pay closer to the higher end of that range due to the added steel mesh and higher cement content. Keep in mind that decorative or premium pavers will also raise the overall cost.
Some suppliers offer bulk discounts, so it’s worth getting a few quotes if your project covers a larger area. Prices can vary depending on your location, the type of paver you choose (concrete, clay, or natural stone), and delivery charges.
DIY Vs Hiring A Contractor
DIY installation can save you money on labour costs, which usually range from $50 to $100 per square meter when hiring a professional. For small or straightforward areas like garden paths, going the DIY route makes sense if you have the time and patience to plan properly.
But for complex layouts, sloping land, or driveways that need to handle vehicle weight, hiring a contractor can be a smart investment. A professional will ensure proper base preparation, drainage, and alignment, which means fewer issues down the line.
Ask yourself: do you have the right tools, enough free time, and a solid understanding of how to prepare a stable base? If not, a contractor might actually save you money in the long run by avoiding costly fixes.
Additional Tools Or Gear You May Need
If you go the DIY route, there are some tools and materials you may need to purchase or rent. These include:
- Concrete mixer or wheelbarrow (for mixing)
- Plate compactor (to compact the base)
- Shovel, level, and rake
- Spirit level and rubber mallet
- Trowel for mortar (if using it)
- Safety gear like gloves, boots, and a dust mask
- A garden hose or water source for curing
While some tools can be rented by the day, others may be worth buying if you plan to do more landscaping in the future.
Want a DIY job to look professional? Invest in quality base prep. This step is what sets solid, long-lasting paving jobs apart from those that crack or shift after the first rainy season. A compacted, level, and well-drained base ensures the pavers sit firmly in place and stay that way for years.
By understanding the cost breakdown and comparing DIY vs professional installation, you’ll be better equipped to plan a paving project that fits your budget and delivers long-term results.
When To DIY vs Hire A Professional
Choosing between doing it yourself or hiring a professional for your paving project depends on a few key factors. It’s not just about saving money or time, it’s about getting a finish that lasts and meets your expectations. Here’s how to decide what’s right for you.
Scope Of Your Project
Start by looking at the size and complexity of your project. Small patios, garden paths, or low-traffic walkways are generally manageable as DIY tasks, especially if you have the right tools and follow a step-by-step process. These projects often involve less digging, fewer materials, and minimal precision requirements.
On the other hand, driveways, sloped surfaces, or larger outdoor areas may be better left to a professional. These jobs often require excavation, drainage planning, and proper concrete pouring, skills that come with experience. Mistakes in these areas can lead to uneven surfaces, drainage issues, or pavers that shift over time.
Your Skill Level And Time
Next, be honest about your experience. Have you worked with concrete or pavers before? Do you understand how to level ground, mix concrete, or create a solid base? If not, there’s a learning curve, and mistakes can be expensive to fix.
Also consider your available time. A simple patio might take a weekend to complete with proper planning, but a larger project could stretch across several weekends or longer. If you’re short on time or working under a tight schedule, hiring a contractor can take the stress off your plate.
Pros And Cons Of Each Option
DIY Pros:
- Lower labor costs
- Flexible timeline
- Personal satisfaction from doing the work
DIY Cons:
- Time-consuming, especially if it’s your first time
- Requires proper tools and equipment
- Higher risk of errors or uneven results
Professional Pros:
- Faster and more efficient execution
- Access to industry knowledge and proper tools
- High-quality finish that meets local standards
Professional Cons:
- Higher upfront cost
- Less hands-on control over the process
If you’re confident in your skills, working on a small area, and have time to learn, going the DIY route can be rewarding and budget-friendly. But if your project is large, complex, or critical to the value and function of your property, like a driveway, it’s best to work with a licensed contractor. You’ll avoid costly mistakes and get a finish that’s built to last.
Need help with your paving project? Visit us to explore our services, get expert advice, or request a free quote today. Let’s make your outdoor space work for you.
FAQs: About Concrete For Pavers In NZ
Can you lay pavers directly on concrete in NZ?
Yes, you can lay pavers over an existing concrete slab, but you’ll need to ensure proper drainage, use a bonding agent or mortar, and leave expansion gaps.
What type of concrete mix is best for pavers?
A sand-cement dry mix is best for walkways and patios, while a reinforced wet concrete slab is ideal for driveways or high-traffic areas.
How thick should the concrete base be for pavers?
For residential areas, the base should be at least 100mm thick. For driveways, aim for 125–150mm with reinforcement like mesh or rebar.
Do I need to seal the concrete under pavers?
It’s not required, but sealing can protect against moisture damage, stains, and help extend the lifespan of the base.
Is drainage a problem with concrete under pavers?
Yes, poor drainage can lead to water pooling or paver movement. Add weep holes or a slight slope to allow water runoff.
Can I use regular concrete instead of a paver base?
Yes, but make sure it’s properly cured and leveled. Regular concrete is suitable when you want a solid foundation.
Should I use mortar or sand between pavers?
Use mortar for a rigid finish and sand (especially polymeric sand) for flexible joints. The choice depends on traffic load and design preference.
How long does concrete need to cure before laying pavers?
Allow at least 7 days of curing for the concrete slab before laying pavers on top, ideally 28 days for full strength.
What causes pavers to crack or shift over time?
Poor base preparation, inadequate drainage, or using the wrong concrete mix can all lead to movement or cracks.
Is it better to DIY or hire a pro for paver installation?
DIY is possible for small projects with the right prep and tools. For large or load-bearing areas like driveways, hiring a professional is safer and more reliable.
Conclusion
Concrete plays a major role in the success and durability of any paver project, whether you’re building a simple garden path or a heavy-use driveway. Choosing the right mix, preparing the base properly, and understanding New Zealand’s unique ground and climate conditions can make all the difference. From dry mix options to full concrete slabs, each approach serves a purpose depending on the area and usage. If you’re unsure which method is right for your space, take the time to plan carefully or speak with a professional before starting. A well-executed base will save you money and effort down the line.
About the Author:
Mike Veail is a recognized digital marketing expert with over 6 years of experience in helping tradespeople and small businesses thrive online. A former quantity surveyor, Mike combines deep industry knowledge with hands-on expertise in SEO and Google Ads. His marketing strategies are tailored to the specific needs of the trades sector, helping businesses increase visibility and generate more leads through proven, ethical methods.
Mike has successfully partnered with numerous companies, establishing a track record of delivering measurable results. His work has been featured across various platforms that showcase his expertise in lead generation and online marketing for the trades sector.
Learn more about Mike's experience and services at https://theleadguy.online or follow him on social media: