Welcome to our comprehensive guide on how to repair an old cracked concrete driveway. Maintaining your driveway is crucial for both curb appeal and safety, as cracks and potholes can quickly turn into bigger problems if left unchecked. In this post, we’ll explore the common causes of cracks, how to assess the damage and provide step-by-step instructions for both DIY repairs and professional solutions. By the end, you’ll have all the knowledge you need to restore your driveway to its former glory and keep it looking great for years to come.
To repair an old cracked concrete driveway, start by cleaning the cracked area thoroughly, and removing any debris and loose concrete. For small cracks, apply a concrete filler or sealant, smoothing it out with a trowel. For larger cracks, use a concrete patch, ensuring it is packed tightly into the crack and leveled off. After the repair, allow the material to cure according to the manufacturer’s instructions, and consider sealing the entire driveway to protect against future damage. For extensive damage, consult a professional for options like crack injection, slab jacking, or full driveway replacement. Regular maintenance, including cleaning and sealing, can help prevent cracks from reappearing.
- Understanding The Causes Of Cracks In Concrete Driveways
- Assessing The Damage
- Preparing For Repair
- DIY Repair Methods
- Professional Repair Options
- Preventative Maintenance
- FAQs: About How Do You Repair An Old Cracked Concrete Driveway
- What causes cracks in concrete driveways?
- How can I tell if the cracks in my driveway are serious?
- What materials do I need to repair small cracks in my concrete driveway?
- How do I prepare my driveway for repair?
- Can I repair large cracks in my driveway myself?
- When should I consider professional repair options?
- What is the process of crack injection for driveway repair?
- How does slabjacking work for driveway repair?
- How can I prevent future cracks in my concrete driveway?
- Is it better to repair or replace a heavily cracked driveway?
- Conclusion
Understanding The Causes Of Cracks In Concrete Driveways
Concrete driveways, despite their durability and strength, are not immune to cracking over time. Understanding the causes of these cracks can help homeowners take preventative measures and make informed decisions when repairing or replacing their driveways. In this section, we’ll delve into the primary factors contributing to the development of cracks in concrete driveways.
Natural Wear and Tear
One of the most common reasons for cracks in concrete driveways is natural wear and tear. Concrete is a rigid material, and while it is incredibly strong, it is also susceptible to environmental conditions. Weather plays a significant role in the deterioration of concrete over time.
Weather Conditions: Freezing and Thawing Cycles
In regions with cold climates, the freeze-thaw cycle is particularly damaging. When water seeps into the concrete and freezes, it expands, creating internal pressure. As temperatures rise, the ice melts, causing the concrete to contract. This constant expansion and contraction can lead to the formation of small cracks. Over time, these cracks can widen and deepen, compromising the integrity of the driveway.
Additionally, moisture can penetrate these cracks, leading to further freeze-thaw damage in subsequent cycles. This is why it’s crucial to seal any visible cracks before winter sets in, as it helps to minimize the damage caused by freezing and thawing.
Heavy Loads and Traffic
Another significant factor contributing to concrete driveway cracks is the stress from heavy loads and constant traffic. Concrete is designed to handle a certain amount of weight, but excessive loads can exceed its capacity and cause it to crack.
Impact of Heavy Vehicles
Heavy vehicles, such as trucks or RVs, exert substantial pressure on the concrete surface. If the driveway is not designed or reinforced to handle such loads, the excessive weight can lead to cracking. This is especially true if the vehicles are parked in the same spot for extended periods, creating concentrated stress points.
Constant Traffic
Regular use of the driveway by multiple vehicles can also contribute to wear and tear. The repeated pressure from daily traffic, especially in high-traffic areas, can cause the surface to weaken over time. Even lighter vehicles can cause damage if the driveway experiences constant use without any periods of rest or maintenance.
Poor Installation and Materials
The longevity and durability of a concrete driveway heavily depend on the quality of installation and the materials used. Poor workmanship and subpar materials are often culprits in premature cracking.
Improper Installation
If the concrete is not poured and cured correctly, it can lead to a host of issues, including cracks. Factors such as improper mixing, inadequate curing time, and poor finishing techniques can all contribute to the formation of cracks. For instance, if the concrete mix contains too much water, it can weaken the final product, making it more susceptible to cracking under stress.
Subpar Materials
The quality of the materials used in the concrete mix is equally important. Using low-quality cement, aggregates, or reinforcing materials can compromise the strength and durability of the driveway. For example, if the aggregate used is not clean or of the right size, it can create weak points within the concrete. Similarly, insufficient or poor-quality reinforcement can lead to cracks as the concrete contracts and expands.
Understanding the causes of cracks in concrete driveways is the first step toward effective prevention and repair. By recognizing the impact of natural wear and tear, heavy loads and traffic, and poor installation and materials, homeowners can take proactive measures to maintain their driveways. Regular maintenance, including sealing cracks and ensuring proper installation techniques, can significantly extend the life of a concrete driveway and keep it looking its best for years to come.

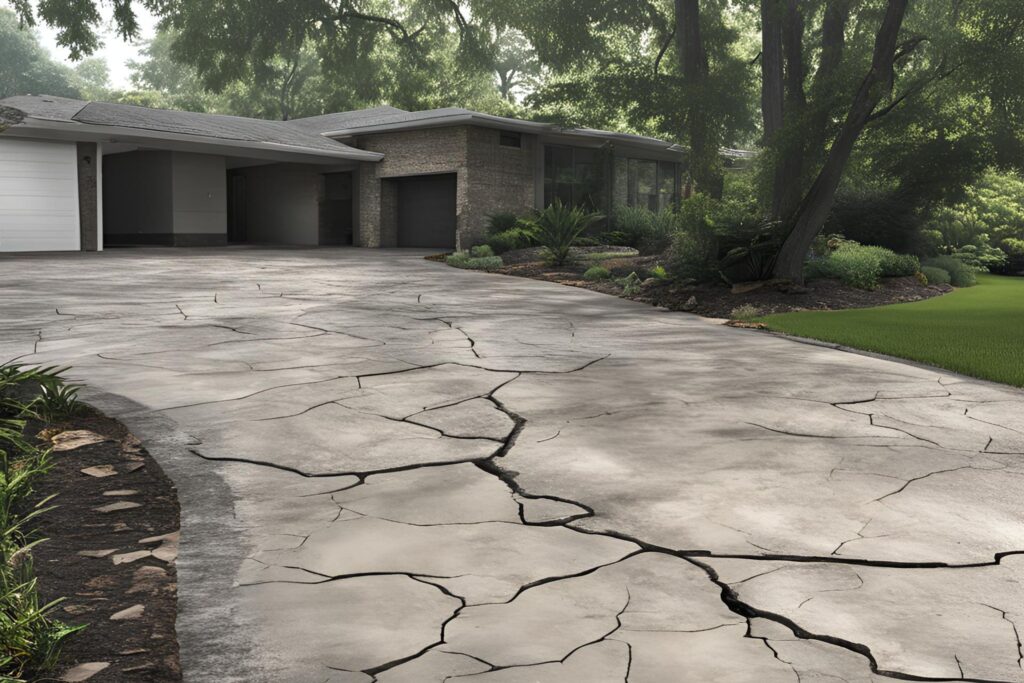
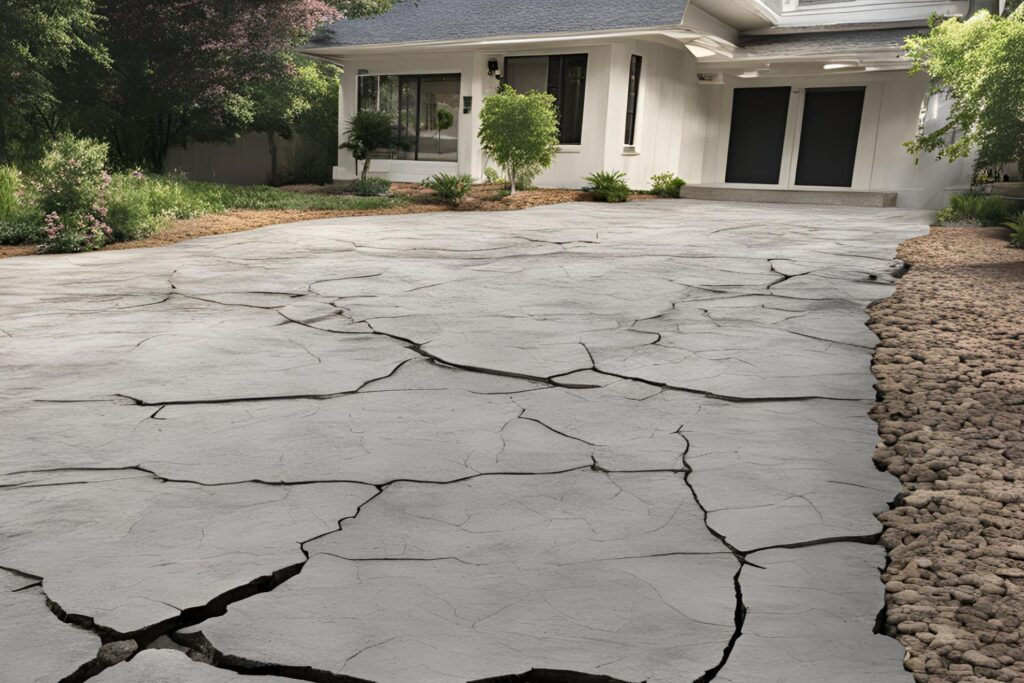
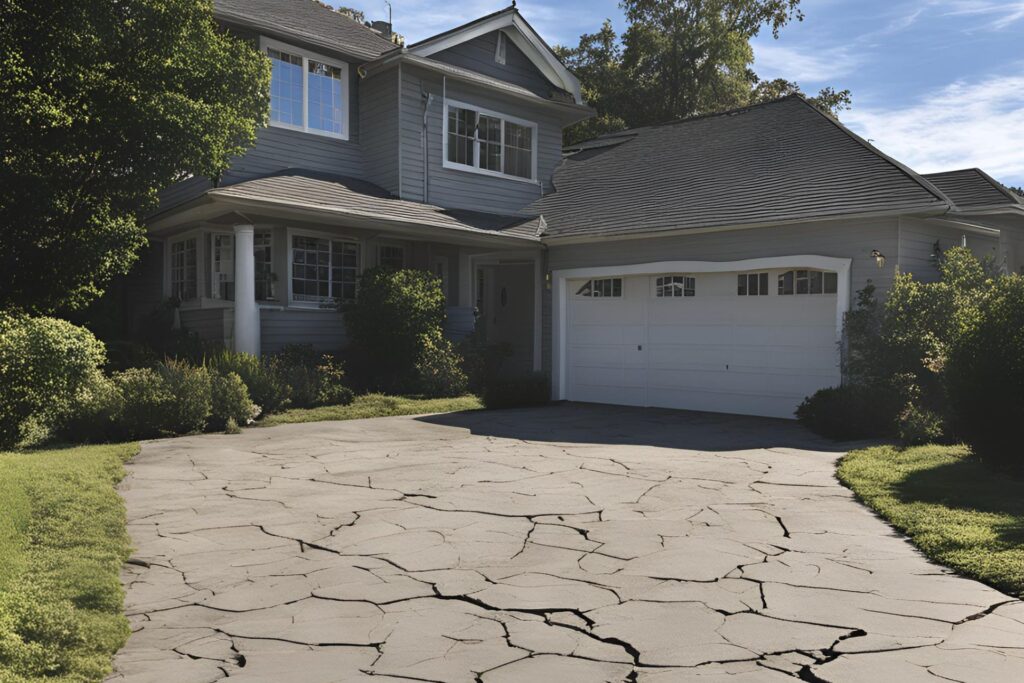
Assessing The Damage
Understanding the extent and nature of the damage to your concrete driveway is crucial before you start any repair work. Proper assessment ensures that you choose the right repair method and avoid unnecessary costs.
Types of Cracks
Cracks in concrete driveways can vary significantly, and it’s important to differentiate between superficial and structural cracks.
Superficial Cracks
These are usually hairline cracks that appear on the surface of the concrete. They are often caused by minor shrinkage as the concrete dries and cures. Superficial cracks are generally less than 1/8 inch wide and do not penetrate deeply into the slab. They are primarily an aesthetic concern and can usually be repaired with simple patching materials.
Structural Cracks
Structural cracks are more serious and can compromise the integrity of your driveway. These cracks are typically wider and deeper, often extending through the entire thickness of the concrete. Structural cracks can be caused by factors such as heavy loads, freeze-thaw cycles, or ground movement. They may also result from poor initial installation or inadequate reinforcement. Addressing structural cracks often requires more comprehensive repairs, such as injecting epoxy or using concrete overlays.
Severity of the Damage
Assessing the severity of the damage is the next step. Here are some tips to help you evaluate the extent of the cracks and other issues in your concrete driveway:
1. Measure the Width and Depth
Use a tape measure or crack gauge to measure the width and depth of the cracks. Cracks wider than 1/8 inch or deeper than 1/4 inch usually indicate more severe damage.
2. Inspect for Additional Damage
Look for signs of other types of damage, such as spalling (flaking or chipping), scaling (surface peeling), or settlement (sinking or uneven sections). These issues can exacerbate the damage if not addressed.
3. Check for Water Infiltration
Water can enter through cracks and cause further damage, especially during freeze-thaw cycles. Look for signs of moisture, such as damp spots or efflorescence (white, powdery residue).
4. Evaluate the Overall Condition
Consider the age and overall condition of your driveway. Older driveways with extensive cracking or other forms of deterioration may require more extensive repairs or even replacement.
When to Call a Professional
While minor cracks and superficial damage can often be handled with DIY methods, there are situations where professional help is necessary:
1. Extensive Cracking
If your driveway has numerous or large structural cracks, it’s best to consult a professional. They can assess the underlying causes and recommend the appropriate repair techniques.
2. Significant Settlement
Driveways with noticeable sinking or uneven areas may indicate problems with the foundation or soil beneath. Professional contractors have the expertise to address these issues effectively.
3. Water Damage
Persistent water infiltration can weaken the concrete and lead to more severe damage over time. A professional can identify the source of the water and implement solutions to prevent further issues.
4. Safety Concerns
If the cracks or damage pose a safety hazard, such as tripping risks or compromised structural integrity, it’s essential to seek professional assistance immediately.
By accurately assessing the damage and knowing when to call in the experts, you can ensure your concrete driveway is repaired correctly and remains durable for years to come.
Preparing For Repair
When it comes to repairing an old cracked concrete driveway, preparation is key. Properly preparing the area ensures a durable and long-lasting repair. Here’s a detailed guide on how to get ready for the job:
Gathering Materials and Tools
Before you begin, it’s essential to gather all the necessary materials and tools. Here’s a comprehensive list to ensure you have everything you need:
Materials
Concrete Patch: This is crucial for filling in the cracks and restoring the surface.
Concrete Sealant: Helps to protect the repaired area from future damage.
Water: Necessary for mixing with concrete patches and cleaning.
Tools
Chisel: Useful for removing loose concrete and debris from the crack.
Wire Brush: Essential for scrubbing away any remaining debris and dirt from the crack.
Hammer: Used in conjunction with the chisel to clear out the crack.
Broom: For sweeping away dust and loose particles.
Bucket: For mixing the concrete patch.
Trowel: To apply and smooth the concrete patch.
Safety Gear: Including gloves, safety goggles, and a dust mask for protection.
Having these materials and tools on hand will make the repair process smoother and more efficient.
Cleaning the Area
Cleaning the cracked area is a critical step to ensure the concrete patch adheres properly. Here’s a step-by-step guide to effectively clean the area:
1. Remove Debris: Use the chisel and hammer to knock away any loose concrete around the crack. This helps to create a clean surface for the patch to adhere to.
2. Scrub the Crack: Take the wire brush and scrub inside the crack thoroughly to remove dirt, dust, and small particles. This step is crucial for ensuring the patch bonds well with the existing concrete.
3. Sweep the Area: Use a broom to sweep away any debris and dust from the surrounding area. This prevents any loose particles from interfering with the repair.
4. Wash the Crack: Rinse the crack with water to remove any remaining dust. Ensure the area is clean and free of contaminants before proceeding to the next step.
5. Dry the Area: Allow the crack to dry completely. Any moisture left in the crack can weaken the bond of the concrete patch.
Safety Precautions
Repairing a concrete driveway involves various tools and materials, making it essential to prioritize safety. Here are some important safety measures to follow:
1. Wear Protective Gear: Always wear gloves to protect your hands, safety goggles to shield your eyes, and a dust mask to avoid inhaling dust and debris.
2. Work in a Well-Ventilated Area: If you’re working with chemicals such as sealants or adhesives, ensure you’re in a well-ventilated area to avoid inhaling harmful fumes.
3. Use Tools Properly: Handle all tools, especially the chisel and hammer, with care to avoid injury. Follow the manufacturer’s instructions for any power tools.
4. Lift Safely: When lifting heavy bags of concrete or buckets of mix, use proper lifting techniques to avoid back injuries. Bend at your knees and keep your back straight.
5. Stay Alert: Pay attention to your surroundings to avoid accidents, especially if you’re working near a driveway that is still in use.
By following these steps and taking the necessary precautions, you can prepare effectively for repairing your old cracked concrete driveway, ensuring a smooth and safe process.

DIY Repair Methods
Repairing your driveway on your own can be a cost-effective and rewarding project. By addressing the cracks and damages early, you can prolong the life of your driveway and enhance its appearance. Here are some DIY repair methods you can try at home.
Filling Small Cracks
Small cracks in your driveway can easily be fixed with concrete filler or sealant. Here’s a detailed guide on how to do it:
1. Clean the Crack: Start by removing any debris, dirt, or loose concrete from the crack. You can use a wire brush or a high-pressure hose for this task. Make sure the crack is completely dry before proceeding.
2. Prepare the Filler: Shake the bottle of concrete filler well to ensure it is properly mixed. If you are using a sealant, prepare it according to the manufacturer’s instructions.
3. Apply the Filler: Squeeze the filler directly into the crack, making sure to fill it completely. Use a putty knife to smooth out the surface and remove any excess filler. For a sealant, use a caulking gun to apply a steady bead along the crack, then smooth it out with a putty knife.
4. Let it Cure: Allow the filler or sealant to cure as per the instructions on the product label. This typically takes about 24 hours.
5. Seal the Driveway: Once the filler is fully cured, apply a sealant over the entire driveway to protect it from future damage and weather conditions.
Repairing Larger Cracks
Larger cracks require a more robust solution, such as a concrete patch. Follow these steps for effective repair:
1. Clean and Prepare the Crack: Just like with small cracks, start by cleaning out any loose material from the crack. Use a wire brush and vacuum to remove all debris and dust.
2. Undercut the Crack: Use a chisel and hammer to widen the bottom of the crack slightly. This creates a mechanical bond that helps hold the patch material in place.
3. Mix the Concrete Patch: Follow the manufacturer’s instructions to mix the concrete patch material. Ensure it has a thick, workable consistency.
4. Apply the Patch: Use a trowel to fill the crack with the patching material, pressing it in to ensure there are no air pockets. Smooth the surface with the trowel, blending it into the surrounding concrete.
5. Cure the Patch: Allow the patch to cure according to the product instructions. This usually involves keeping it moist for several days to ensure it hardens properly.
6. Seal the Driveway: After the patch has cured, apply a driveway sealant to protect the entire surface from future damage.
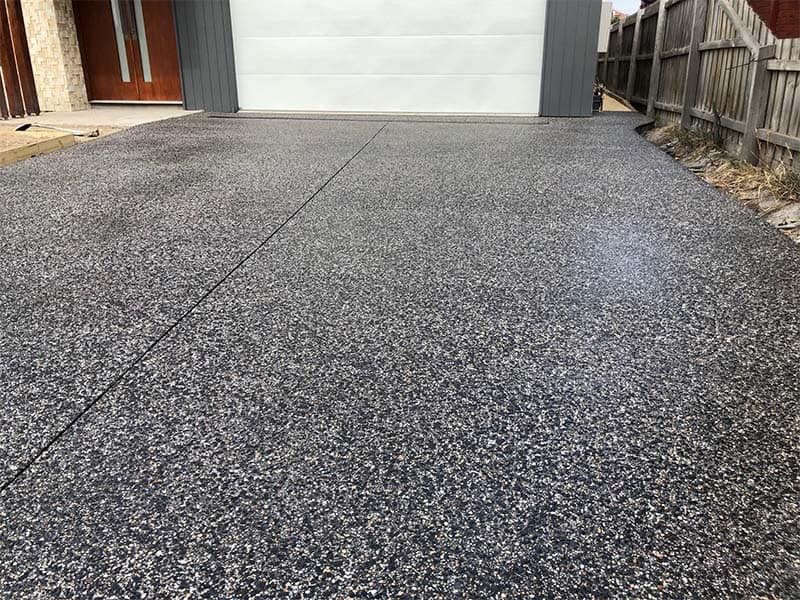
Resurfacing the Driveway
Resurfacing is a more extensive repair method, suitable for driveways with widespread damage but still structurally sound. Here’s when and how to resurface your driveway:
1. Assess the Damage: Determine if resurfacing is necessary by evaluating the extent of the damage. If the driveway has numerous cracks, spalling, or discoloration but is still level and stable, resurfacing is a good option.
2. Clean the Driveway: Thoroughly clean the entire driveway surface to remove any dirt, oil stains, and loose concrete. Use a pressure washer for best results.
3. Repair Cracks and Holes: Before resurfacing, fix any large cracks or holes as described in the previous sections. The surface needs to be as smooth as possible.
4. Mix the Resurfacer: Follow the manufacturer’s instructions to mix the resurfacing compound. It should have a consistency similar to pancake batter.
5. Apply the Resurfacer: Pour the resurfacer onto the driveway and spread it evenly using a squeegee or a trowel. Work quickly to ensure an even application before the product starts to set.
6. Texture the Surface: To prevent the driveway from becoming too slippery, add texture by brushing the surface with a broom in a single direction.
7. Cure the Resurfacer: Allow the resurfacer to cure according to the manufacturer’s recommendations. Typically, you should avoid using the driveway for at least 24-48 hours.
8. Seal the Driveway: Once the resurfacer has fully cured, apply a sealant to protect the new surface from weather and wear.
By following these DIY methods, you can effectively repair your driveway and enhance its longevity. Regular maintenance and prompt repairs will keep your driveway looking great and functioning well for years to come.
Professional Repair Options
When it comes to repairing an old, cracked concrete driveway, there are several professional options available that can restore its appearance and functionality. Here, we’ll delve into three main methods: crack injection, slab jacking, and full driveway replacement. Each of these methods has its own benefits and ideal use cases, ensuring that you can make an informed decision based on the specific condition of your driveway.
Crack Injection
Crack injection is a popular and effective method for repairing small to medium-sized cracks in concrete driveways. This technique involves injecting a specialized resin or epoxy into the cracks, which then hardens and seals the fissures.
Benefits of Crack Injection
1. Cost-Effective: Crack injection is generally less expensive than other repair methods, making it a budget-friendly option for homeowners.
2. Quick and Efficient: The process can be completed relatively quickly, often within a few hours, allowing you to use your driveway sooner.
3. Long-Lasting: The injected materials are designed to be durable and can extend the life of your driveway by preventing further water infiltration and damage.
How It Works
- The cracks are thoroughly cleaned to remove any debris or loose material.
- A series of injection ports are installed along the length of the crack.
- The resin or epoxy is injected into the ports under pressure, filling the entire crack.
- Once the material cures, the ports are removed, and the surface is smoothed out.
Slabjacking
Slabjacking, also known as mudjacking or concrete leveling, is a technique used to lift and level sunken concrete slabs. This method is particularly useful for driveways that have become uneven due to soil erosion or settling.
How Slabjacking Works
- Small holes are drilled into the affected concrete slab.
- A slurry mixture, typically composed of water, cement, and sand, is pumped through the holes.
- The slurry fills the voids beneath the slab, gradually lifting it back to its original level.
- The holes are then patched, and the driveway is ready for use.
When to Use Slabjacking
Uneven Surfaces: Slabjacking is ideal for driveways with uneven or sunken areas that pose tripping hazards or drainage issues.
Preserving Existing Concrete: This method is beneficial when the concrete is in good condition overall, but specific sections have settled.
Cost and Time Efficiency: Slabjacking is usually faster and less expensive than replacing the entire driveway.
Full Driveway Replacement
In some cases, the extent of the damage to a concrete driveway may necessitate a complete replacement. While this is the most extensive and costly option, it can be the best solution for severely deteriorated driveways.
Scenarios for Full Driveway Replacement
Extensive Cracking: When cracks are numerous, large, or deep, simple repairs may not be sufficient to restore the driveway’s integrity.
Structural Issues: If the driveway has significant structural problems, such as widespread sinking or severe erosion, replacement might be the only viable option.
Aesthetic Considerations: For homeowners looking to enhance the curb appeal of their property, a new driveway can provide a fresh, clean look.
Process of Full Driveway Replacement
- The old concrete is broken up and removed, typically using heavy machinery.
- The underlying base is prepared, ensuring proper drainage and support for the new concrete.
- Fresh concrete is poured and finished according to the desired specifications.
- The new driveway is allowed to cure and harden, usually taking several days to a week before it can be used.
In conclusion, choosing the right professional repair option for your cracked concrete driveway depends on the severity and nature of the damage. Crack injection is ideal for minor to moderate cracks, slab jacking works well for uneven surfaces, and a full replacement is best for extensive or structural issues. Consulting with a professional can help you determine the most suitable solution to restore your driveway to its optimal condition.
Preventative Maintenance
Taking good care of your driveway is essential to keep it in excellent condition and prevent the need for extensive repairs. This section provides practical advice on maintaining your driveway through regular cleaning, managing weight and traffic, and addressing drainage issues.
Regular Cleaning and Sealing
Regular cleaning and sealing are vital to maintaining the integrity and appearance of your driveway. Here are some tips to help you keep your driveway in top shape:
1. Regular Cleaning: Use a power washer or a garden hose with a high-pressure nozzle to remove dirt, debris, and stains. For stubborn stains like oil or grease, apply a suitable driveway cleaner and scrub with a stiff brush. Rinse thoroughly to ensure no residue is left behind.
2. Sealing the Driveway: Sealing your driveway creates a protective barrier against the elements, preventing water from seeping into the surface and causing cracks. Choose a high-quality driveway sealant and follow these steps:
- Preparation: Clean the driveway thoroughly and allow it to dry completely.
- Application: Apply the sealant with a roller or brush, ensuring an even coat. Start at one end and work your way to the other, avoiding any overlap.
- Drying: Allow the sealant to dry according to the manufacturer’s instructions before using the driveway.
Regular cleaning and sealing can significantly extend the lifespan of your driveway and keep it looking new for years.
Managing Weight and Traffic
Managing the weight and traffic on your driveway is crucial to prevent cracks and other damage. Here are some tips to help you reduce the strain on your driveway:
1. Limit Heavy Vehicles: Avoid parking heavy vehicles, such as trucks or RVs, on your driveway for extended periods. These vehicles can cause significant stress on the surface, leading to cracks and damage.
2. Distribute Weight Evenly: If you need to park heavy vehicles, distribute the weight evenly across the driveway. Use plywood sheets or boards under the tires to help spread the load and minimize pressure points.
3. Traffic Patterns: Encourage family members and visitors to use different areas of the driveway to avoid creating wear patterns. Rotating parking spots can help distribute the load more evenly and reduce the risk of cracks.
By managing the weight and traffic on your driveway, you can help prevent damage and extend its lifespan.
Addressing Drainage Issues
Proper drainage is essential to prevent water damage and cracking on your driveway. Water can seep into the surface and weaken the structure, leading to cracks and other issues. Here are some tips to ensure proper drainage:
1. Inspect for Water Pooling: After a rainstorm, check your driveway for areas where water pools. These low spots can indicate drainage issues that need to be addressed.
2. Install Drainage Solutions: If you notice water pooling, consider installing drainage solutions such as French drains or channel drains to divert water away from the driveway. Ensure these systems are properly installed and maintained to function effectively.
3. Maintain Gutters and Downspouts: Ensure your home’s gutters and downspouts are clean and functioning correctly. Direct downspouts away from the driveway to prevent water from flowing onto the surface.
4. Grade the Driveway: Ensure your driveway is graded correctly to promote proper drainage. The surface should slope away from the house and other structures to direct water flow away from the driveway.
By addressing drainage issues, you can prevent water from damaging your driveway and causing cracks.
Preventative maintenance is key to preserving the longevity and appearance of your driveway. Regular cleaning and sealing, managing weight and traffic, and addressing drainage issues are essential practices to keep your driveway in excellent condition. By following these tips, you can prevent future cracks and ensure your driveway remains a functional and attractive part of your home.

FAQs: About How Do You Repair An Old Cracked Concrete Driveway
What causes cracks in concrete driveways?
Cracks in concrete driveways can be caused by natural wear and tear, heavy loads and traffic, and poor installation or materials. Weather conditions, such as freezing and thawing cycles, can also contribute to cracking.
How can I tell if the cracks in my driveway are serious?
Assess the cracks by their size and depth. Superficial cracks are usually small and shallow, while structural cracks are larger and deeper, potentially indicating underlying issues. If you’re unsure, it’s best to consult a professional.
What materials do I need to repair small cracks in my concrete driveway?
For small cracks, you will need a concrete filler or sealant, a caulking gun, a wire brush, and a trowel. These materials help fill and smooth out the cracks effectively.
How do I prepare my driveway for repair?
Clean the area around the cracks thoroughly using a wire brush to remove debris and loose concrete. Ensure the area is dry before applying any filler or patching material to ensure proper adhesion.
Can I repair large cracks in my driveway myself?
Yes, you can repair large cracks by using a concrete patch. Clean the crack, apply the patching material, and smooth it out with a trowel. Make sure to follow the manufacturer’s instructions for the best results.
When should I consider professional repair options?
Consider professional repair options if the cracks are extensive, if there are multiple large cracks, or if the driveway is sinking or significantly uneven. Professional methods like crack injection, slab jacking, or full driveway replacement may be necessary.
What is the process of crack injection for driveway repair?
Crack injection involves injecting a special resin into the cracks, which expands and seals the cracks from the inside out. This method is effective for repairing deeper, more serious cracks and preventing water infiltration.
How does slabjacking work for driveway repair?
Slabjacking involves lifting a sunken driveway slab by injecting a grout mixture underneath it. This method helps to level the driveway and fill voids that may have caused the slab to sink.
How can I prevent future cracks in my concrete driveway?
Regular maintenance, such as cleaning and sealing your driveway, managing vehicle weight and traffic, and ensuring proper drainage, can help prevent future cracks. Addressing minor issues promptly can also extend the life of your driveway.
Is it better to repair or replace a heavily cracked driveway?
The decision to repair or replace depends on the extent of the damage. If there are numerous large cracks, significant sinking, or structural issues, replacing the driveway may be more cost-effective in the long run. For less severe damage, repairs can suffice and extend the driveway’s lifespan.
Conclusion
In conclusion, maintaining a crack-free concrete driveway is essential for both aesthetic appeal and structural integrity. By addressing the key points discussed in this post, such as identifying the causes of cracks, utilizing appropriate repair methods, and following preventive maintenance tips, homeowners can extend the lifespan of their driveways and avoid costly repairs. It’s important to take proactive steps now to repair any existing damage, ensuring your driveway remains smooth and durable. Not only does this improve the curb appeal of your home, but it also enhances safety by preventing potential tripping hazards. Regular maintenance and timely repairs can save money in the long run and provide peace of mind knowing your driveway is in top condition.
About the Author:
Mike Veail is a recognized digital marketing expert with over 6 years of experience in helping tradespeople and small businesses thrive online. A former quantity surveyor, Mike combines deep industry knowledge with hands-on expertise in SEO and Google Ads. His marketing strategies are tailored to the specific needs of the trades sector, helping businesses increase visibility and generate more leads through proven, ethical methods.
Mike has successfully partnered with numerous companies, establishing a track record of delivering measurable results. His work has been featured across various platforms that showcase his expertise in lead generation and online marketing for the trades sector.
Learn more about Mike's experience and services at https://theleadguy.online or follow him on social media: