Welcome to our comprehensive guide on selecting the best type of gravel to use under a concrete slab. Whether you’re a DIY enthusiast looking to pour your own patio or driveway, or simply curious about the foundational details that ensure a sturdy concrete structure, understanding the role gravel plays is essential. The right gravel not only provides crucial support but also improves drainage and prevents potential shifting or cracking over time. In this guide, we’ll break down why choosing the right gravel is vital, the best types to consider, and some helpful tips to ensure your concrete slab has the strongest foundation possible.
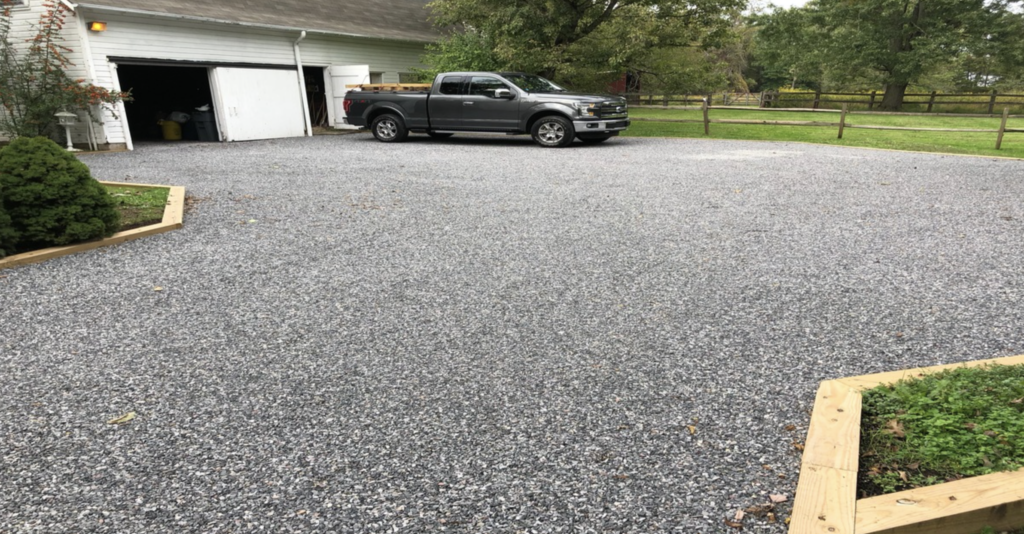
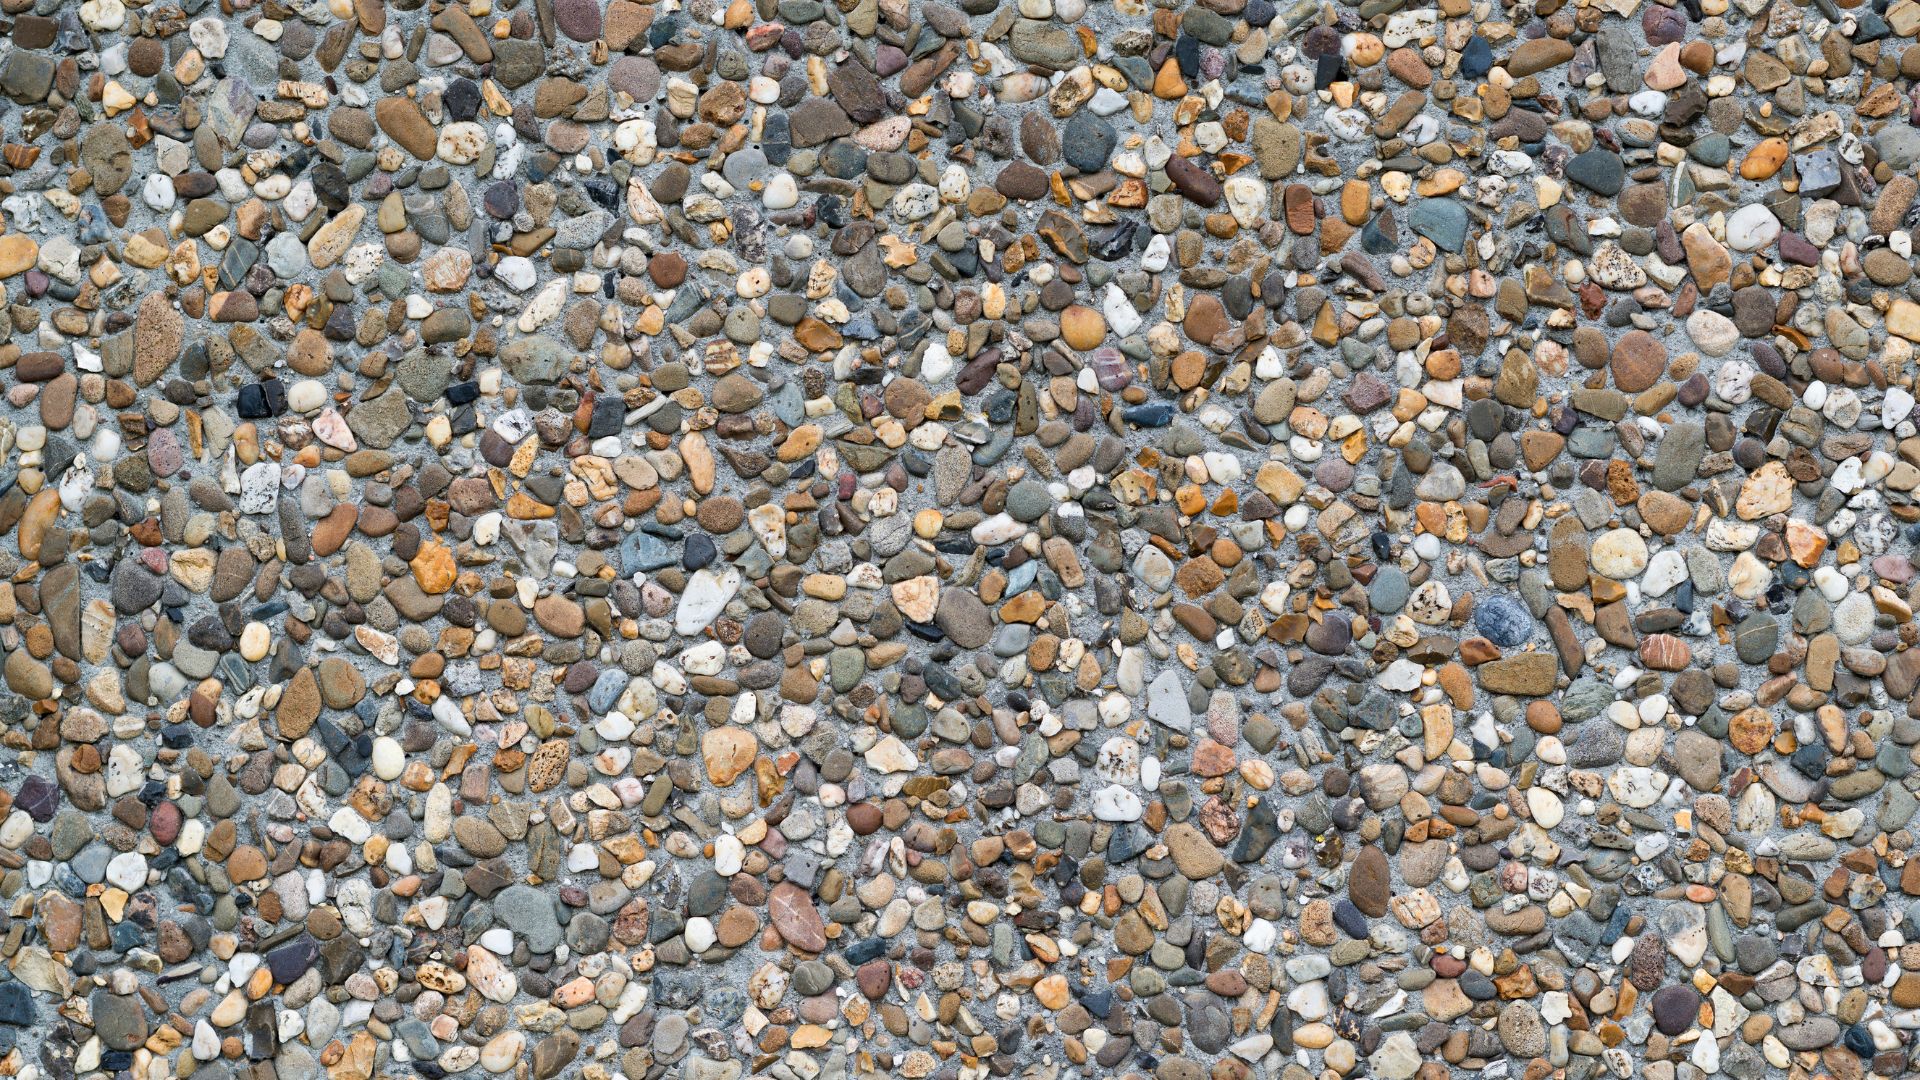
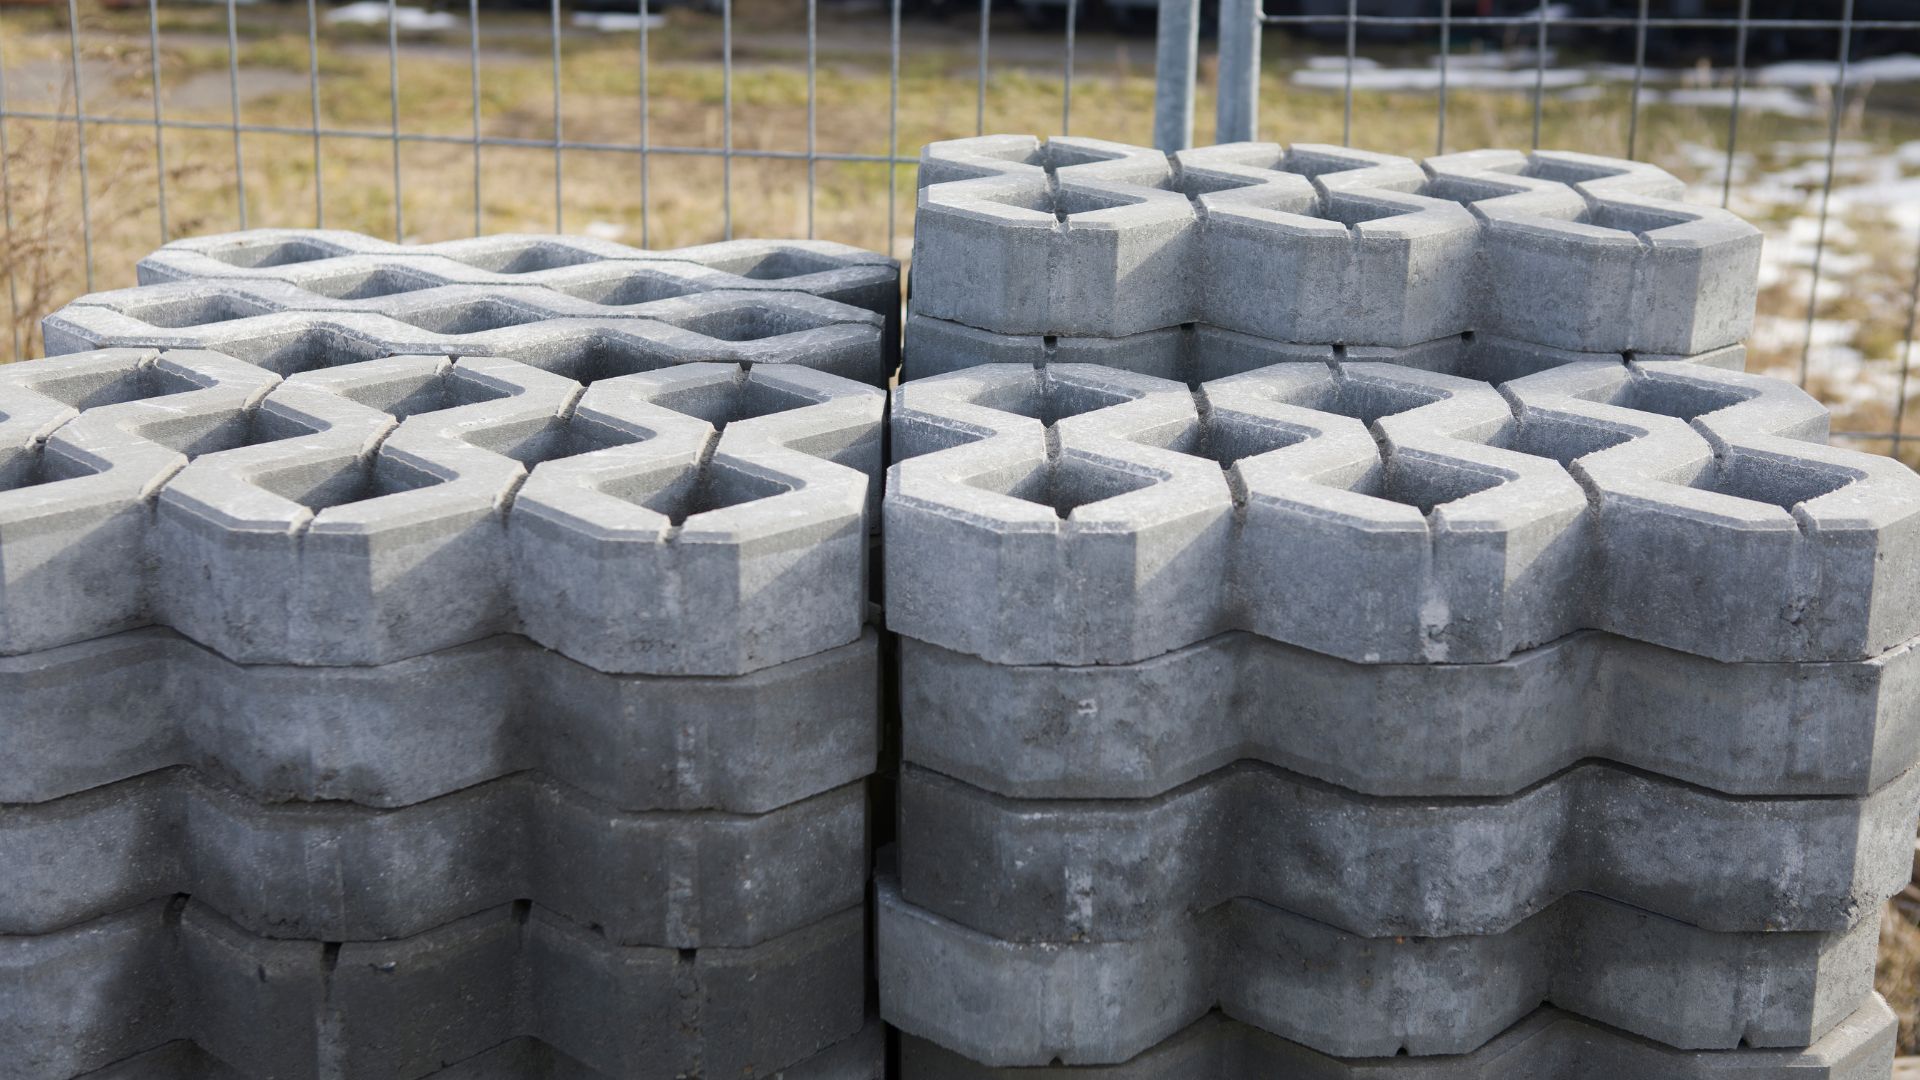
The best type of gravel to use under a concrete slab is crushed stone, typically made from granite or limestone. A ¾-inch crushed gravel is ideal because it compacts well and provides excellent drainage, creating a strong and stable foundation. This gravel type helps prevent shifting, cracking, and water pooling, ensuring the longevity of your concrete slab.
- Why You Need Gravel Under A Concrete Slab
- Key Factors To Consider When Choosing Gravel
- Best Types Of Gravel For A Concrete Slab Base
- The Gravel Layer: How Much Is Needed?
- The Role Of Sand And Finer Materials Under Gravel
- Common Mistakes To Avoid When Laying Gravel Under A Concrete Slab
- Step-By-Step Guide To Laying Gravel For A Concrete Slab
- Long-Term Maintenance And Care
- FAQs: About What Type Of Gravel Under Concrete Slab
- Why is gravel necessary under a concrete slab?
- What size of gravel is best for under a concrete slab?
- Can I use pea gravel under a concrete slab?
- How much gravel do I need under a concrete slab?
- What is the difference between crushed stone and recycled gravel?
- Do I need to compact the gravel under a concrete slab?
- Can I skip the gravel layer and pour concrete directly on the ground?
- Should I add a sand layer on top of the gravel?
- How do I compact the gravel properly?
- What should I do if the gravel base shifts after pouring the concrete slab?
- Conclusion
Why You Need Gravel Under A Concrete Slab
When building a concrete slab, whether for a patio, driveway, or foundation, gravel serves an essential role in ensuring the slab remains durable and stable over time. Let’s break down the primary reasons why gravel is necessary beneath a concrete slab.
Foundation Support
Gravel provides crucial support to the concrete slab by helping to evenly distribute its weight across the ground. Without this layer, the slab could sink unevenly into the soil, especially if the ground beneath it is soft or poorly compacted. Over time, this uneven sinking can lead to cracks in the concrete, which not only weakens its structure but also detracts from its appearance.
The gravel acts as a stabilizing layer that prevents these issues by providing a firm base. As the weight of the concrete and anything on top of it presses down, the gravel helps to spread the load evenly across the surface, reducing the stress on any single area. This distribution is particularly important when the slab must bear heavy loads, such as in driveways or industrial applications.
Drainage and Moisture Control
One of the most critical functions of gravel under a concrete slab is its ability to control moisture. Without proper drainage, water can accumulate beneath the slab, leading to a range of issues, including freeze-thaw damage in colder climates. As water seeps into the ground and freezes, it expands, putting pressure on the slab from underneath. This process can cause the concrete to heave and crack over time.
Gravel helps water to drain efficiently by creating a permeable layer that allows moisture to flow away from the slab. This drainage system minimizes the amount of water that can accumulate beneath the concrete, reducing the risk of freeze-thaw damage. Even in areas with high rainfall, gravel ensures that excess water doesn’t become trapped, protecting the slab from long-term moisture-related issues.
Preventing Shifting and Erosion
Soil movement and erosion can wreak havoc on concrete slabs. Over time, shifting soils can cause a slab to become unlevel, leading to cracks and other structural problems. This is especially true in regions where the soil composition is prone to shifting or where erosion from water runoff is a concern.
A gravel layer helps combat this by creating a barrier between the slab and the soil. The gravel’s stability prevents the underlying soil from shifting due to moisture or natural movement, keeping the slab securely in place. Additionally, gravel helps prevent soil erosion by encouraging proper drainage, which reduces the risk of the soil being washed away beneath the slab.
By preventing both shifting and erosion, gravel plays a key role in maintaining the long-term integrity of your concrete slab, reducing the risk of costly repairs or premature replacements.
Gravel is an often-overlooked but vital component in constructing a concrete slab that will stand the test of time. Its ability to provide foundation support, ensure proper drainage, and prevent shifting and erosion makes it an essential part of the process. Without a gravel base, your concrete slab could suffer from cracking, moisture damage, and structural instability, leading to avoidable maintenance issues down the line.
Key Factors To Consider When Choosing Gravel
Choosing the right type of gravel is crucial when working on construction projects, particularly for creating a stable base under concrete slabs. The quality and type of gravel directly affect the durability and performance of the project. Here are the key factors to keep in mind when making your selection:
Gravel Size
One of the most important factors to consider is the size of the gravel. Gravel comes in a variety of sizes, from coarse to fine, and the size you choose will have a direct impact on the stability and drainage of your project.
- Coarse Gravel: Typically, gravel larger than 6mm in diameter is considered coarse. This type of gravel is excellent for drainage and is often used in areas where water needs to flow away from the surface, such as under driveways, walkways, or patios. Coarse gravel allows water to pass through easily, reducing the risk of water pooling or soil erosion.
- Fine Gravel: Fine gravel, usually smaller than 6mm in diameter, is better suited for areas that require a smoother surface or tighter compaction. It is often used as a top layer for pathways or decorative areas, providing a more refined finish. However, it is not ideal for projects that require significant water drainage.
Selecting the right size gravel is crucial for ensuring both stability and proper drainage, two key components in the long-term success of your project.
Compaction Ability
Compaction refers to how well the gravel settles into a firm, solid layer when packed down. Choosing gravel that compacts well is essential for creating a strong and stable base. Gravel that doesn’t compact properly can shift over time, leading to cracks or uneven surfaces in the concrete slab.
- Crushed Stone: Crushed gravel or stone is one of the best materials for compaction. Its angular edges interlock when compacted, creating a solid and stable base. This type of gravel is typically used in driveways and under foundations because of its superior compaction abilities.
- Rounded Gravel: While rounded gravel, such as river rock, may look more aesthetically pleasing, it doesn’t compact as well due to its smooth surface. Rounded gravel is more prone to shifting, making it a less reliable choice for areas that require a strong base. It’s better suited for decorative purposes rather than structural support.
Ensuring that the gravel you choose has excellent compaction ability will help prevent future issues like cracking or shifting in your concrete slab.
Local Availability and Cost
Another practical factor to consider is the availability of gravel in your local area. Gravel is a natural resource, and using locally sourced materials can significantly reduce costs. The farther the gravel has to travel to your project site, the more expensive it becomes due to transportation fees.
- Locally Sourced Gravel: Depending on where you live, certain types of gravel may be more readily available and affordable. For example, if you’re located near a quarry that produces crushed stone, this may be a cost-effective option.
- Cost of Specialized Gravel: Some gravel types, such as pea gravel or washed stone, may be more expensive, especially if they are not commonly available in your area. It’s important to balance the cost of the material with its performance. In many cases, locally available gravel can meet your project’s needs without breaking your budget.
When choosing gravel, always keep in mind that both local availability and cost can influence your decision. It’s worth exploring different suppliers to find the best deal without compromising on the quality of the gravel.
Selecting the right gravel involves balancing size, compaction ability, and local availability to ensure the success of your project. Proper consideration of these factors will help you create a strong, stable foundation that stands the test of time. Whether you’re building a driveway, patio, or foundation, understanding these key elements ensures you make a practical and cost-effective choice for your project.
Best Types Of Gravel For A Concrete Slab Base
Choosing the right type of gravel for a concrete slab base is essential to ensure stability, longevity, and proper drainage. While several types of gravel are available, each type serves a specific purpose depending on the structure you’re building. Here’s an overview of the most popular types of gravel used as a base for concrete slabs and their benefits.
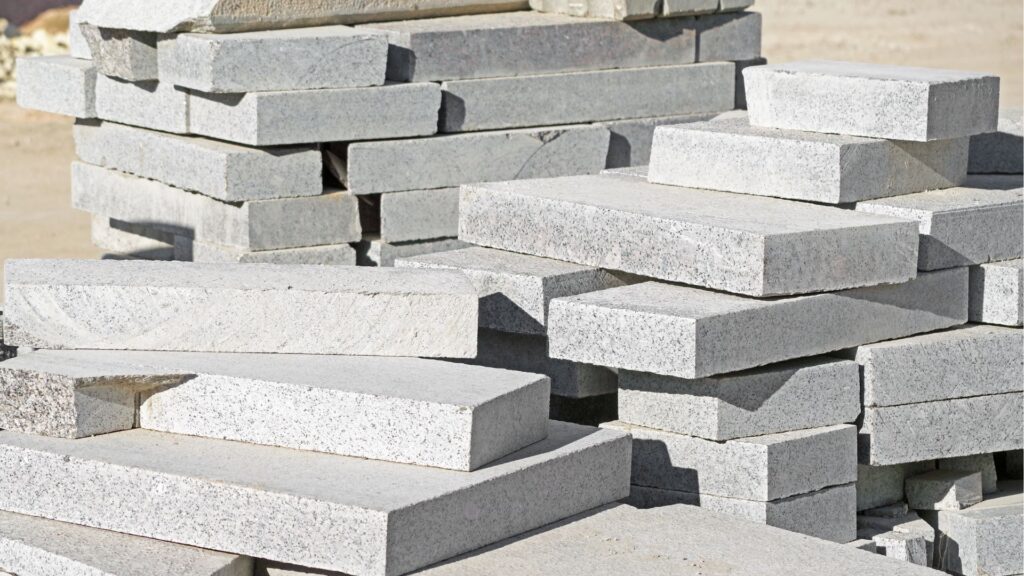
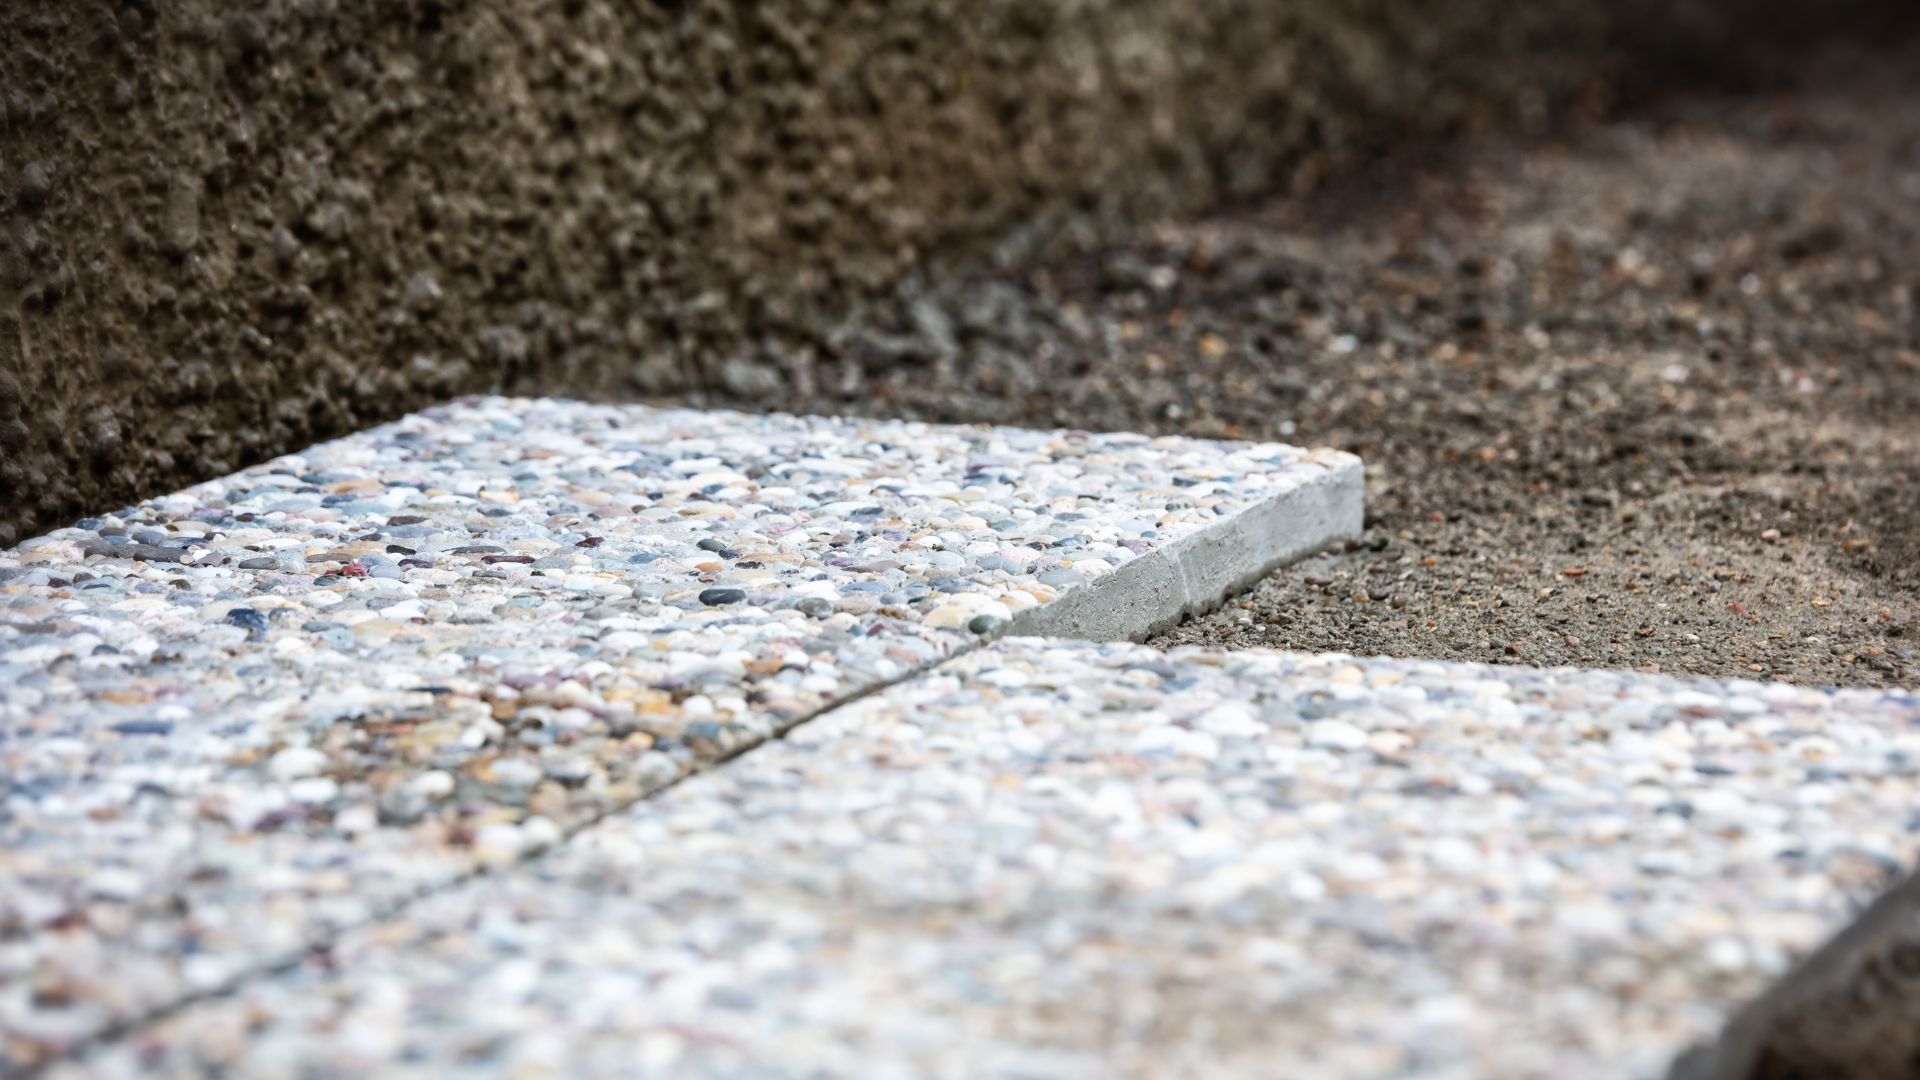
Crushed Stone (Gravel)
Crushed stone, often referred to as gravel, is one of the most commonly used materials for concrete slab bases. It’s made from crushed rock, typically granite or limestone, which provides a sharp, angular texture. This makes it highly effective for compacting and creating a stable surface for heavy loads.
- Description: Crushed stone is typically sourced from quarries, where larger rocks are broken down into smaller, jagged pieces. The angular nature of the stone allows the pieces to lock together when compacted, creating a stable base.
- Benefits: One of the key advantages of crushed stone is its ability to compact tightly, providing excellent support for concrete slabs. It also offers superior drainage, which helps to prevent water accumulation under the slab, reducing the risk of cracks or shifting. Its strength makes it ideal for supporting heavy structures like driveways, patios, or garages.
- Recommended Size: The most common size of crushed stone used for concrete slab bases is ¾ inch. This size strikes the perfect balance between compaction and drainage, offering a solid foundation for most slab installations.
Pea Gravel
Pea gravel consists of small, rounded stones, typically used in landscaping. While it’s not as commonly used as crushed stone for concrete slabs, it can still serve as a base for certain projects.
- Description: Pea gravel is made up of small, smooth, rounded stones, often found in riverbeds or coastal areas. These stones are typically around the size of a pea, hence the name.
- Benefits: One of the major benefits of pea gravel is its excellent drainage capability. The rounded stones allow water to pass through easily, reducing the risk of water buildup beneath the slab. However, unlike crushed stone, pea gravel doesn’t compact as tightly, which means it doesn’t provide the same level of support for heavy structures.
- When to Use: Pea gravel is best suited for lightweight structures, such as garden sheds, or areas where drainage is more important than load-bearing capacity. It’s not recommended for driveways, garages, or other heavy-duty applications where a firm, compacted base is essential.
Recycled Gravel
Recycled gravel, an eco-friendly option, is made from repurposed materials such as crushed concrete, bricks, and other debris. It’s an increasingly popular choice for those looking to reduce waste and lower the environmental impact of their projects.
- Description: Recycled gravel is produced by crushing materials like old concrete and masonry into small, usable pieces. This type of gravel is an excellent alternative to traditional options, as it reuses materials that would otherwise be discarded.
- Benefits: Aside from being environmentally friendly, recycled gravel offers good compaction and is relatively affordable compared to other gravel types. It’s suitable for creating a solid base for concrete slabs, though its performance can vary depending on the quality of the recycled material.
- Best Use Cases: Recycled gravel works well for non-structural slabs or driveways, where it provides adequate support without the need for heavy-duty compaction. It’s a cost-effective option for projects that don’t require the same level of durability as more traditional gravel types.
Each type of gravel offers distinct advantages depending on the specific needs of your project. Crushed stone provides excellent compaction and support for heavy loads, making it the go-to choice for most concrete slab installations. Pea gravel is ideal for areas where drainage is more important than load-bearing strength, while recycled gravel offers a sustainable, cost-effective solution for less demanding applications. By understanding the unique characteristics of each gravel type, you can make an informed decision that ensures the longevity and stability of your concrete slab.
The Gravel Layer: How Much Is Needed?
When it comes to laying a concrete slab, one of the most critical steps is ensuring the right amount of gravel is used as the base layer. Gravel plays an essential role in providing a stable foundation, ensuring proper drainage, and preventing cracks or shifting in the concrete over time. Getting the right depth and compacting the gravel properly can make a huge difference in the longevity of your slab.
Recommended Depth
For most concrete slab projects, it’s recommended to use between 4 to 6 inches of gravel. The depth you choose largely depends on the size of the slab and the type of load it will bear. For example, a driveway or heavy-use area might require a thicker base to support the weight of vehicles. The purpose of the gravel is to evenly distribute the weight placed on the concrete and reduce the risk of settling or cracking over time. Skimping on the depth can lead to serious issues later, such as sinking or water pooling.
Compact in Layers
A critical step often overlooked is compacting the gravel in layers. Instead of simply dumping all 4-6 inches of gravel at once, it’s best to compact it in layers, typically 2-3 inches at a time. This method prevents the formation of voids or gaps in the gravel, which can weaken the base and lead to uneven settling of the concrete slab. When the gravel is properly compacted in layers, it creates a firm, level surface that will support the slab and prevent it from shifting over time.
Voids in the gravel can also allow water to accumulate, which can undermine the slab and lead to cracking, especially in areas where freezing and thawing occur. By compacting in layers, you’re creating a more solid, durable base that can handle a range of conditions.
Tools to Use for Compacting Gravel
To achieve the best results, you’ll need the right tools for compacting the gravel. Rammers and plate compactors are the most common tools used for this task. A rammer, also known as a jumping jack, is perfect for smaller or more confined spaces, offering a powerful force to compact the gravel. It’s a good choice when you’re working in tighter areas where larger equipment can’t easily fit.
For larger, open areas, a plate compactor is ideal. It works by vibrating the gravel into place and is effective for flattening and compressing large surface areas quickly. You can typically rent plate compactors from hardware stores or tool rental shops, making them accessible for DIY projects.
Using the right tools and techniques for compacting gravel ensures that your concrete slab will have the solid, level foundation it needs to last for years without major issues. By following these steps, you’ll ensure your slab remains durable, properly supported, and free from the common problems associated with poor gravel installation.

The Role Of Sand And Finer Materials Under Gravel
When creating a solid foundation for construction projects like driveways, walkways, or concrete slabs, using gravel is crucial. However, the role of sand and finer materials beneath or over the gravel is equally important in certain situations. Here’s why these finer materials come into play, when they are necessary, and how they contribute to overall stability.
When Sand is Necessary
In some cases, a layer of sand is essential to achieve a smoother and more uniform base. One situation where sand becomes particularly useful is when you’re aiming to level out uneven surfaces. Gravel, with its larger pieces, can sometimes leave gaps or small voids that may cause issues when laying down concrete slabs, paving stones, or other materials. A layer of sand can help fill these gaps, creating a more consistent and even surface to work with.
For example, when installing paving slabs, placing sand on top of the gravel helps to smooth out the surface and provide a finer base for the pavers to rest on. Sand is easier to level and compact than gravel alone, making it a practical addition in projects that require a more precise, even surface. Additionally, the finer sand particles allow for better placement and arrangement of the slabs, leading to a neater finish and reduced chances of future shifting or settling.
Preventing Shifting
Stability is key when working with gravel, especially for construction that will bear weight or endure heavy traffic. This is where finer materials like sand play a crucial role. Gravel alone, with its larger particles, tends to have voids or spaces between each piece. Over time, without additional support, this can lead to the gravel shifting or settling, causing issues with the integrity of the surface above it.
By introducing a layer of sand or finer materials, these gaps between the gravel pieces can be filled. This filling process helps lock the larger gravel particles in place, reducing the risk of shifting over time. Sand acts as a binding agent of sorts, working its way into the spaces between the gravel and creating a more compact and stable base. This is especially important in areas where the foundation may be subject to pressure, such as driveways or patios, as it prevents unwanted movement and ensures a longer-lasting structure.
While gravel serves as the primary base material, sand and finer materials often play a complementary role in improving the overall stability and smoothness of the foundation. Using sand when necessary can lead to a more even surface and help prevent shifting, making it a critical component in many construction projects.
Common Mistakes To Avoid When Laying Gravel Under A Concrete Slab
When preparing to lay gravel under a concrete slab, ensuring that the foundation is well-constructed is crucial for long-term durability. Missteps during this process can lead to structural issues, water drainage problems, and even early cracking of the concrete. Here are three common mistakes to avoid when laying gravel under a concrete slab:
Using the Wrong Gravel Size
One of the most critical aspects of laying a proper gravel foundation is choosing the correct gravel size. Gravel that is too small or too large can lead to significant structural issues down the line. If the gravel is too small, it won’t provide enough stability for the concrete slab. Fine gravel or sand can shift and settle unevenly over time, creating weak points in the foundation. This instability can lead to cracks and uneven surfaces in the concrete above.
On the other hand, using gravel that is too large can create voids in the foundation. Large gravel pieces may not settle uniformly, leading to gaps that reduce the overall support for the concrete. The ideal gravel for a concrete slab is typically around ¾ inch in size. This size allows for good compaction and support while also providing proper drainage. Using the right size gravel ensures that your slab will have a strong, stable base, preventing future structural problems.
Not Compacting the Gravel Properly
Proper compaction of the gravel layer is a critical step that is often overlooked or done improperly. Failing to compact the gravel properly can result in uneven settling, which causes the concrete slab to shift over time. When the base layer isn’t adequately compacted, air pockets remain trapped between the gravel pieces. These air pockets can compress after the slab is poured, leading to uneven surfaces, cracks, or even sinking areas within the concrete.
To avoid this, it’s essential to compact the gravel layer in small increments, often referred to as “lifts,” of about 2 to 4 inches at a time. Using a plate compactor or roller can help ensure that the gravel is tightly packed and free of air pockets. Compacted gravel forms a solid, even base, providing the necessary support for a durable concrete slab. Skipping this step or not compacting thoroughly can severely compromise the longevity and structural integrity of the concrete.
Overlooking Drainage Needs
Proper drainage is an often underestimated aspect of laying gravel under a concrete slab, yet it plays a vital role in the longevity of the slab. Water pooling under the slab can lead to erosion of the gravel base, weakening the foundation over time. This issue is especially problematic in areas with heavy rainfall or poor soil drainage.
When laying gravel, it’s important to grade the surface properly so that water can drain away from the slab rather than accumulating underneath it. Sloping the ground slightly, usually at about a 2% grade, ensures that water flows away from the concrete. Additionally, adding a layer of coarse gravel or installing drainage pipes can help redirect water and prevent pooling. Overlooking drainage needs can lead to cracks, shifting, or even the failure of the concrete slab, as water erodes the gravel base beneath it.
Avoiding these common mistakes—using the wrong gravel size, failing to compact the gravel properly, and neglecting drainage needs—can make all the difference when laying a solid foundation for your concrete slab. Ensuring the right materials and following proper techniques will not only enhance the structural integrity of your slab but also extend its lifespan. Taking the time to avoid these errors can save you from costly repairs or complete rebuilds in the future.
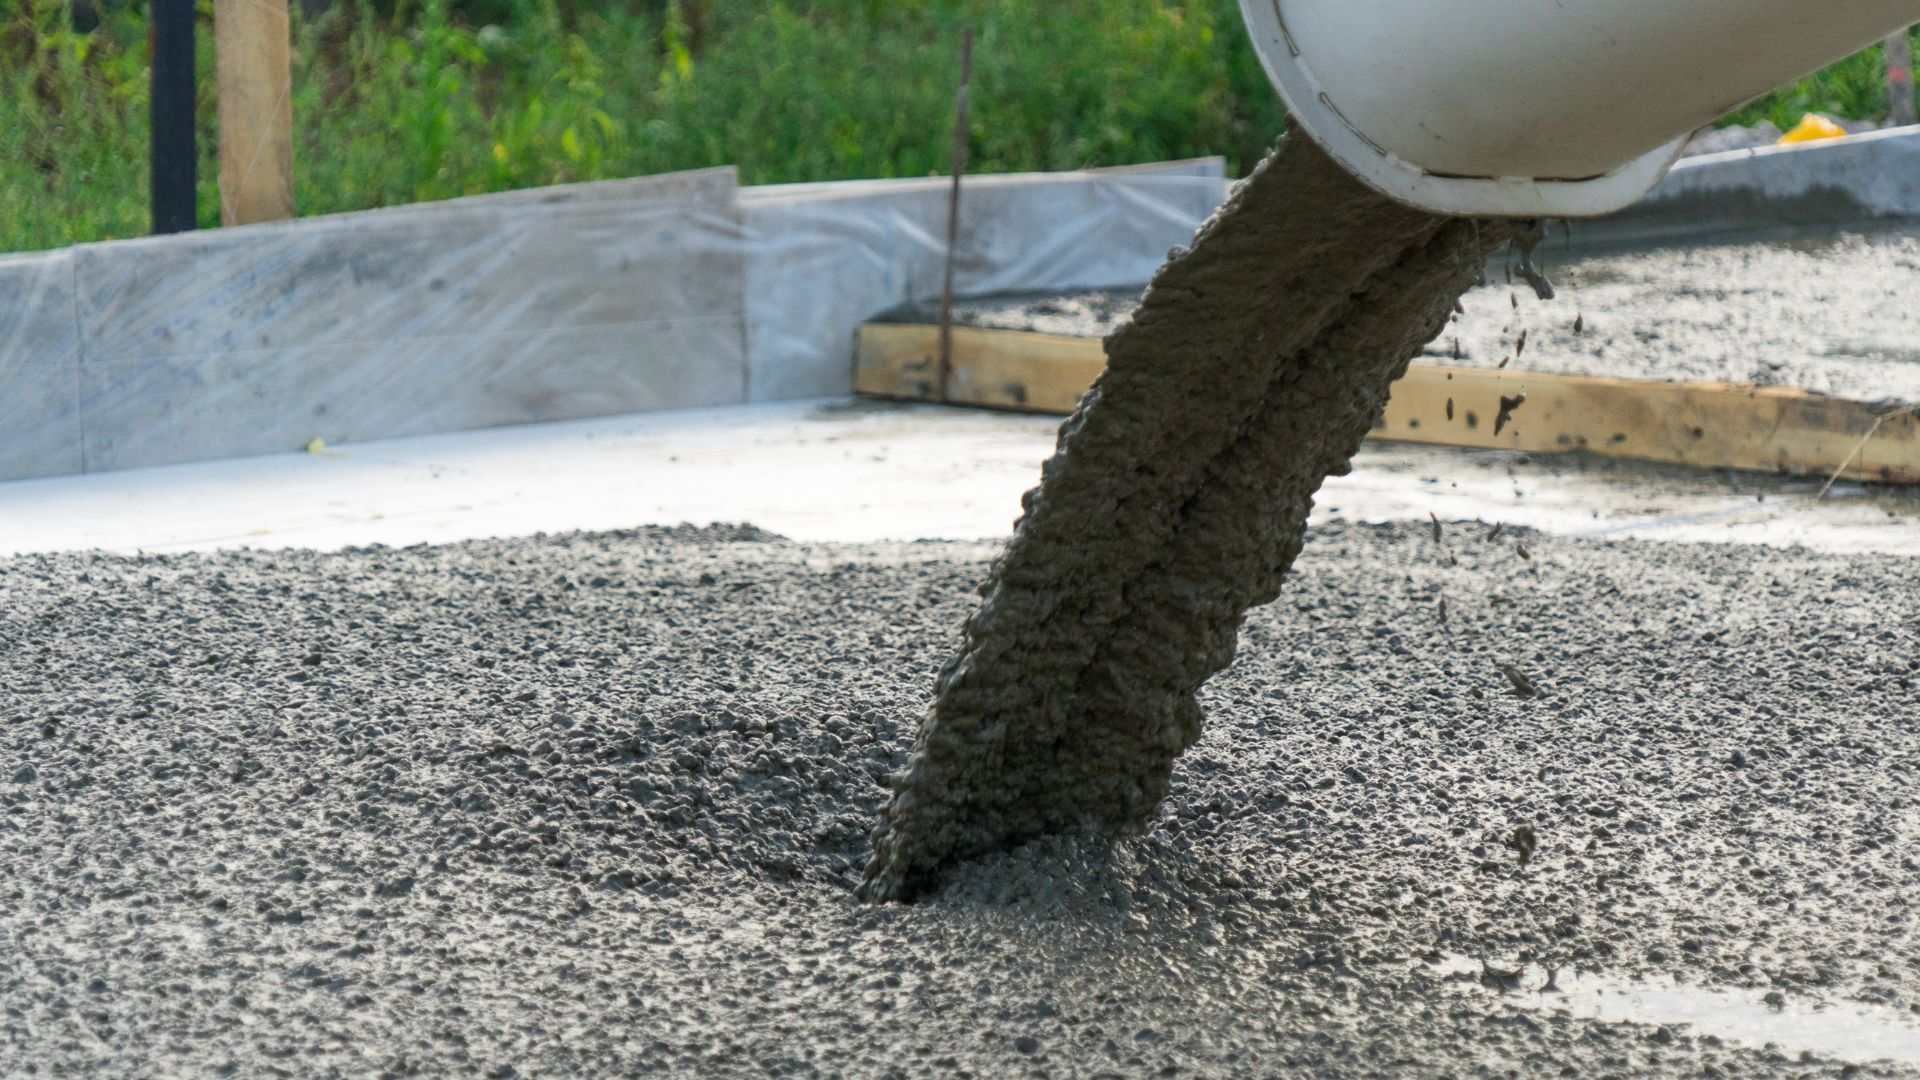
Step-By-Step Guide To Laying Gravel For A Concrete Slab
Laying gravel properly is an essential step in ensuring the stability and durability of your concrete slab. This process not only provides a solid foundation but also helps with drainage, which can prevent structural damage over time. Here’s a detailed guide to help you lay gravel for a concrete slab correctly:
Step 1: Prepare the Ground
Before laying any gravel, it’s crucial to prepare the ground thoroughly. Start by marking the area where the concrete slab will be poured. Once marked, begin excavating the area. The depth of your excavation should account for both the gravel and concrete layers. Typically, you’ll want to dig down about 8-12 inches, depending on the size of your slab and local building codes. Be sure to remove all debris, such as roots, rocks, and any other obstructions that could interfere with the leveling process.
After excavation, it’s important to level the surface. Uneven ground can lead to unstable foundations, resulting in cracks and other issues later. Use a rake or a shovel to ensure the surface is as flat as possible. If necessary, you can also rent a plate compactor to help tamp down the soil, creating a firm base for the gravel. This preparation is key for a long-lasting concrete slab.
Step 2: Lay the Gravel
Once the ground is prepared, it’s time to start laying the gravel. Gravel acts as a stabilizer, offering support and drainage for the concrete slab above. Begin by adding the gravel in layers of 2 to 3 inches. Spread the gravel evenly across the surface, making sure there are no high or low spots. After each layer is spread, compact it thoroughly using a plate compactor. Compacting each layer is essential because it prevents the gravel from shifting, which can cause the concrete to settle unevenly over time.
Repeat this process until you’ve built up around 4 to 6 inches of gravel, depending on the project requirements. It’s important to maintain a consistent thickness across the entire area to ensure the concrete slab will sit evenly. Make sure to continuously check the level of the gravel with a spirit level as you compact it, ensuring that the surface is flat and stable.
Step 3: Add a Sand Layer (If Necessary)
In some cases, adding a sand layer on top of the gravel can provide additional leveling and support for the concrete slab. This step is especially useful if you’re working on uneven ground or if the gravel you’re using is particularly coarse. A 1-2 inch layer of sand can help fill in any gaps in the gravel, ensuring a smoother base for the concrete.
To add the sand, simply spread it over the gravel using a rake, ensuring an even distribution. Once the sand is laid, lightly spray it with water to help it settle into the gravel. Afterward, compact the sand layer just like you did with the gravel. Be cautious not to over-compact the sand, as it needs to remain slightly loose to allow the concrete to bond well with the base.
Step 4: Final Checks Before Pouring Concrete
Before pouring the concrete, it’s crucial to conduct some final checks. First, ensure the gravel (and sand, if applicable) is even across the entire surface. Any unevenness at this stage can translate into an uneven concrete slab, which can cause structural issues later on. Use a level to verify that the base is uniformly flat.
Next, check that the gravel is properly compacted and stable. Walk across the surface and pay attention to any areas that feel soft or unsteady. If you notice any issues, recompact those areas until the surface is firm. Additionally, ensure that the base has proper drainage by slightly sloping the gravel away from any structures. This will help prevent water from pooling under the slab, which could weaken the concrete over time.
Once these final checks are completed, you’re ready to move on to pouring the concrete. Following these steps carefully will ensure your slab has a strong, stable foundation that can withstand the test of time.
By preparing the ground properly, laying the gravel in layers, adding sand when necessary, and conducting thorough final checks, you can ensure a well-supported and durable concrete slab. This step-by-step process helps avoid common issues like cracking or shifting, providing a solid foundation for whatever project you’re working on.
Long-Term Maintenance And Care
When it comes to concrete slabs, ensuring long-term maintenance and care is essential to preserving their structural integrity and appearance. A well-laid concrete slab can last decades, but without proper attention, issues like drainage problems, shifting gravel, or unnoticed cracks can compromise its durability. This section offers practical tips for maintaining your slab, recognizing problems early, and addressing gravel-related issues before they become major concerns.
Maintaining Proper Drainage
One of the most critical factors in extending the lifespan of your concrete slab is maintaining proper drainage. Poor drainage can lead to water pooling under or around the slab, which increases the risk of erosion, cracking, or even sinking. To prevent this, regularly check the areas around your slab, ensuring that water flows away from it. You can install drainage solutions such as French drains, gravel-filled trenches, or sloped landscaping to divert water. Additionally, cleaning gutters and downspouts regularly can prevent rainwater from accumulating near your slab, minimizing potential damage from excessive moisture.
Keeping an eye on drainage systems and the soil around the slab is key to avoiding water-related issues. If you notice signs of water pooling near the slab, address the drainage problem immediately to avoid more costly repairs down the line.
Spotting Problems Early
Recognizing problems early can save you time, money, and frustration in the long run. Common gravel-related issues include cracks or shifts in your concrete slab, which often result from uneven settling of the gravel base. To spot problems early, conduct periodic visual inspections, looking for hairline cracks, uneven surfaces, or slight dips in the slab. While small cracks might seem insignificant at first, they can worsen over time, leading to larger structural concerns if left unaddressed.
Additionally, listen for any creaking or grinding noises when walking across the slab. These sounds can be early indicators that the gravel underneath is shifting or eroding. Early detection allows you to fix minor issues before they require extensive repair, ensuring that your slab stays in top condition.
Repairing Shifting Gravel
Over time, the gravel base beneath your concrete slab can erode or shift, leading to uneven surfaces or even cracks in the slab. If you notice that the slab is sinking or shifting, it’s important to take action quickly. The first step is to assess the extent of the shifting. If it’s a minor issue, you can repair it by injecting polyurethane foam beneath the slab to fill any voids and stabilize the gravel base. This method is non-invasive and effective at restoring the slab’s level.
For more significant erosion or shifting, you may need to lift the slab and recompact the gravel base. This process, known as slab jacking or mud jacking, involves drilling holes into the slab and injecting a mixture of sand, cement, and water to raise the slab back to its original position. If the problem is related to water erosion, you should also address the underlying drainage issue to prevent future damage. Regular maintenance and early detection can go a long way in preventing gravel-related problems from becoming costly repairs.
By following these steps for long-term maintenance and care, you can keep your concrete slab in excellent condition, ensuring it lasts for many years to come. Proper drainage, early problem detection, and timely repairs will save you from major issues and prolong the life of your slab.
FAQs: About What Type Of Gravel Under Concrete Slab
Why is gravel necessary under a concrete slab?
Gravel is essential under a concrete slab because it provides a stable foundation, improves drainage, and prevents the slab from shifting or cracking over time. Without gravel, water accumulation and soil movement can compromise the structural integrity of the slab.
What size of gravel is best for under a concrete slab?
The ideal size of gravel for a concrete slab is typically ¾-inch crushed stone. This size compacts well, providing stability and allowing proper water drainage, which helps protect the slab from damage caused by soil movement or moisture.
Can I use pea gravel under a concrete slab?
While pea gravel can be used for lightweight projects, it is not ideal for a concrete slab intended to bear heavy loads. Pea gravel does not compact as well as crushed stone, which could lead to shifting and instability in the slab over time.
How much gravel do I need under a concrete slab?
A layer of 4-6 inches of gravel is typically recommended for most concrete slabs. This depth provides adequate support, drainage, and compaction. It’s important to compact the gravel in layers to ensure a stable foundation.
What is the difference between crushed stone and recycled gravel?
Crushed stone is a more reliable material for concrete slabs, as it is made from durable materials like granite or limestone. Recycled gravel, which can come from repurposed concrete and other materials, is an eco-friendly option but may not offer the same compaction or drainage properties as crushed stone.
Do I need to compact the gravel under a concrete slab?
Yes, compacting the gravel is crucial to creating a stable and even base for your concrete slab. Compacted gravel helps distribute the slab’s weight evenly, reduces voids, and prevents the slab from settling or shifting over time.
Can I skip the gravel layer and pour concrete directly on the ground?
Pouring concrete directly on the ground without a gravel layer is not recommended. Without gravel, water drainage is compromised, and soil movement can cause cracks and instability in the slab. The gravel base also helps prevent the slab from eroding over time.
Should I add a sand layer on top of the gravel?
In some cases, a layer of sand can be added on top of the gravel to create a smoother, more level surface for the concrete pour. Sand can also help fill gaps between larger gravel pieces, but it is not always necessary depending on the project’s requirements.
How do I compact the gravel properly?
To compact gravel properly, add it in 2-3 inch layers and use a plate compactor or rammer to press it down. Compacting the gravel in layers ensures there are no voids, which can lead to an uneven or unstable foundation for the concrete slab.
What should I do if the gravel base shifts after pouring the concrete slab?
If the gravel base shifts after the slab has been poured, it may indicate poor compaction or inadequate drainage. In severe cases, you may need to address the issue by reinforcing the foundation or adding additional support to prevent further damage to the slab.
Conclusion
In conclusion, choosing the right type of gravel, ensuring proper compaction, and addressing drainage are crucial steps in creating a solid foundation for a concrete slab. These elements not only provide stability but also prevent future issues like cracking or shifting. For DIY enthusiasts, laying your own concrete slab can be a rewarding project, and getting the foundation right is key to long-term success. If you’re unsure about the best gravel options or need additional guidance, don’t hesitate to consult local professionals or suppliers who can offer tailored advice for your specific project needs.
About the Author:
Mike Veail is a recognized digital marketing expert with over 6 years of experience in helping tradespeople and small businesses thrive online. A former quantity surveyor, Mike combines deep industry knowledge with hands-on expertise in SEO and Google Ads. His marketing strategies are tailored to the specific needs of the trades sector, helping businesses increase visibility and generate more leads through proven, ethical methods.
Mike has successfully partnered with numerous companies, establishing a track record of delivering measurable results. His work has been featured across various platforms that showcase his expertise in lead generation and online marketing for the trades sector.
Learn more about Mike's experience and services at https://theleadguy.online or follow him on social media: